How to do a Boost Leak Test
Why Boost Leak Testing Matters
When you are making boost, your entire charge path — turbo outlet, intercooler, couplers, BOV, intake manifold — is under air pressure. Any weak point bleeds off the boost your engine needs to make power.
A boost leak test pressurizes the entire charge path with shop air while the engine is off. You listen for hissing, feel for escaping air, and pinpoint the leak before wasting money on a tune or chasing symptoms.
Any good tuner will ask if you have done a boost leak test before they touch the car. Now you will have an answer.
Know your boost target. Pressurize to roughly your stock or current boost level — typically 12-25 PSI depending on your setup. Do not exceed your boost target during testing.
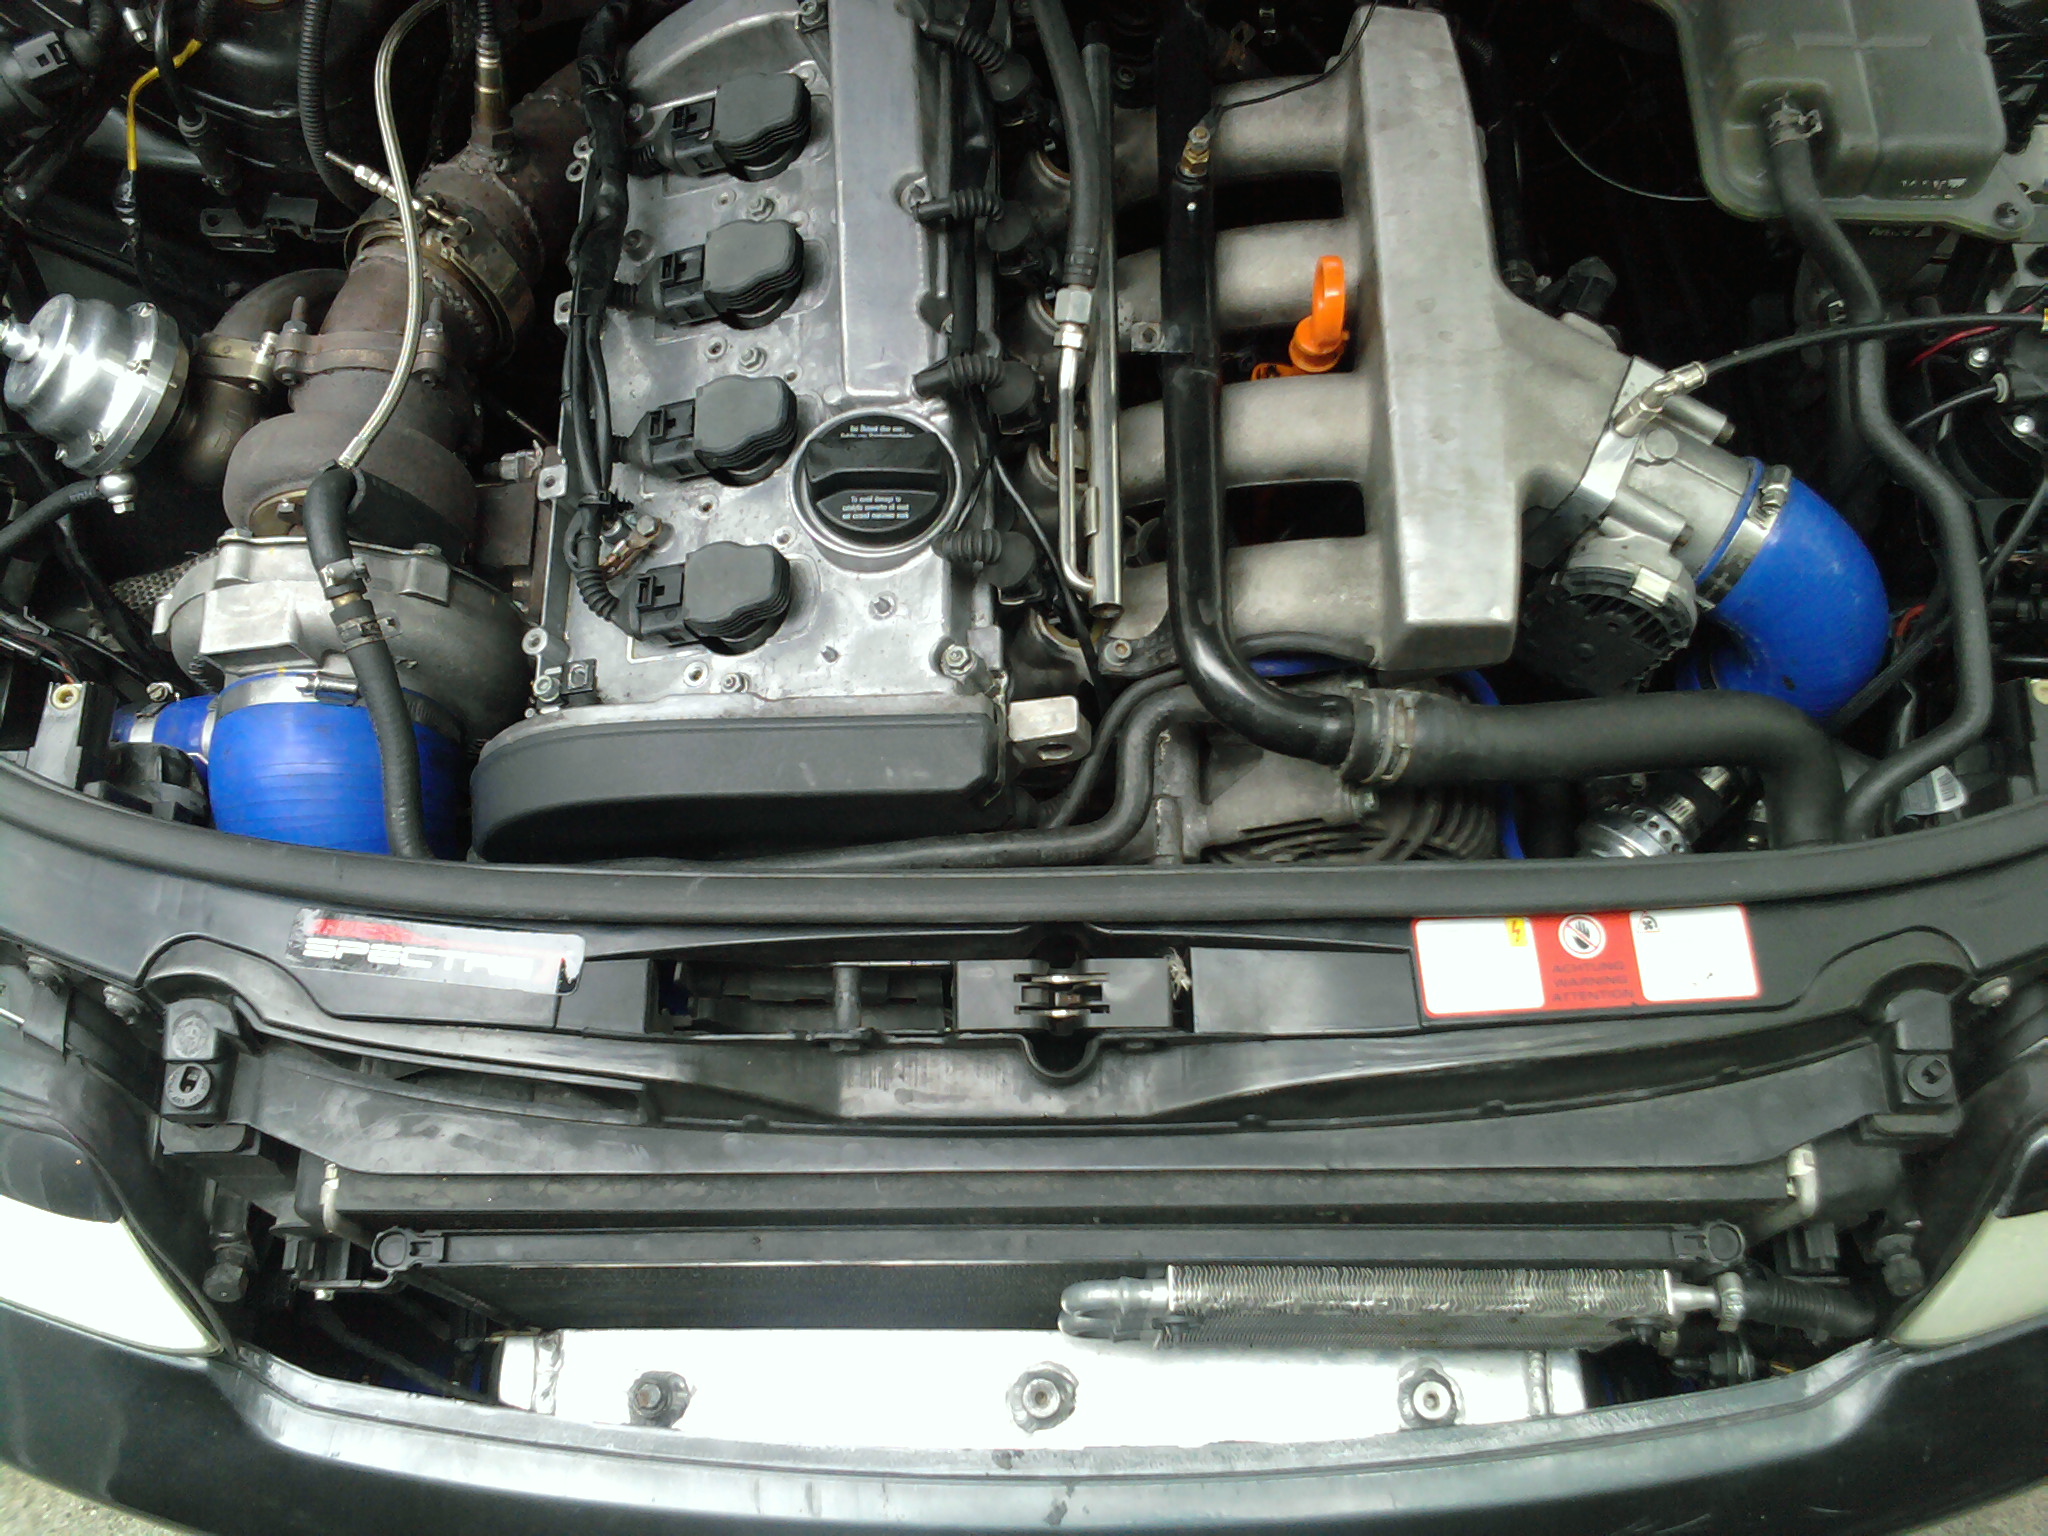
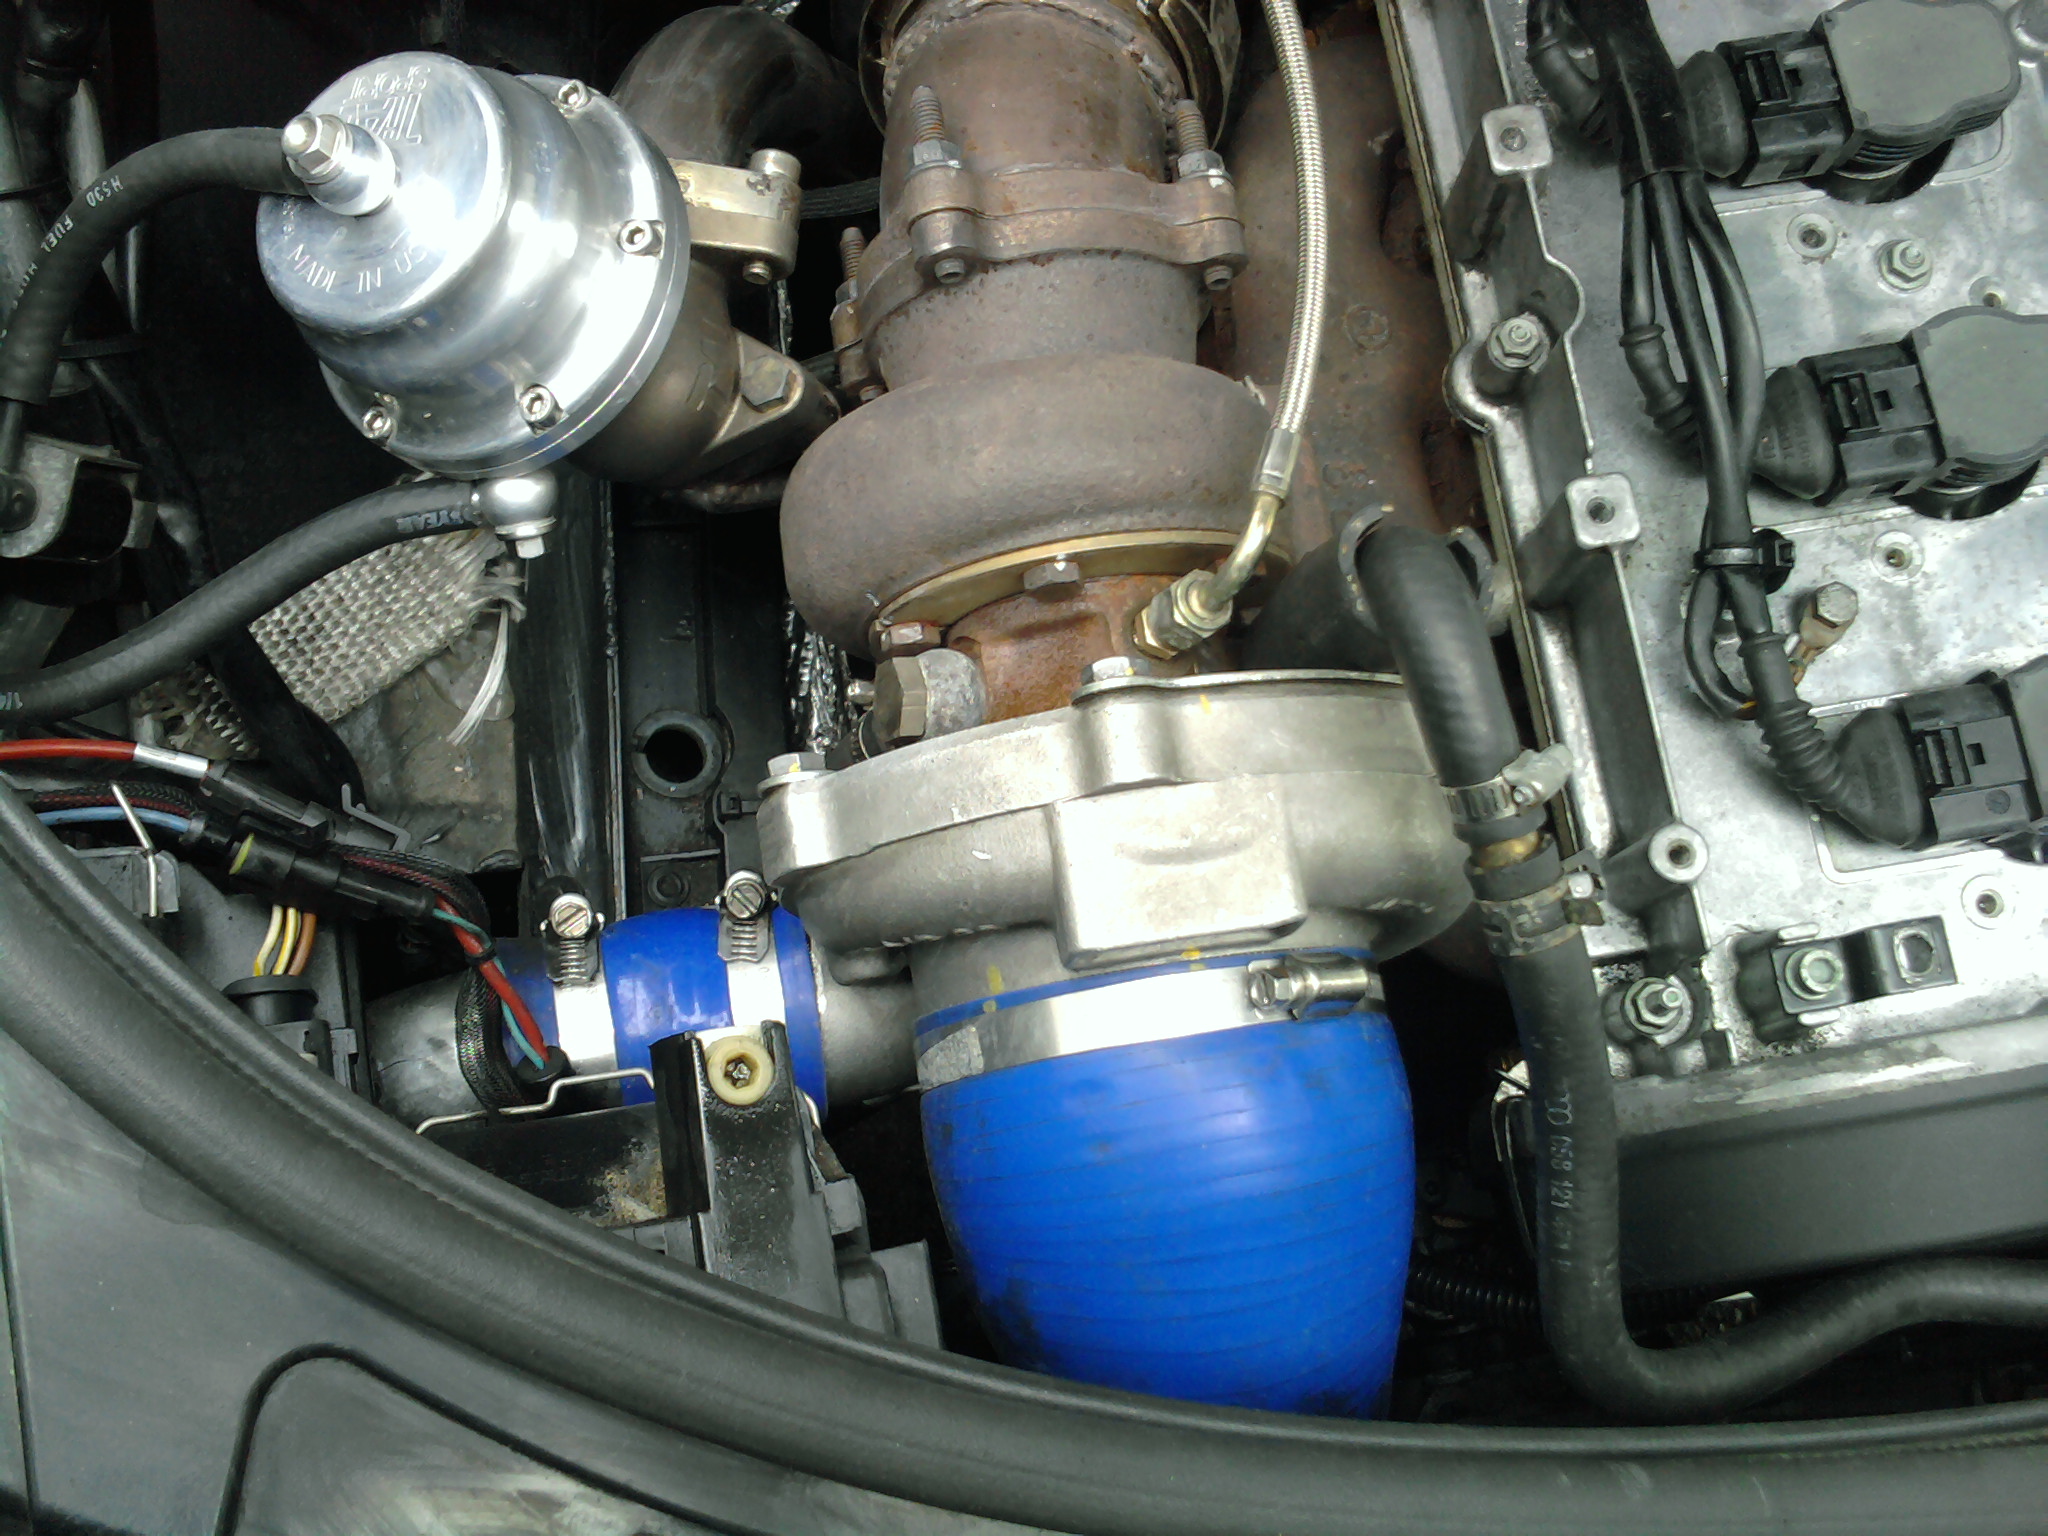
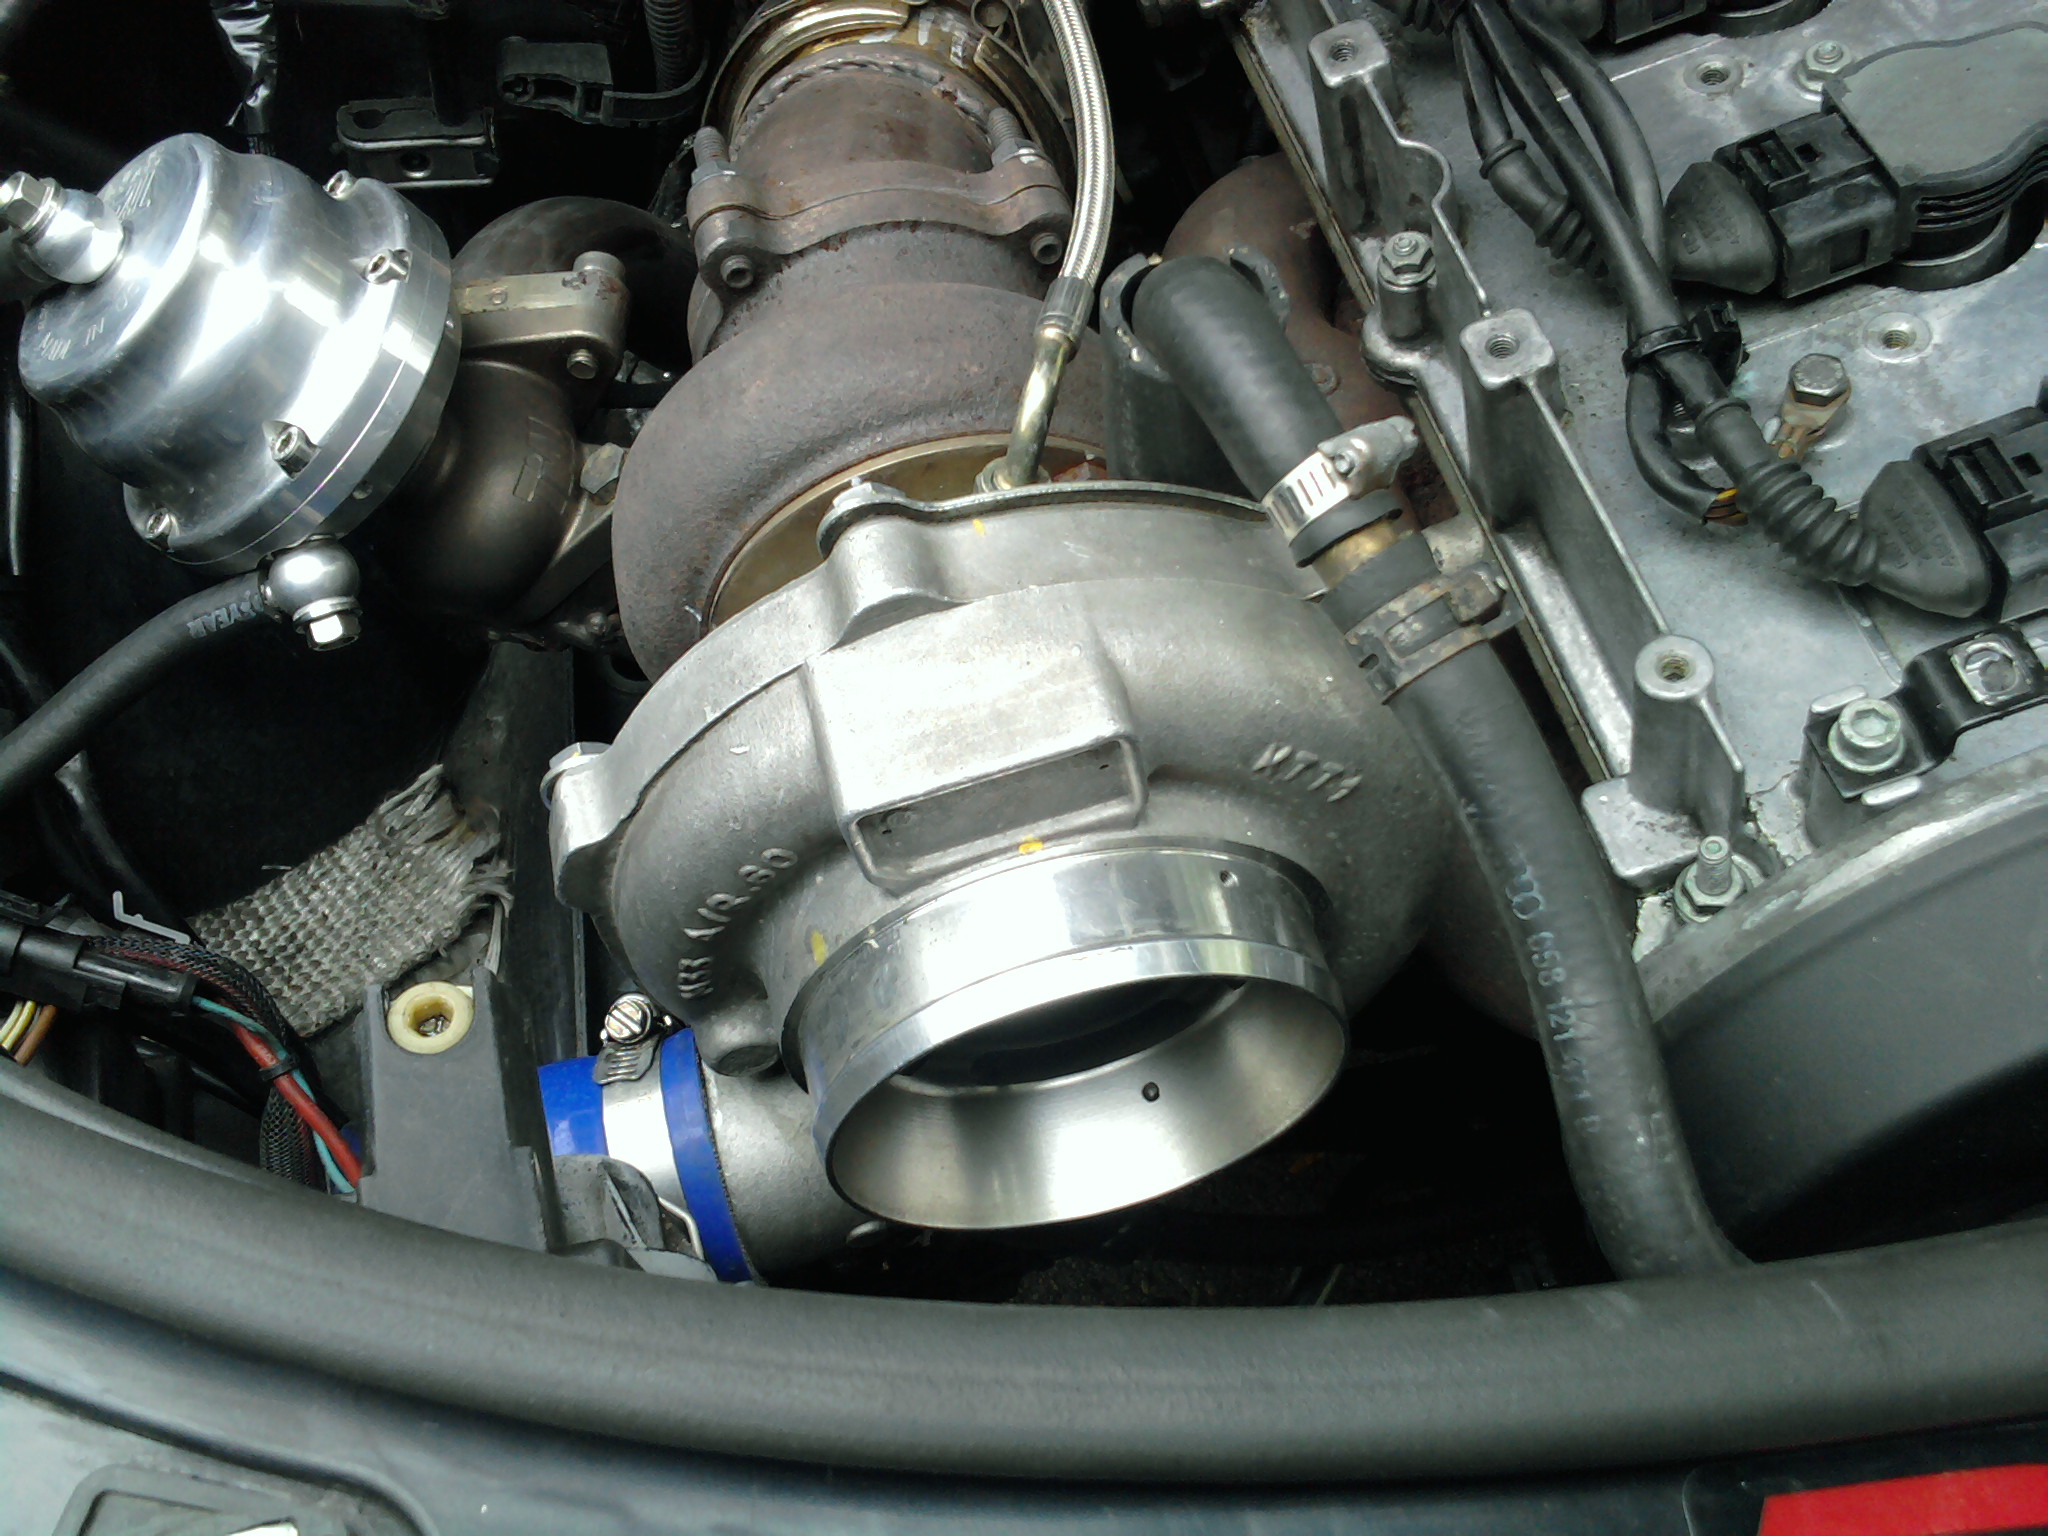
Access the Turbo Compressor Inlet
Remove the turbo intake pipe to expose the turbo compressor inlet flange. This is where the boost leak tester will be installed.
Make sure you are at the inlet — not the outlet. You will know it is the inlet because when you look into it, you can see the compressor wheel. Everything downstream is what gets pressurized during the test.
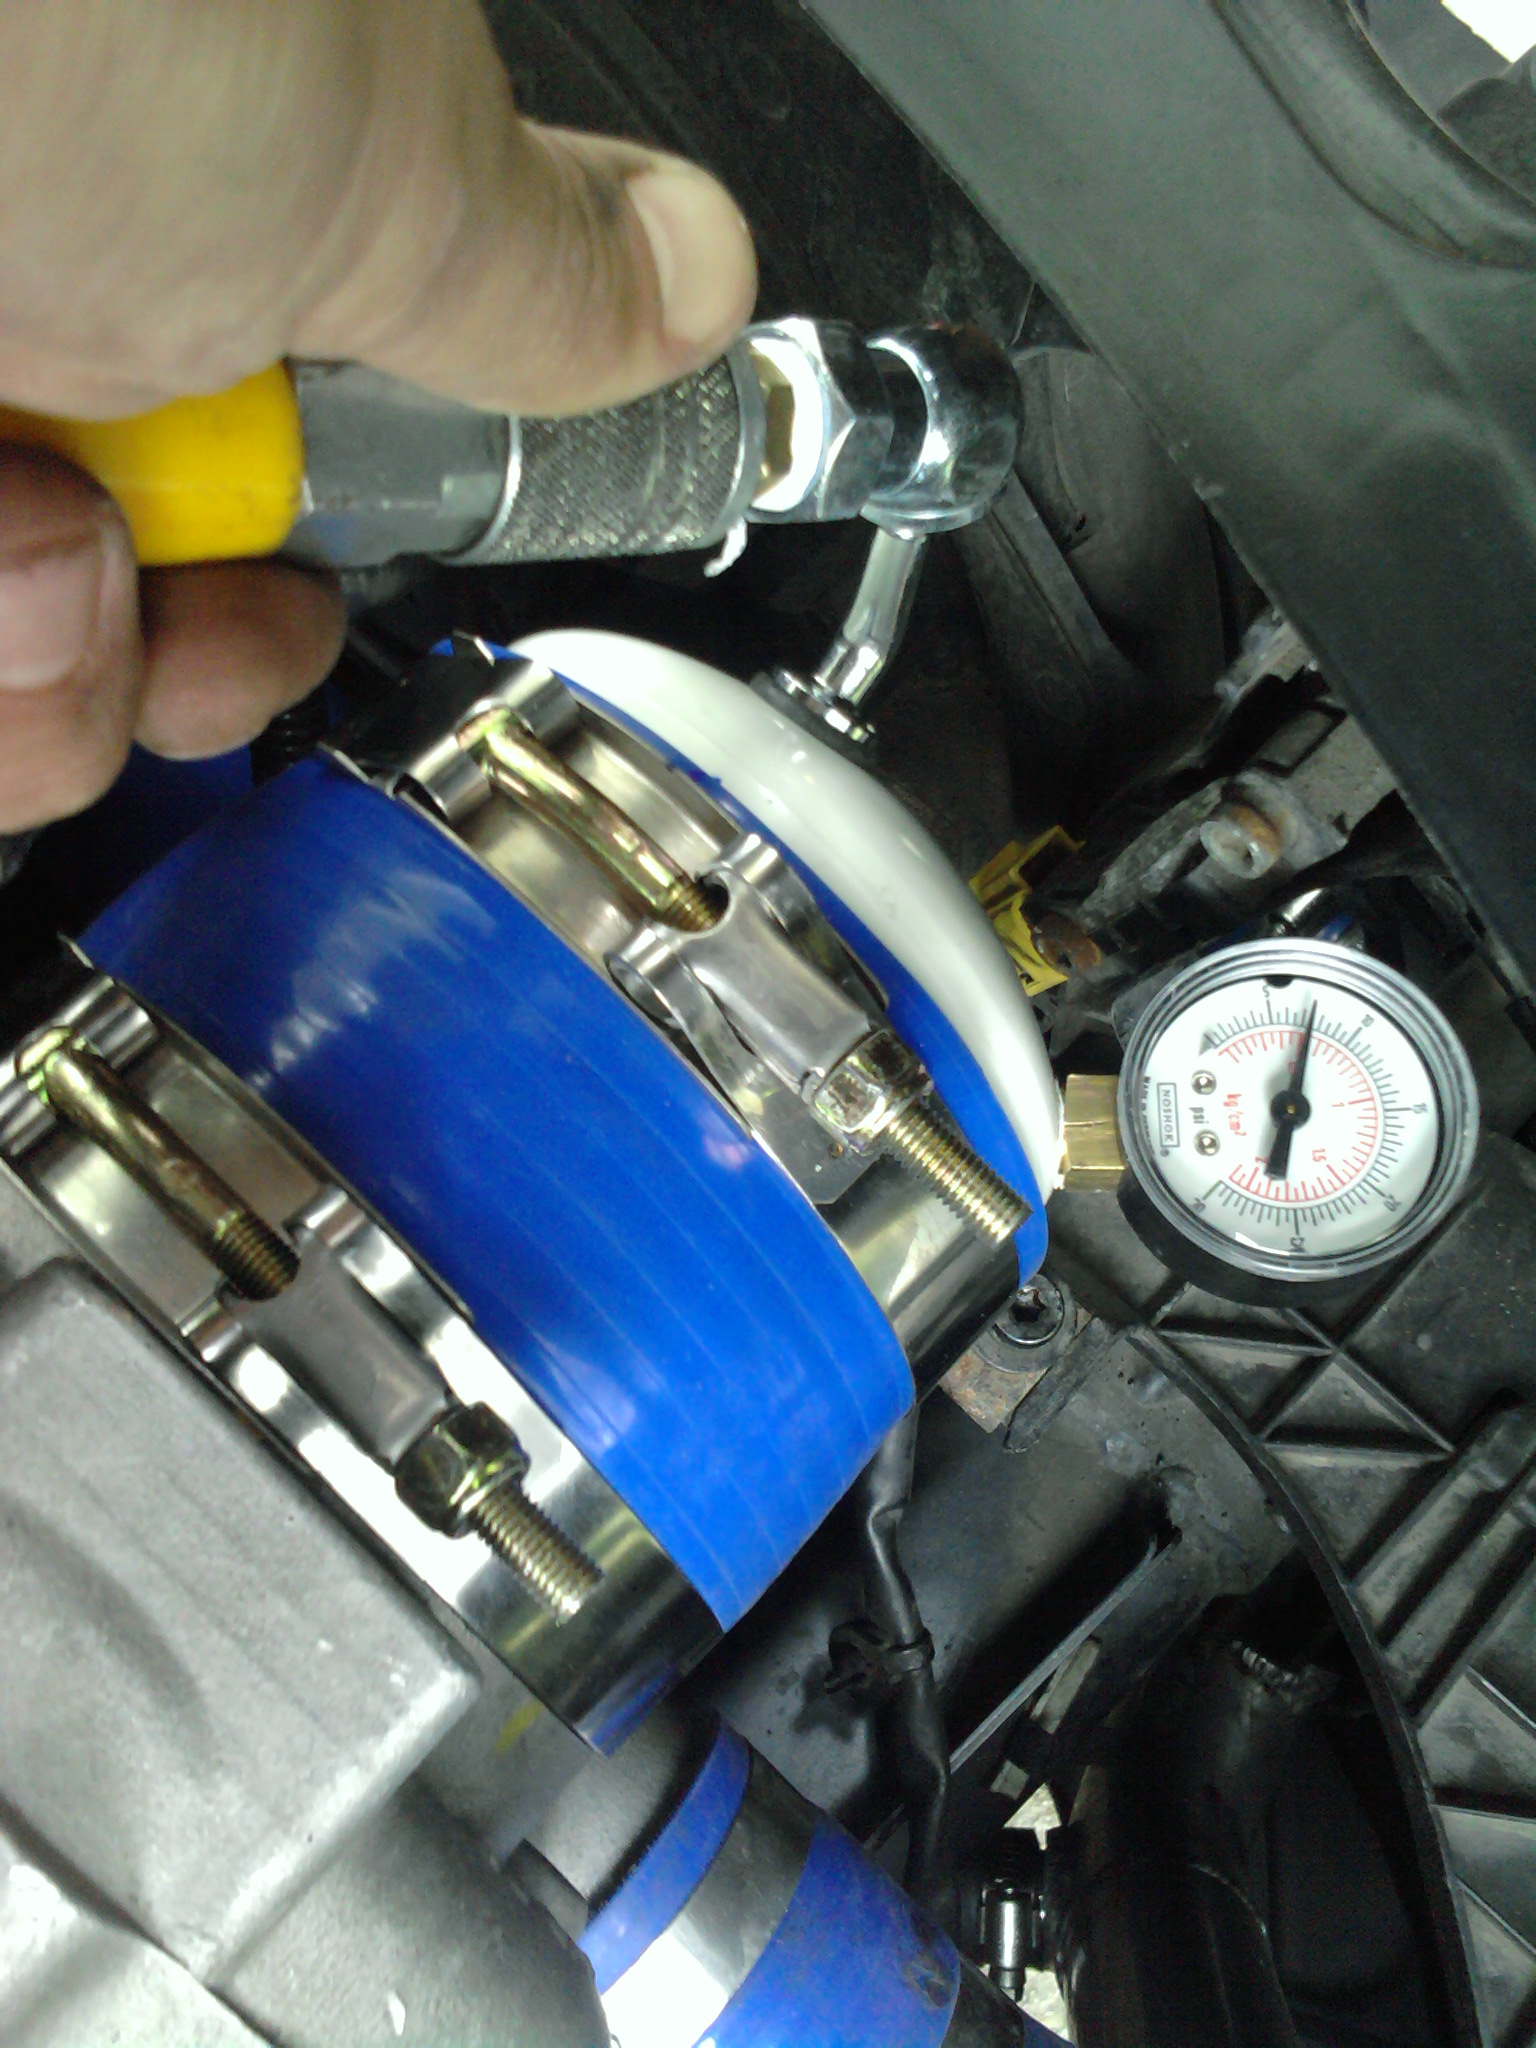
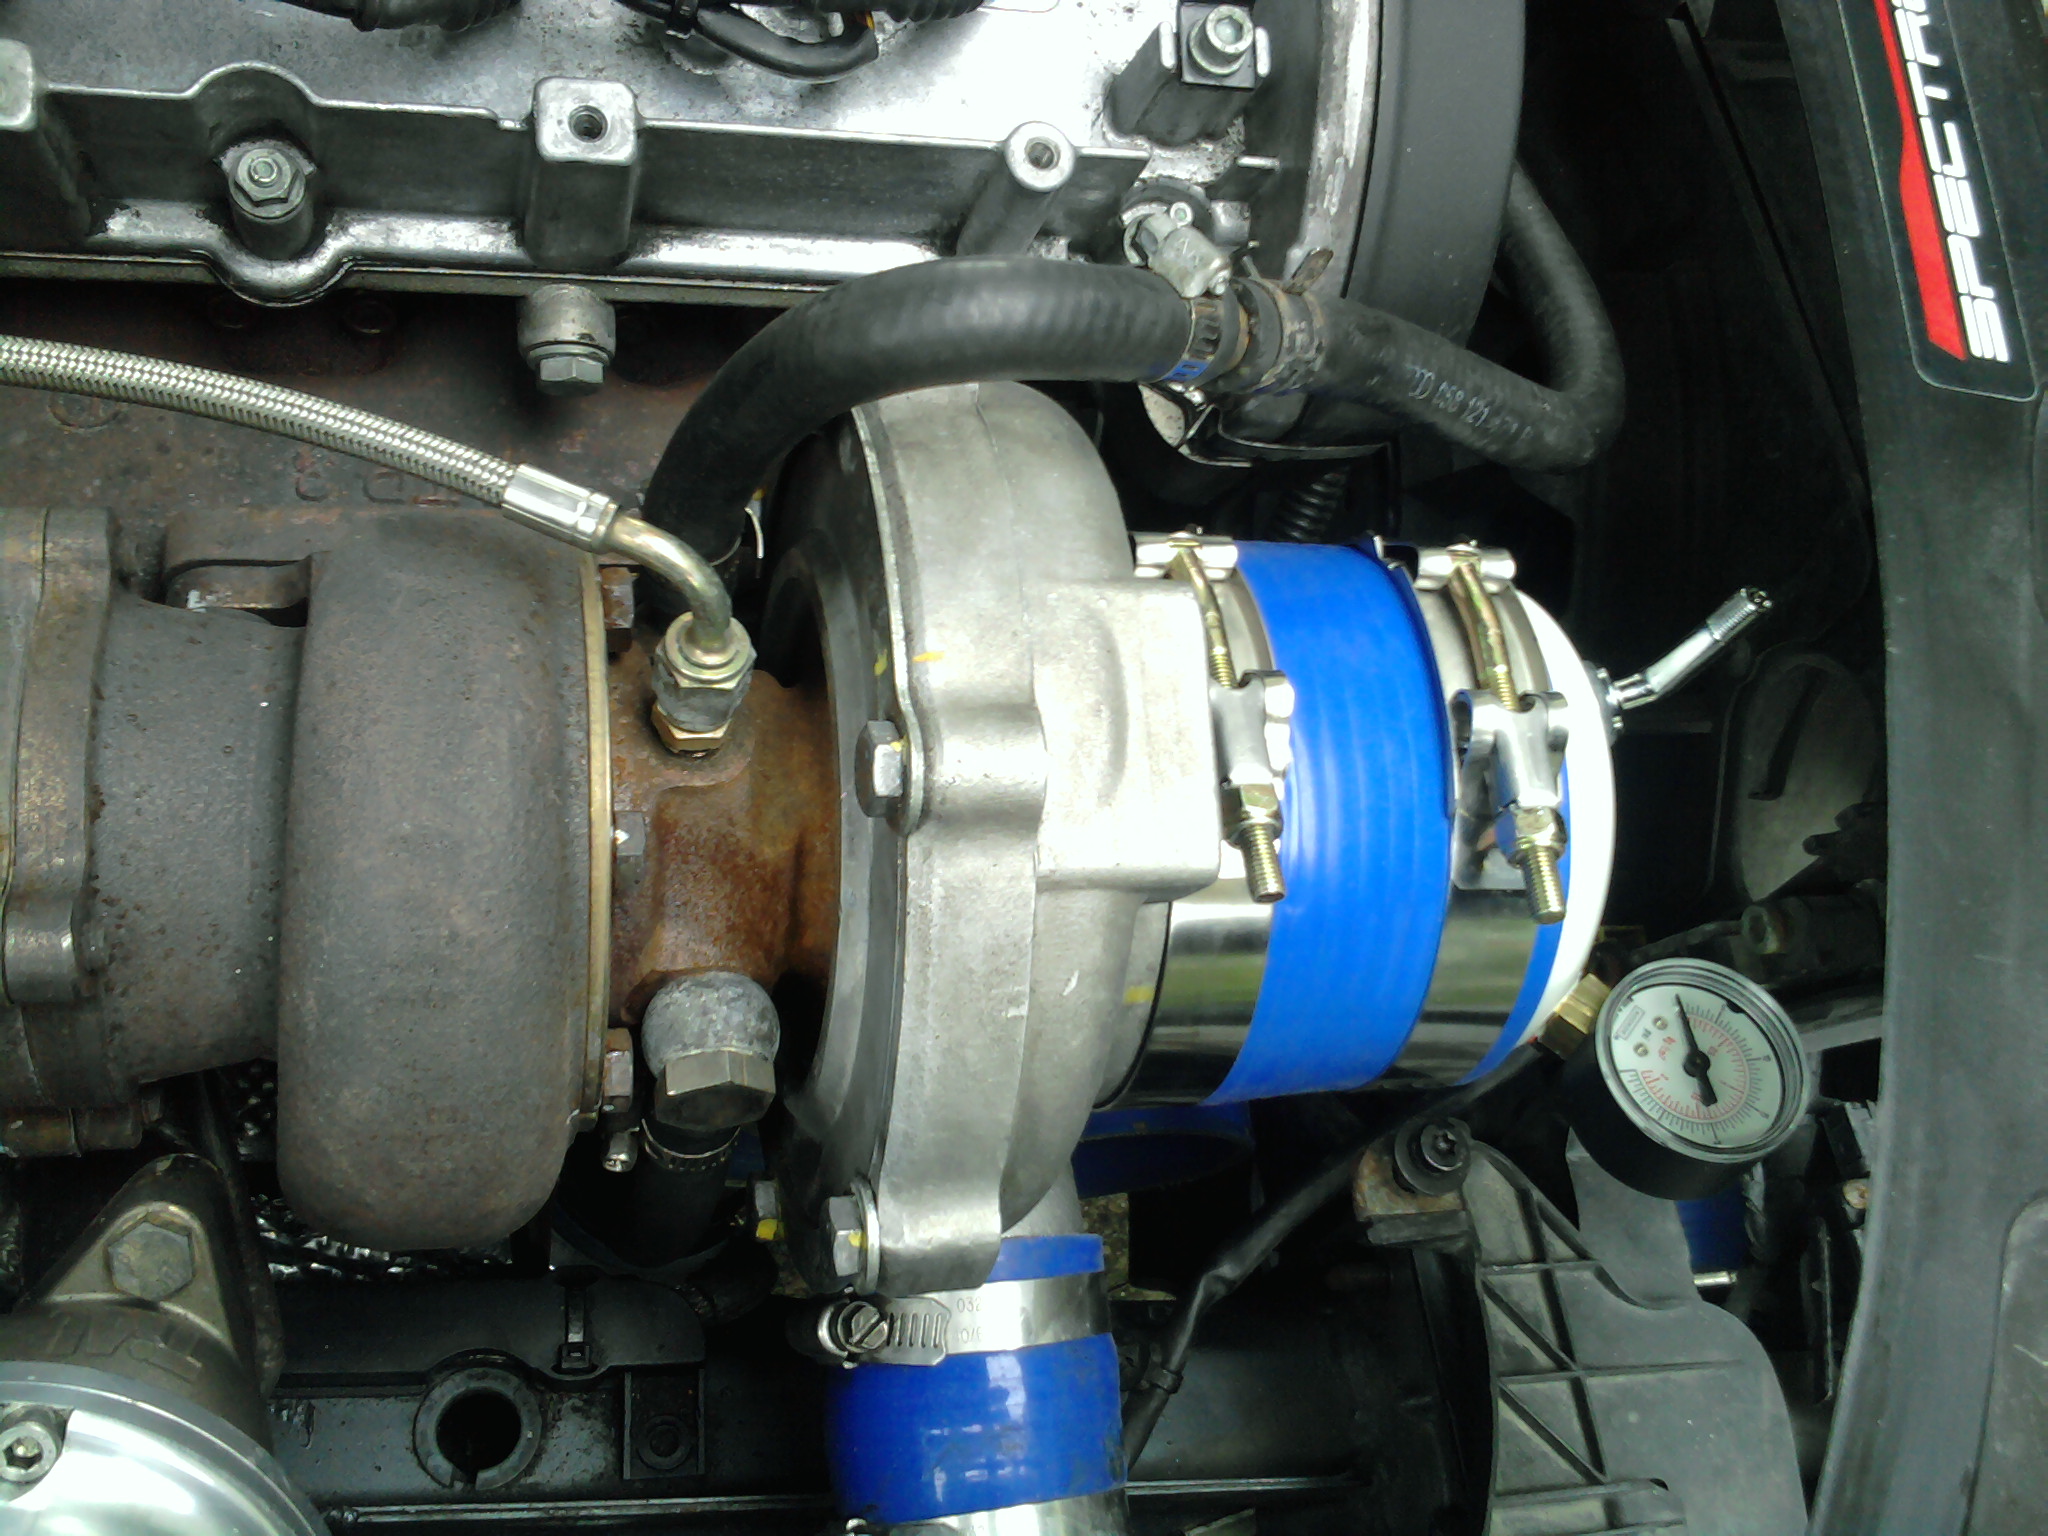
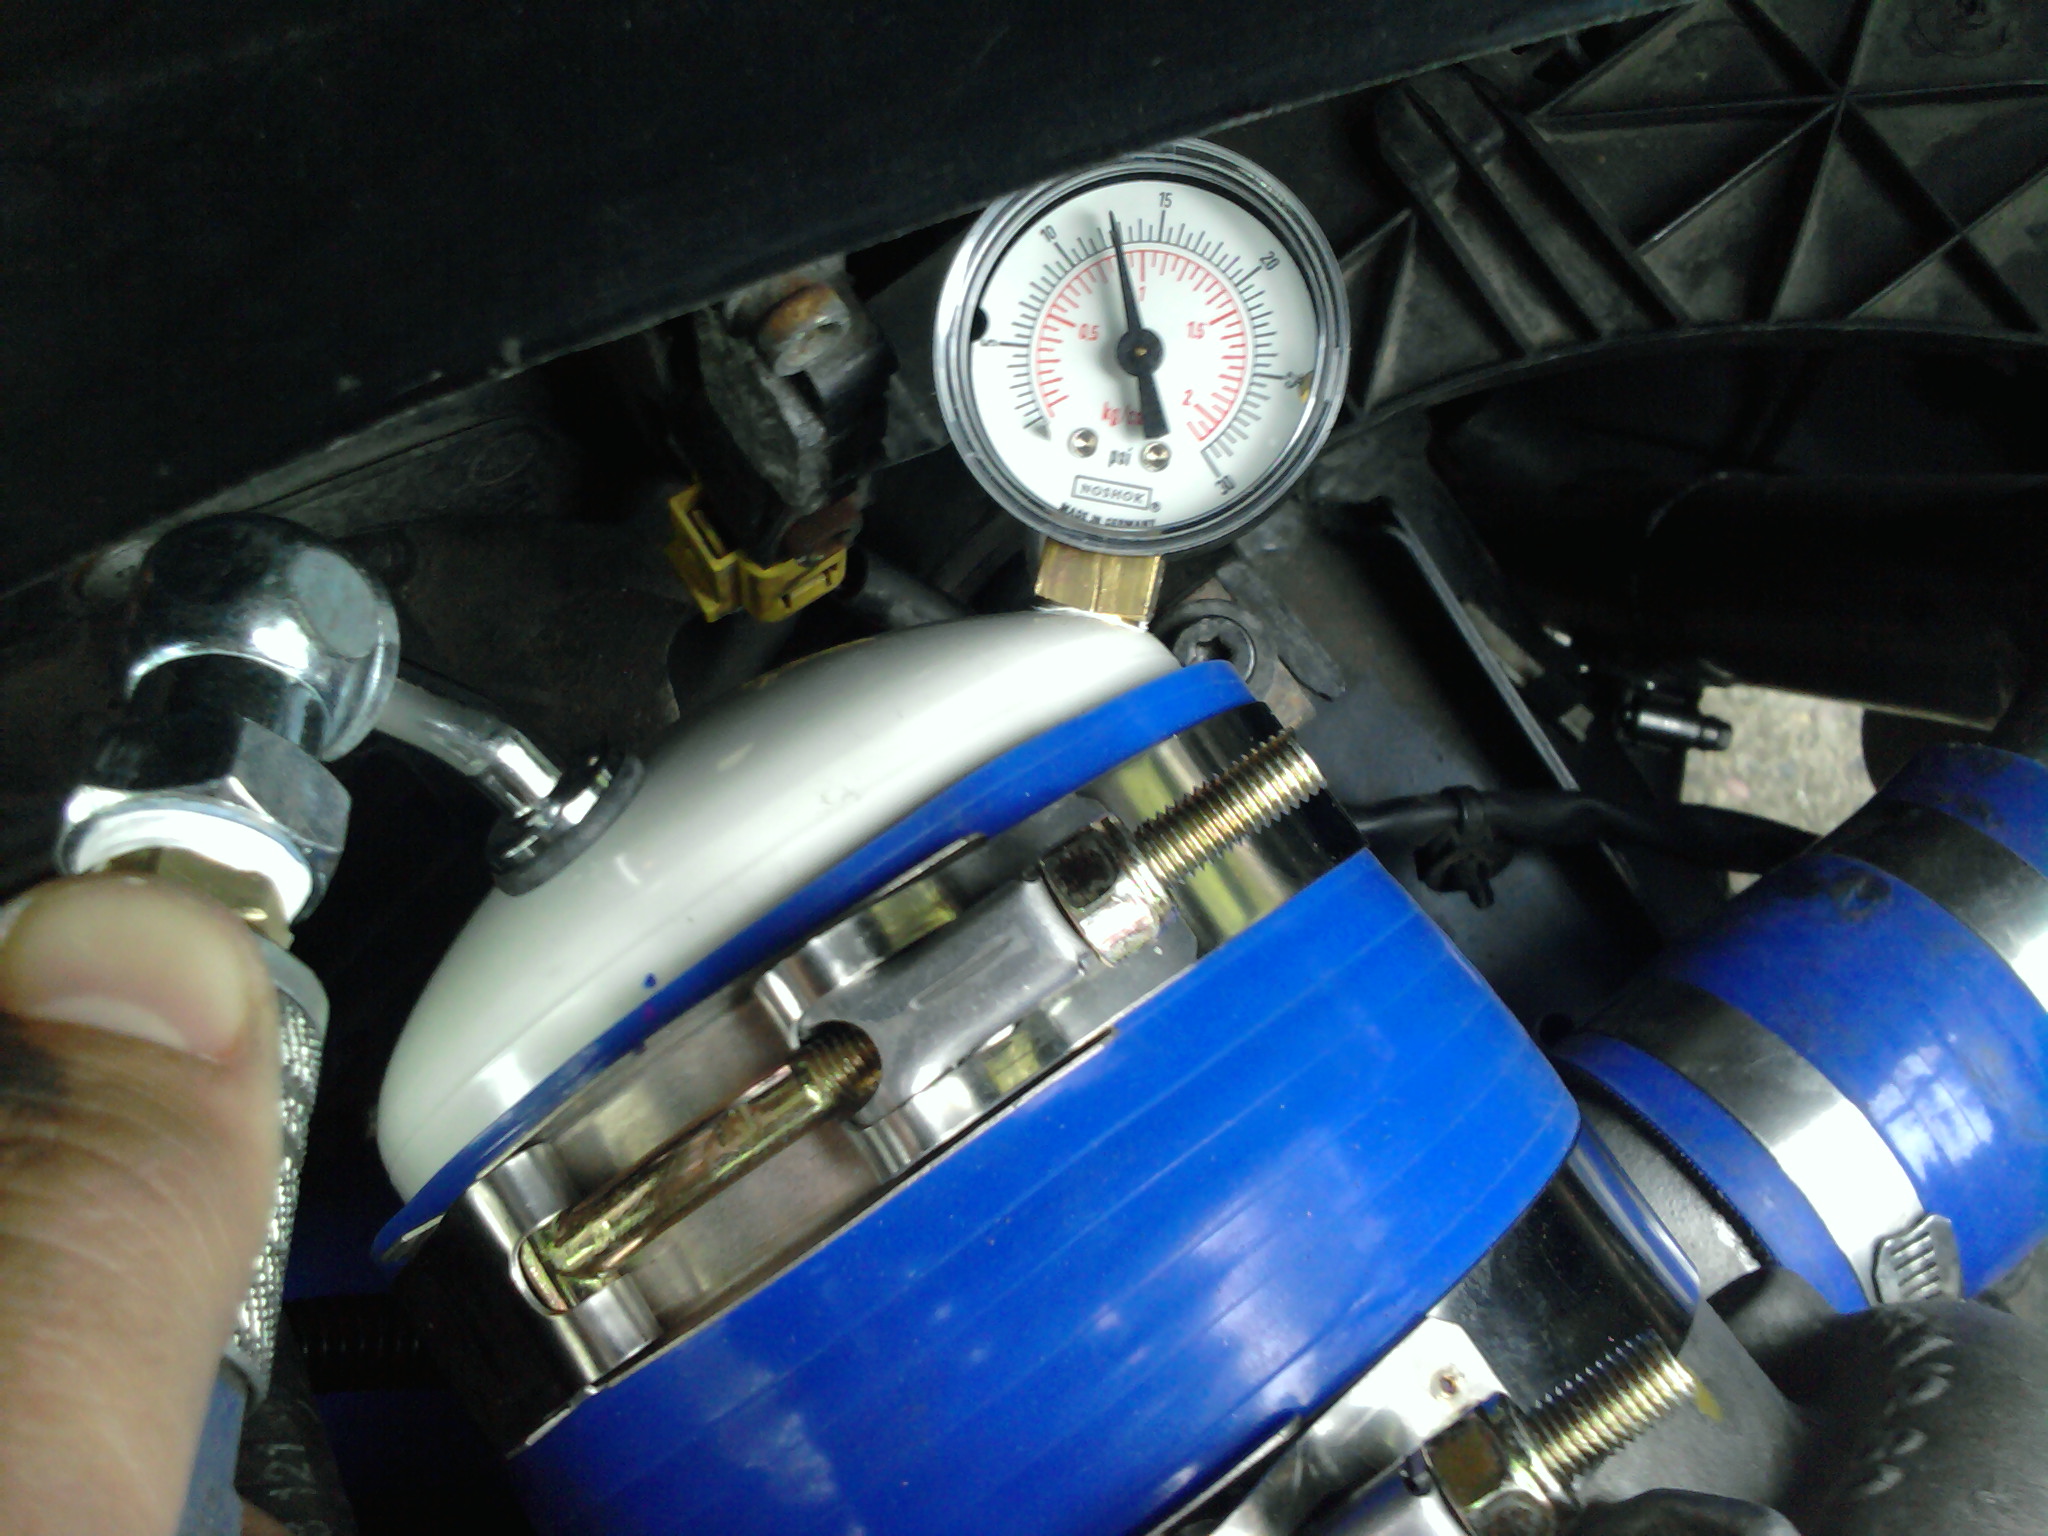
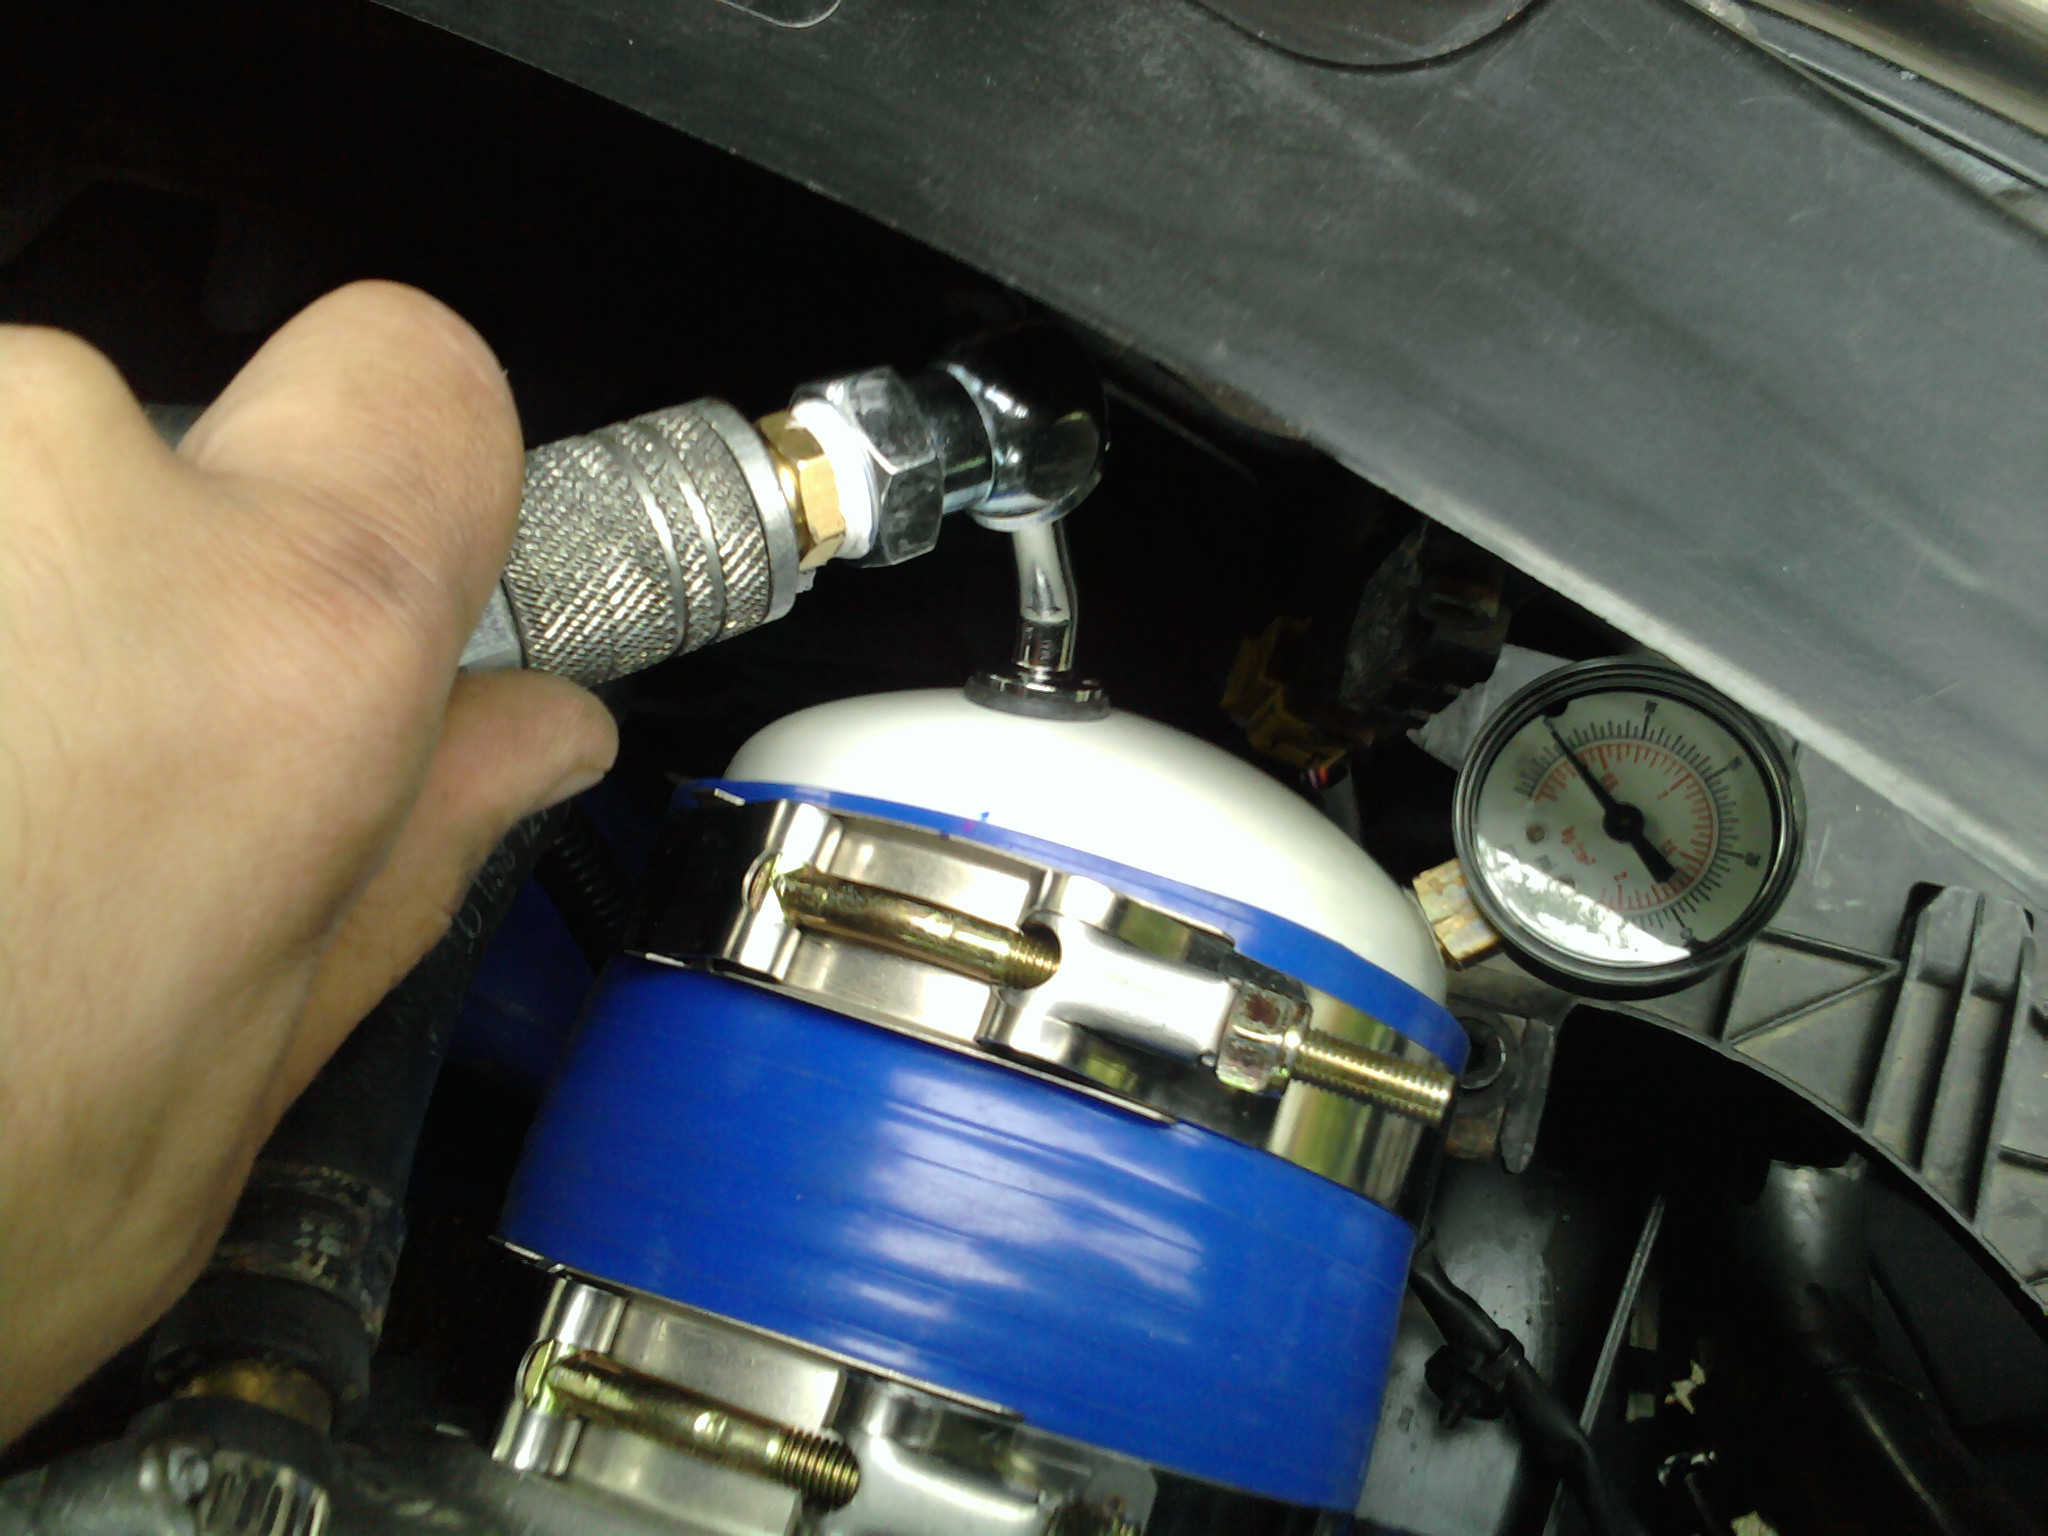
Attach the Boost Leak Tester
Slide the billet end cap over the turbo compressor inlet flange and secure it with the included clamp. The Pro-Kit comes with a mounted 0-30 PSI boost gauge and a tire valve (Schrader) stem for pressurization.
T-bolt clamps are highly recommended — they provide superior clamping force and keep the tester seated under pressure. Stainless worm-gear clamps are included by default; T-bolt clamps can be added at checkout.
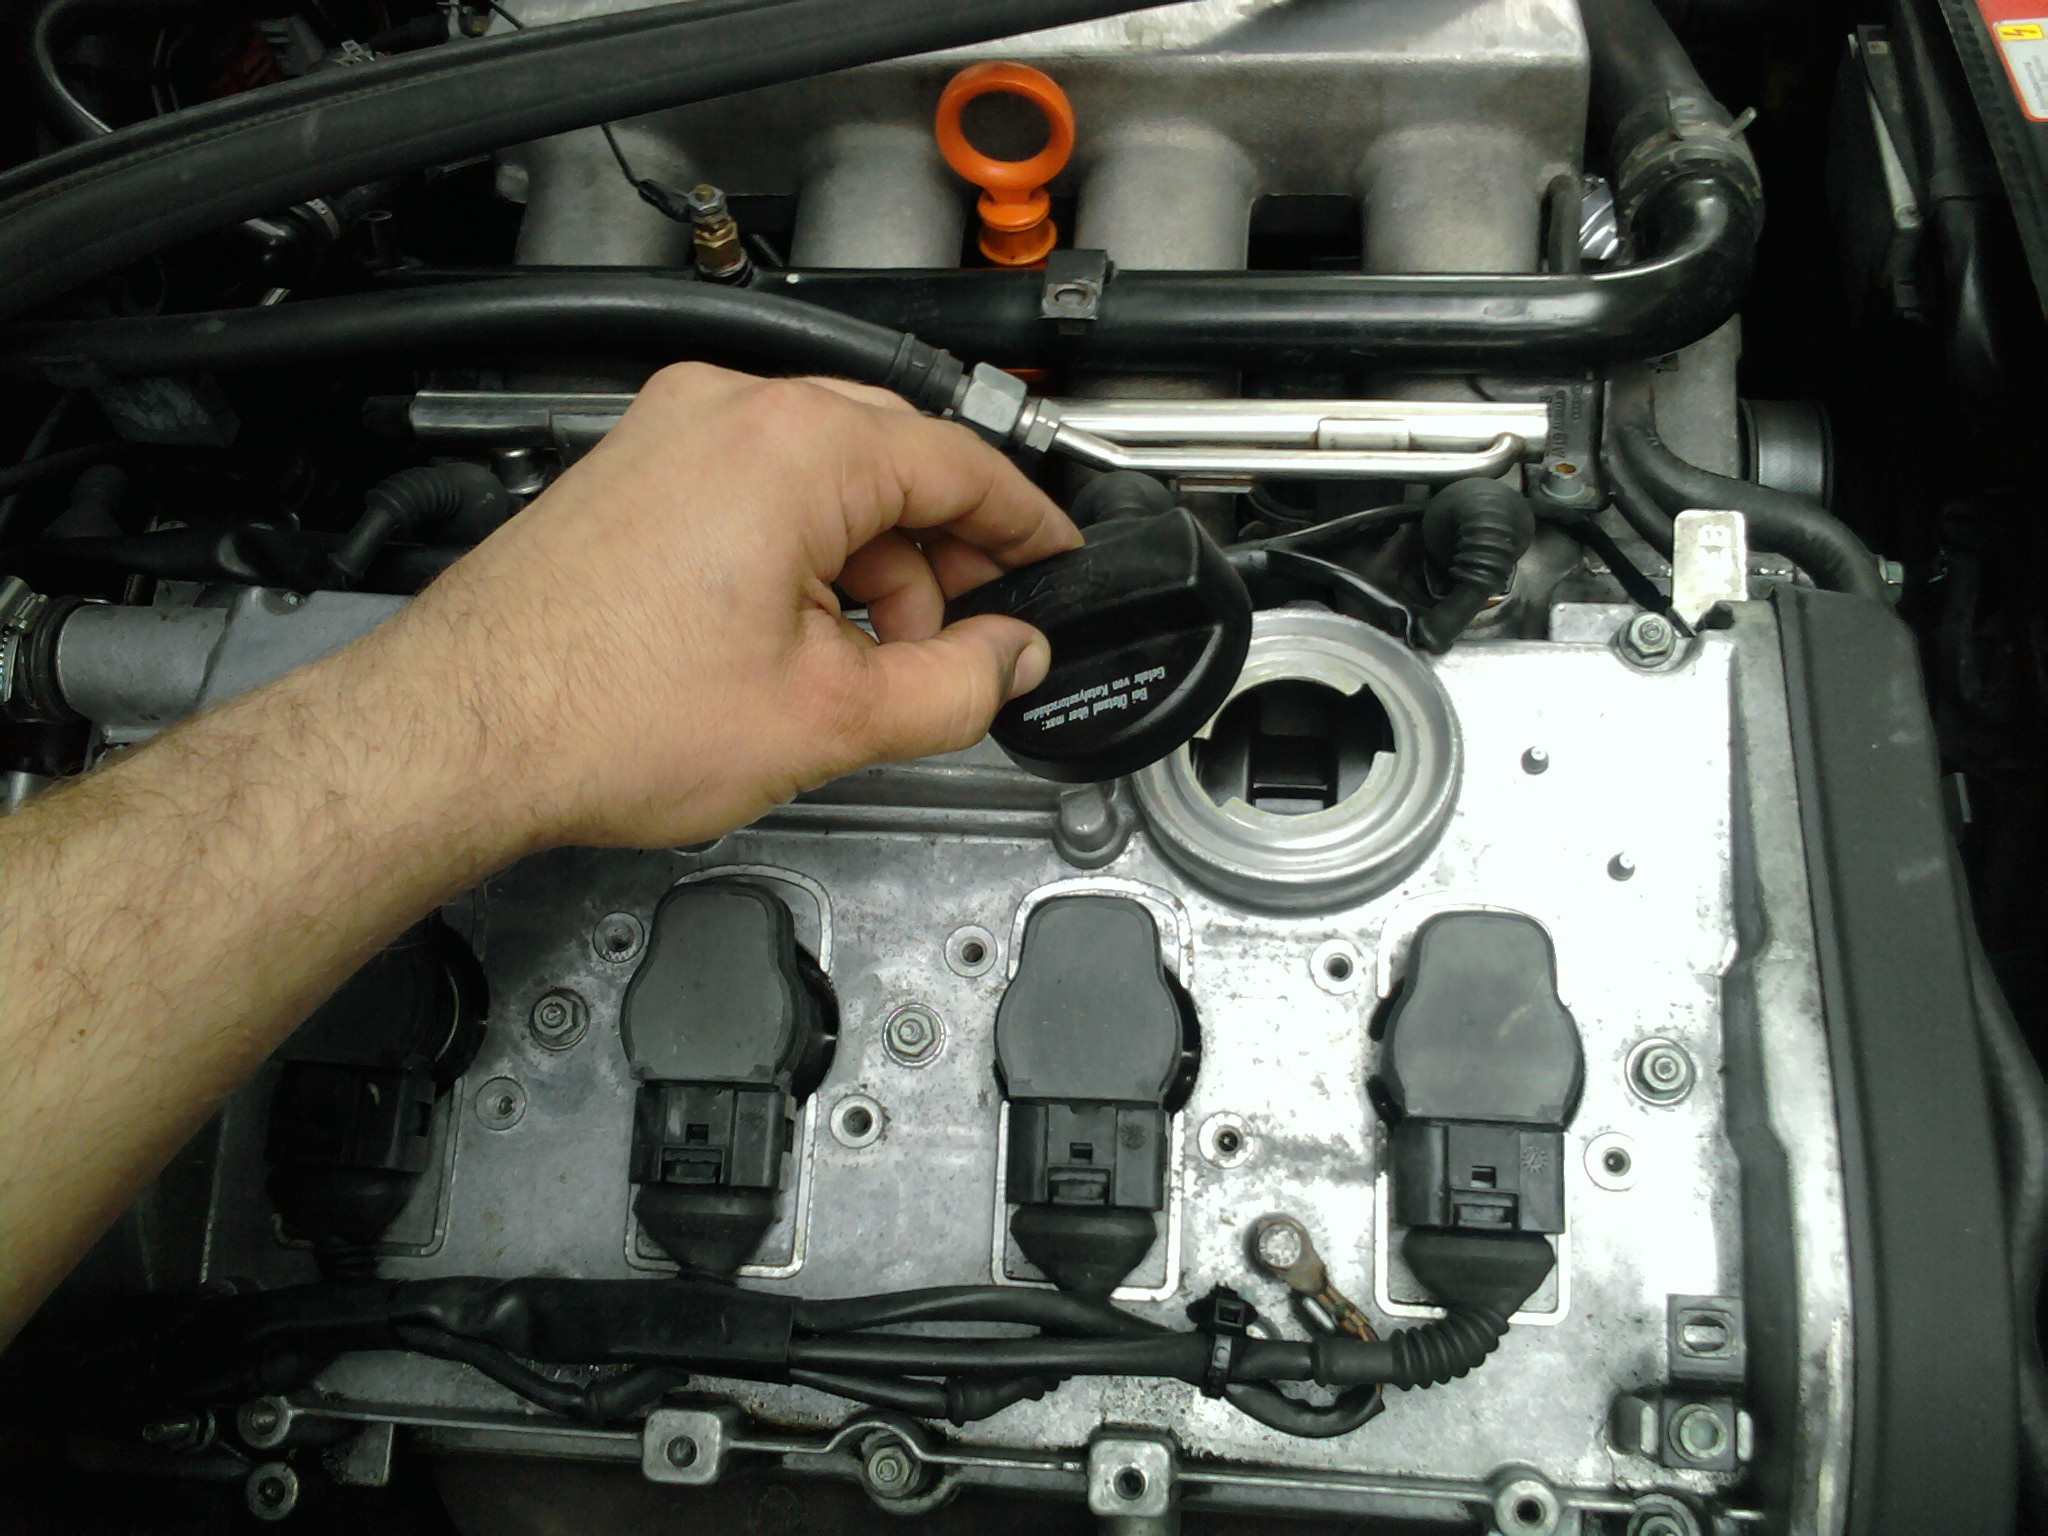
Safety Precautions Before Pressurizing
Remove the oil cap. When the intake system is pressurized, some air passes the piston rings and valve guides into the crankcase — putting positive pressure on crank and cam seals. Removing the oil cap vents this pressure safely.
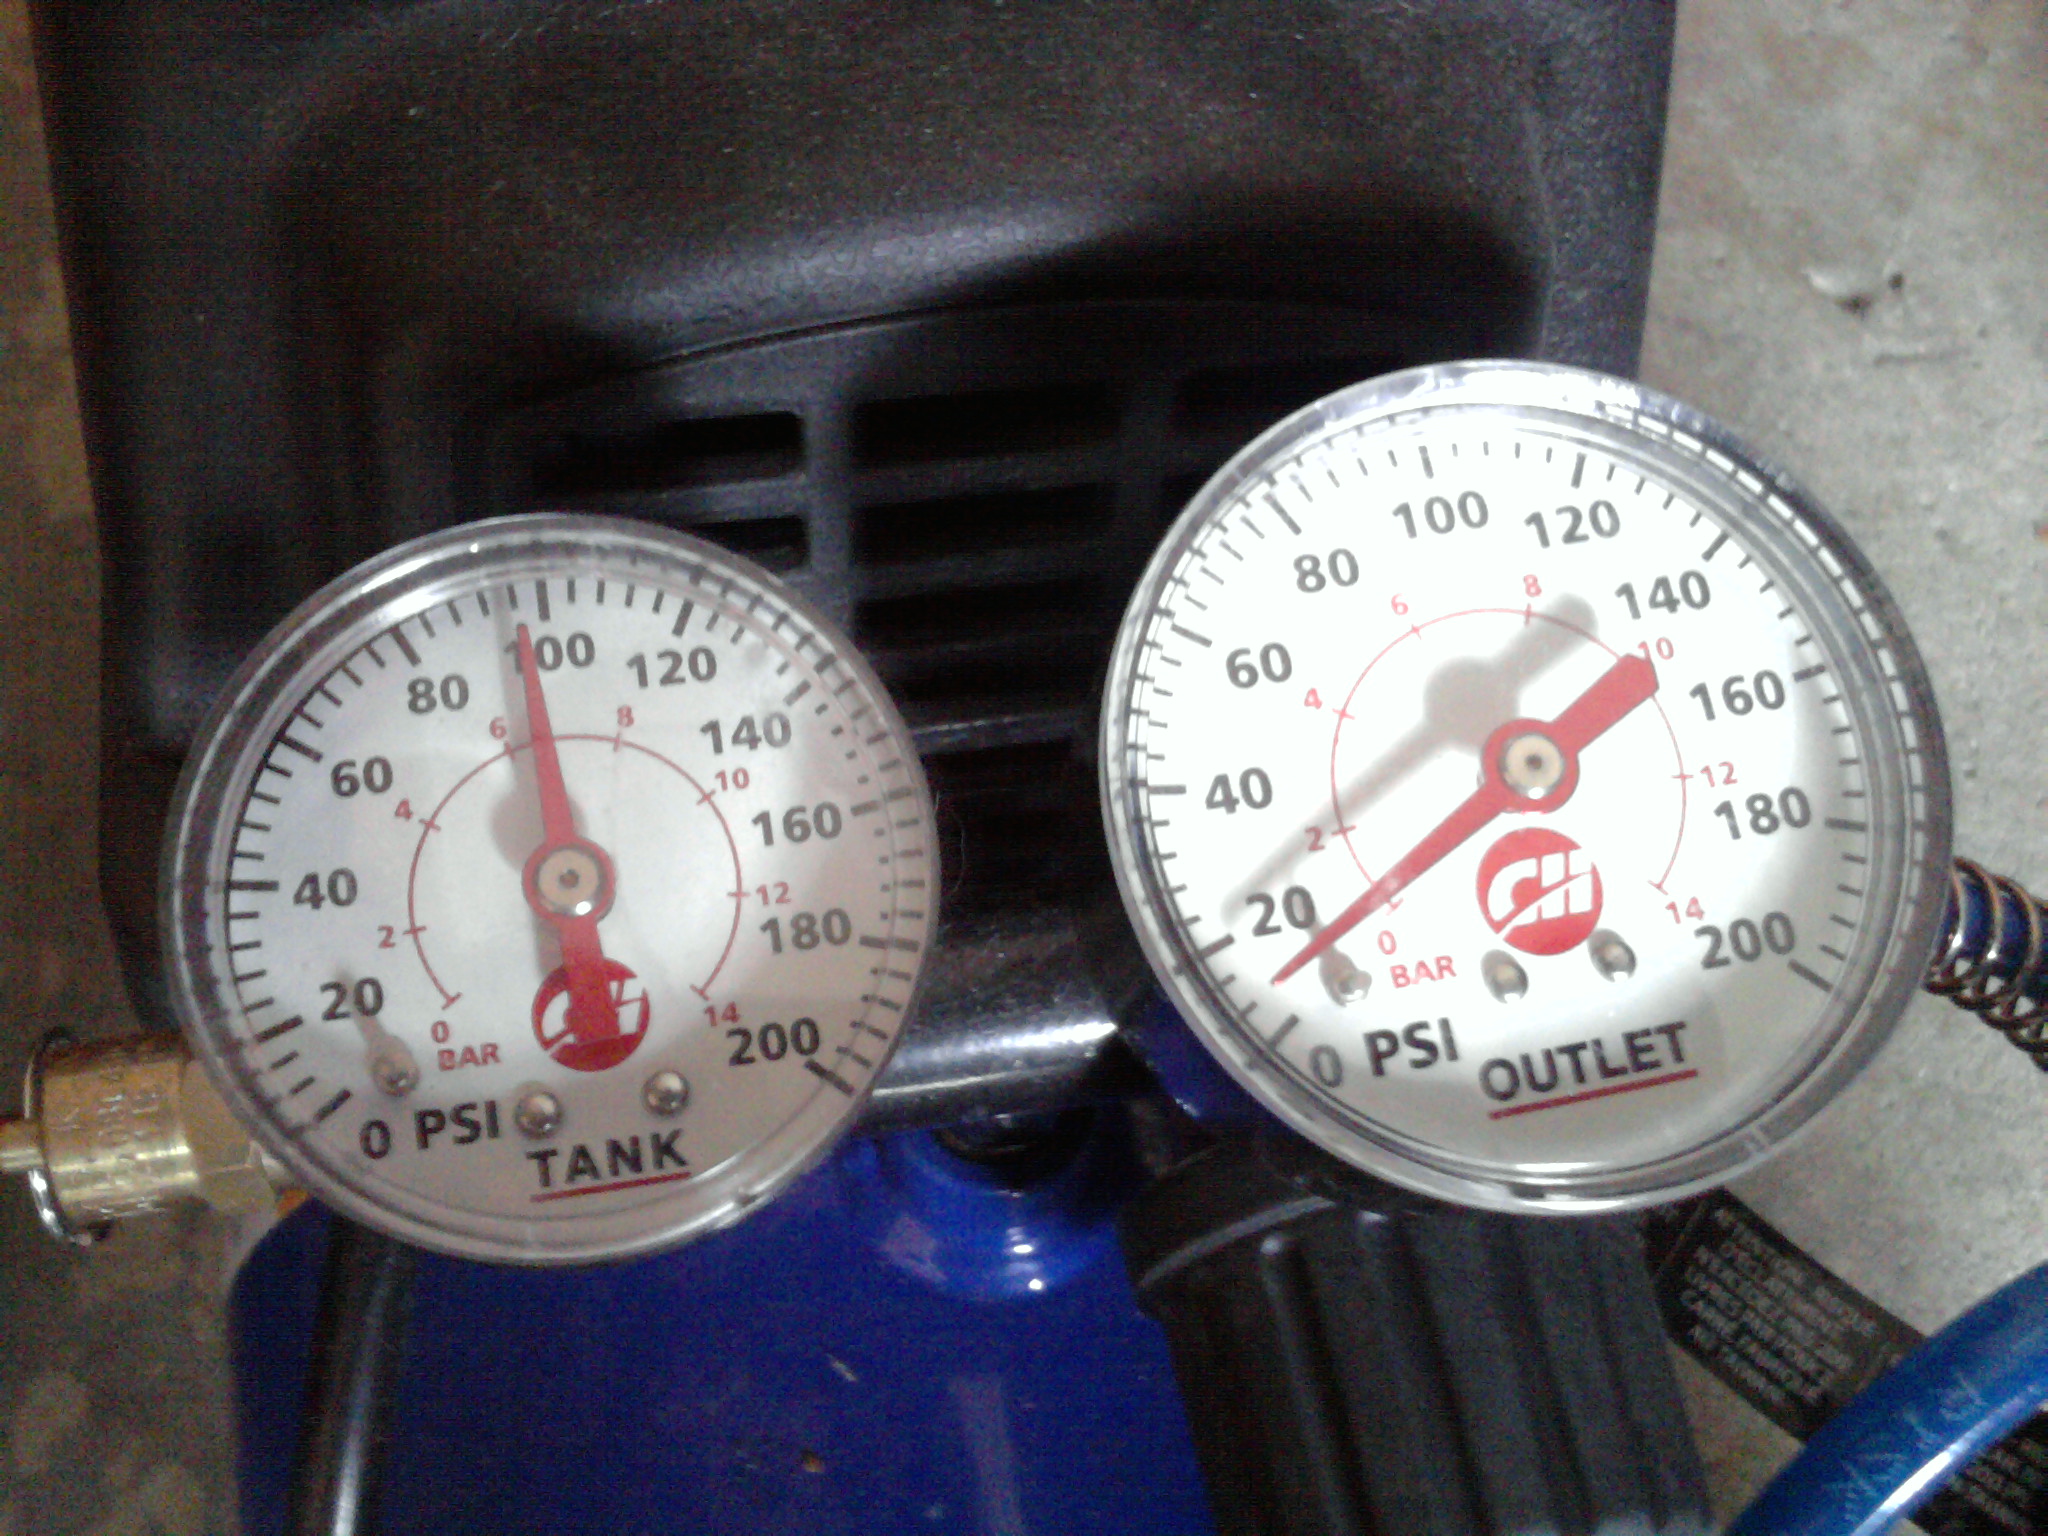
Set up your air compressor and configure the outlet pressure to a low starting level. Set it to 5 PSI for the first trial run. Get familiar with the controls before connecting to the tester.
5 PSI Trial Run
Connect your standard tire inflator to the Schrader valve on the boost leak tester. Pressurize the system slowly to 5 PSI — this is your initial pass to confirm the system can hold pressure at all.
Once at 5 PSI, remove the inflator and watch the gauge needle. A healthy system loses no more than 1 PSI per second. A rapid drop signals a large leak somewhere in the charge path.
Ramp Up to Full Test Pressure
Once the 5 PSI trial passes, increase to a higher test pressure — typically your car stock boost level. In this example, 12 PSI is used as an intermediate level on a system built for 30 PSI.
Same process: listen while pressurizing, watch the needle, then remove the inflator and track the pressure decay rate. What you are watching for is a drop rate over 1 PSI per second, which signals an active leak.
Walk the entire charge path — charge pipes, intercooler, BOV, couplers, and vacuum lines. Leaks are immediately audible as a hiss. Fix the issue and re-test from Step 4.
Ready to Find Your Leak?
Shop our full range of boost leak tester kits — built for over 100 vehicle makes and universal sizes from 1.5" to 6".
Shop All Kits Find My Vehicle