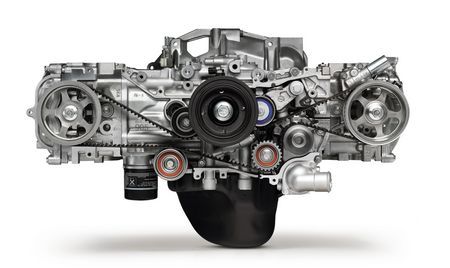
How To Boostleak Test a Subaru
Boost Leak Testing A Subaru at the Intake Pipe
|
|
|
On the Subaru EJ Engine platform, the turbo inlet is difficult to access causing the traditional way of doing a boost leak test more of a task. However, since the turbo inlet pipe is easily accessible, we can perform the boost leak test more upstream from the turbo. However since we are now boosting the intake pipe which normally does not ever see boost, putting pressure through this line will require blocking off the lines that are attached to the intake pipe, otherwise the pressure you put into the pipe will just escape through these lines to atmosphere, or into the crankcase, and you will not be able to build pressure.
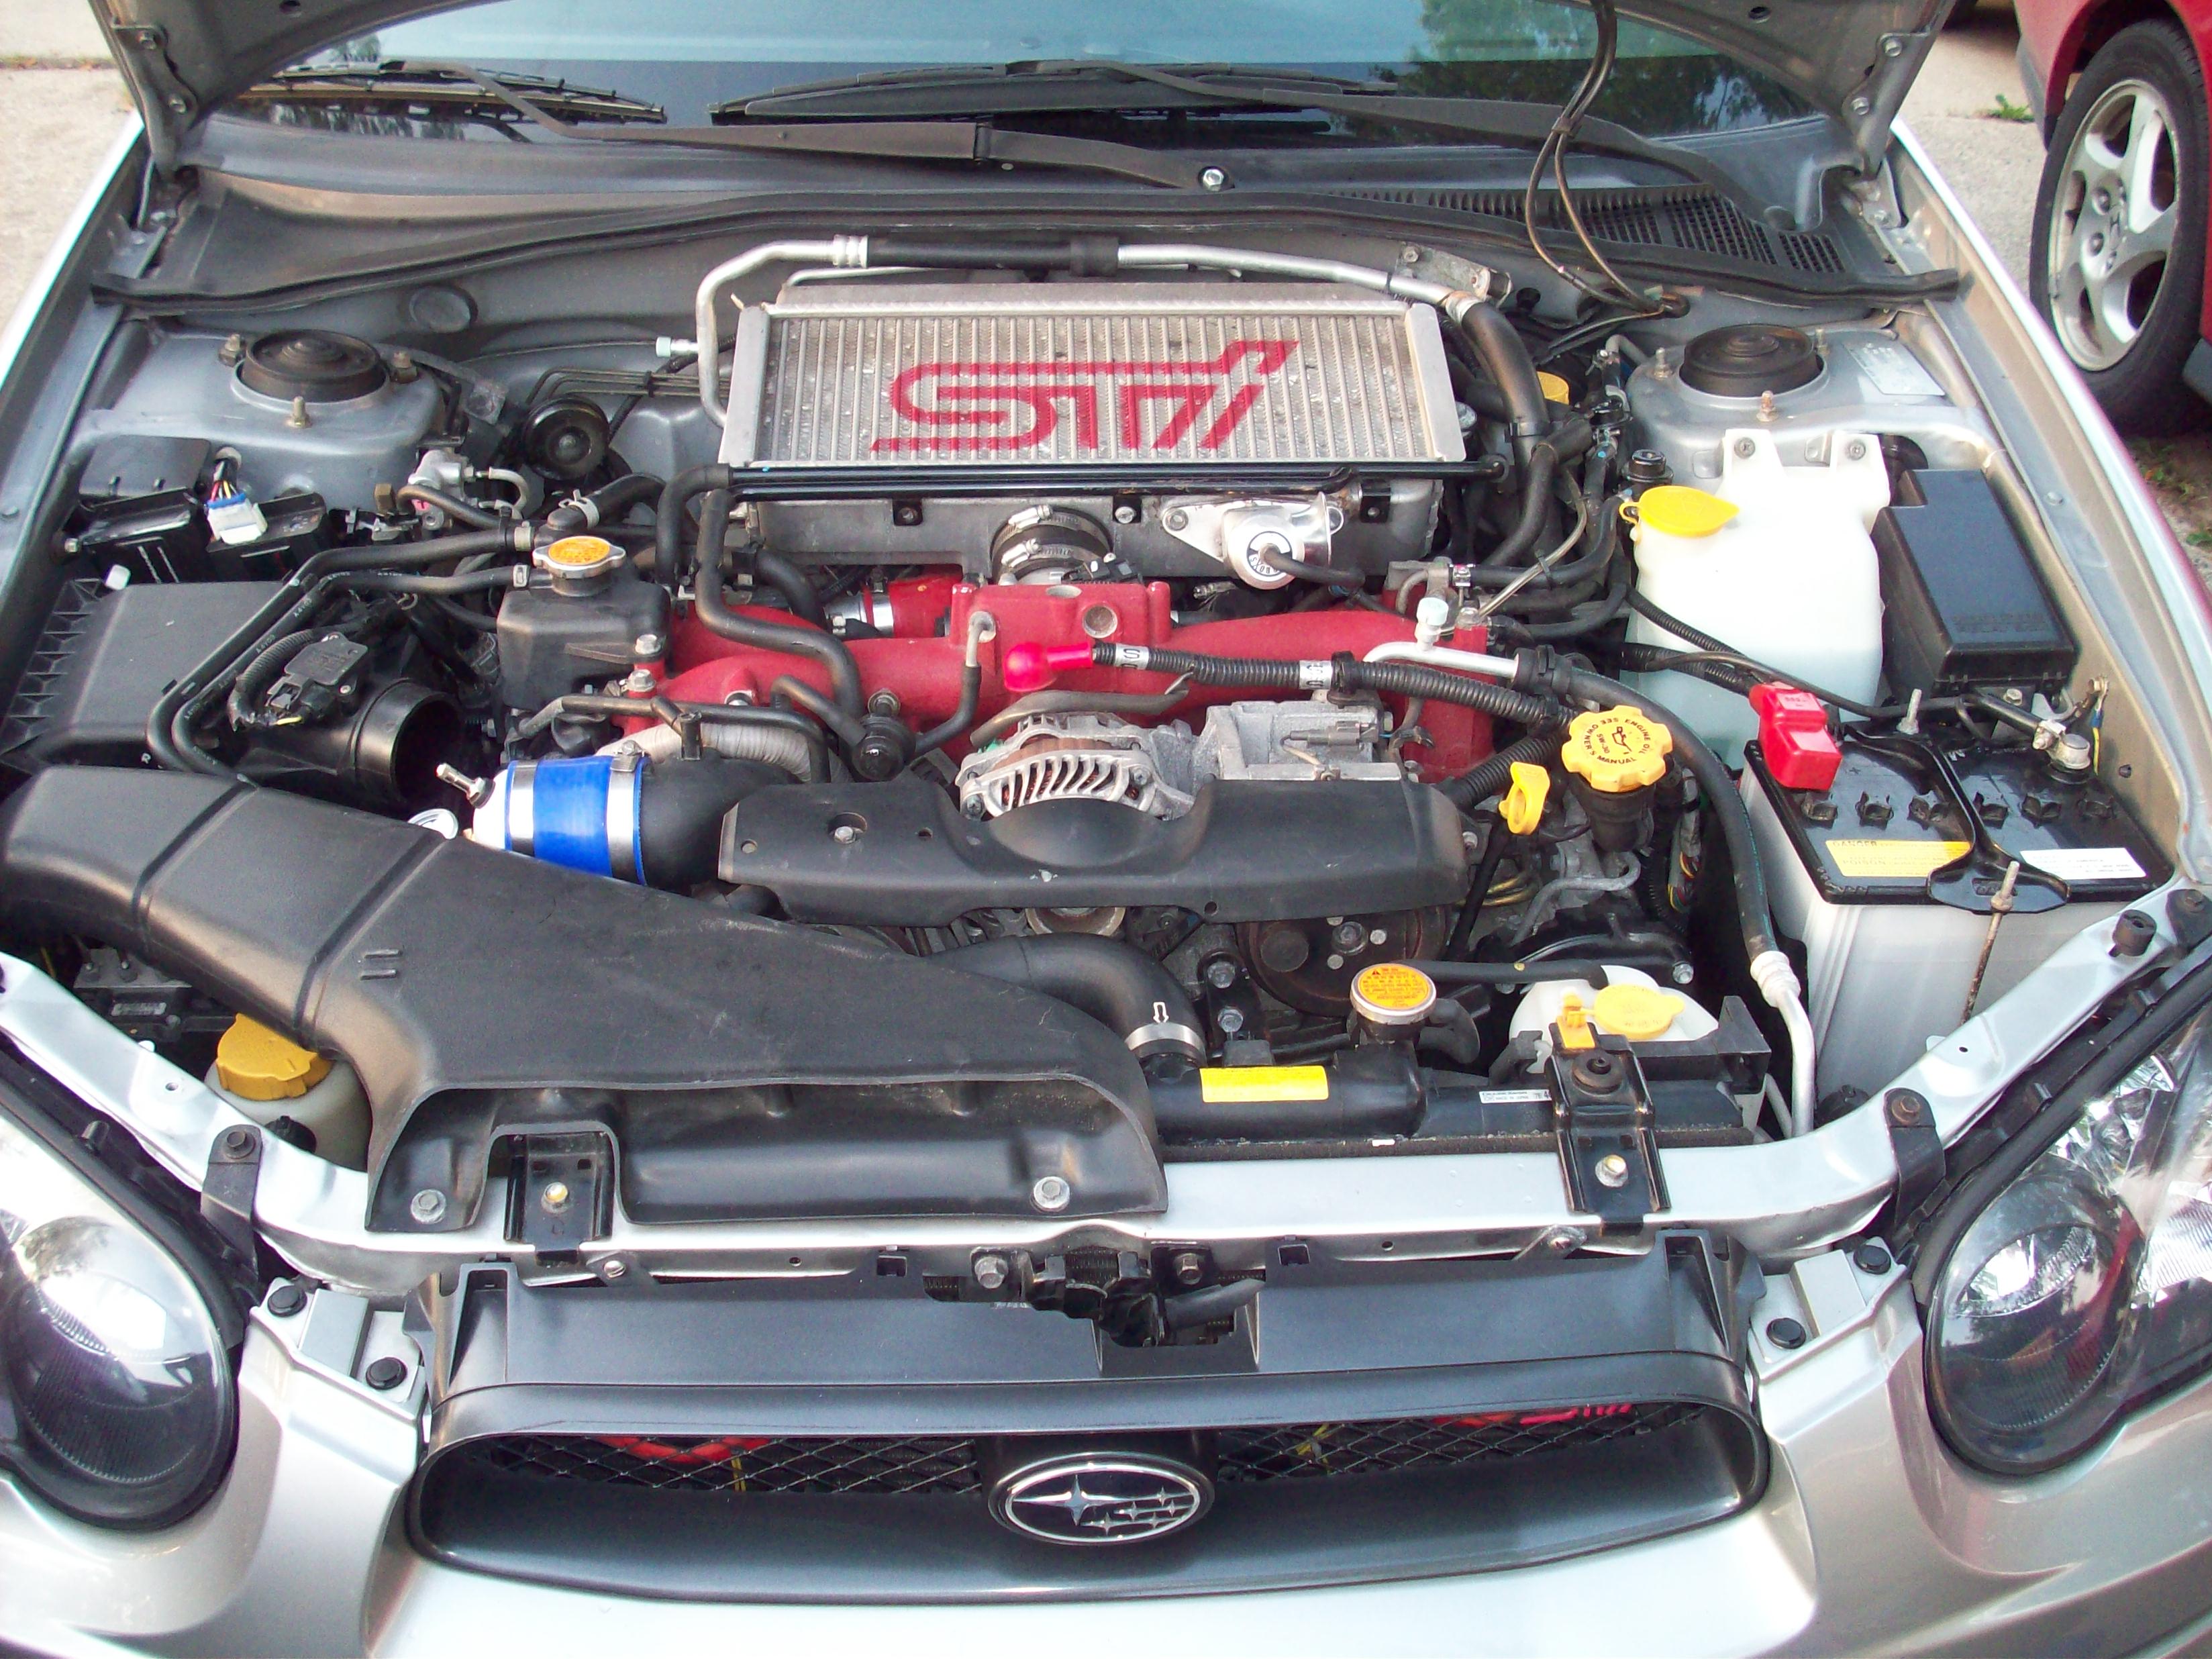
Common leak areas on these motors is the diverter/blow-off valve flange, intercooler connections and the turbo intake pipes have been known to get damaged at the turbo inlet flange. Keep in mind a boost leak can be anywhere in the boost path, and any leak is bad news for performance and especially your turbo charger. It will cause your turbo to operate at higher speeds that will cause overheating and bearing damage.
You want to have a rough idea of how much you boost while driving. This is a good target boost to use while pressurizing the system with the boost leak tester. For example if your turbo boosts 14 psi stock, then you don't really want to put more than that while doing the boost leak test.
Although the pictures shown will be from a 2004 STI, this same steps apply to all Turbocharged Subaru EJ22/25 Engines including Impreza, Legacy, WRX, Forrester, Outback..
.
Before getting started be sure to read the "HOW TO BOOST LEAK TEST 101" posted in the categories section. It will only take a few minutes. This will give you some good info on how to do your boost leak test and show you how to properly pressurize your engine.
**Remember when working with compressed air wear safety eyewear and be cautious. We assume no responsibility for any injuries.
Step 1: Remove Flex Hose Between MAF Housing and Turbo Intake Pipe
The turbo intake pipe is the plastic pipe that leads from the airbox to the turbo's inlet. Again, since this turbo is a PITA to get to, its much more efficient to get to it from the turbo intake pipe.
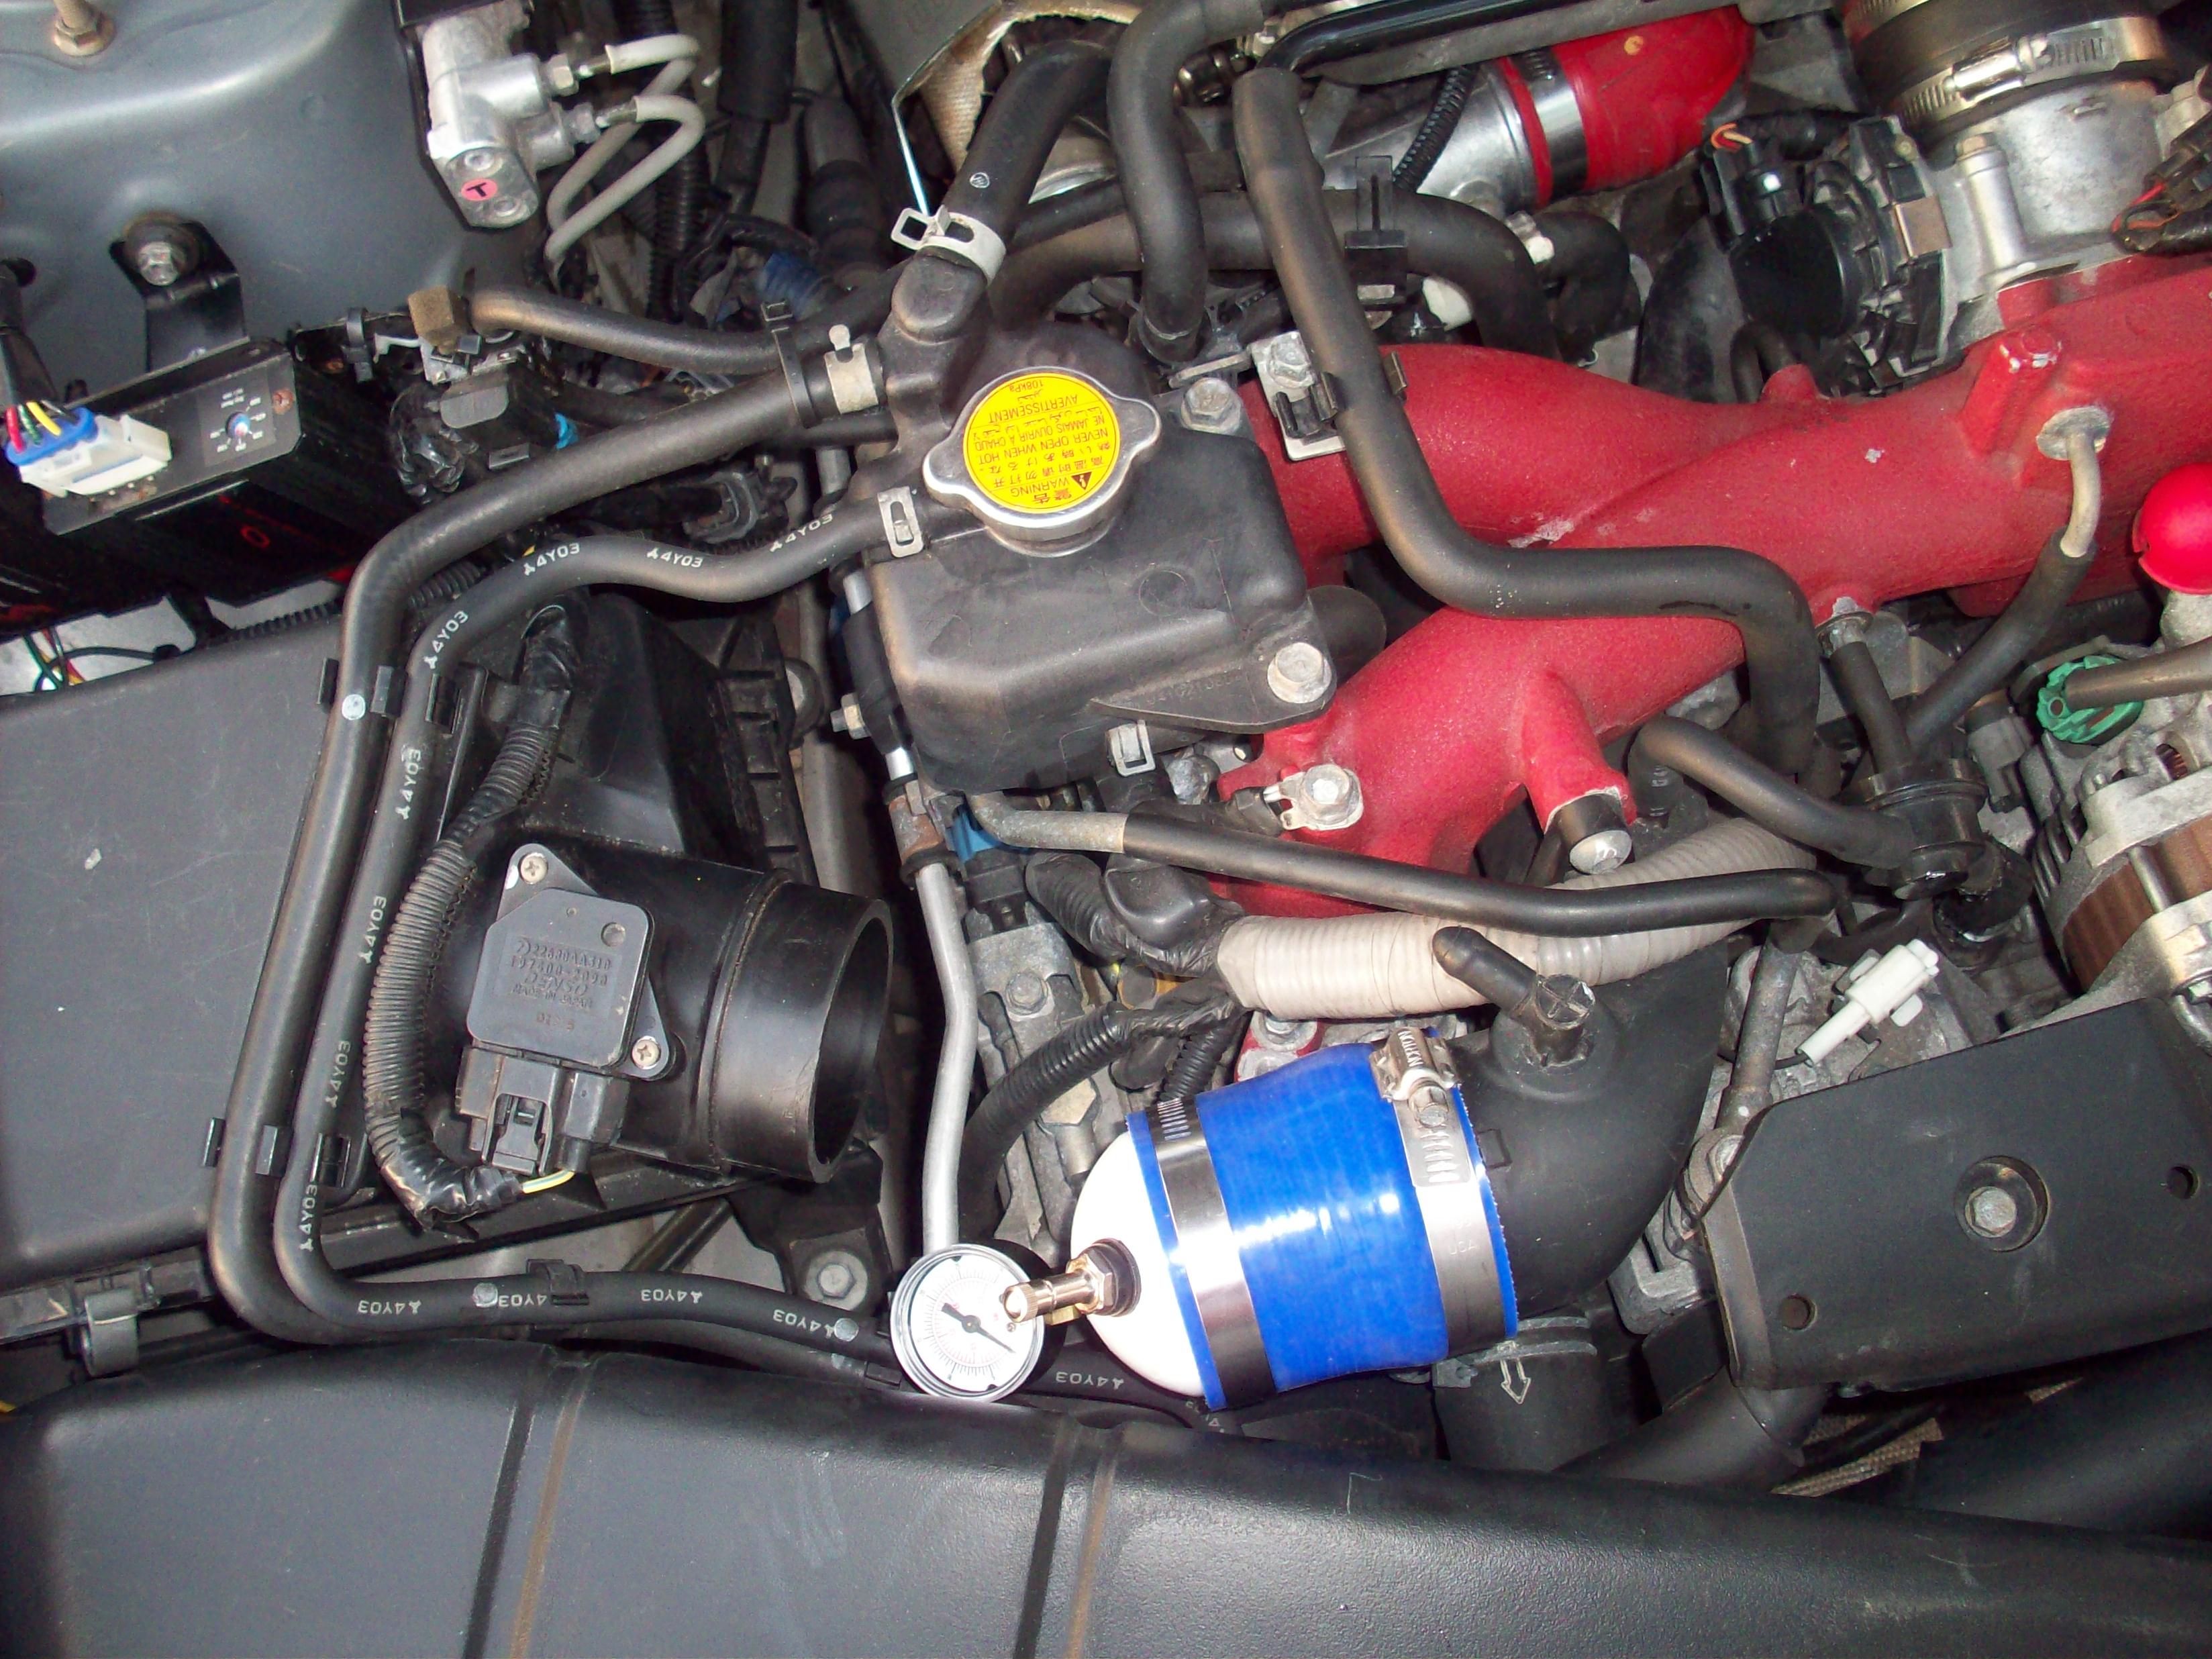
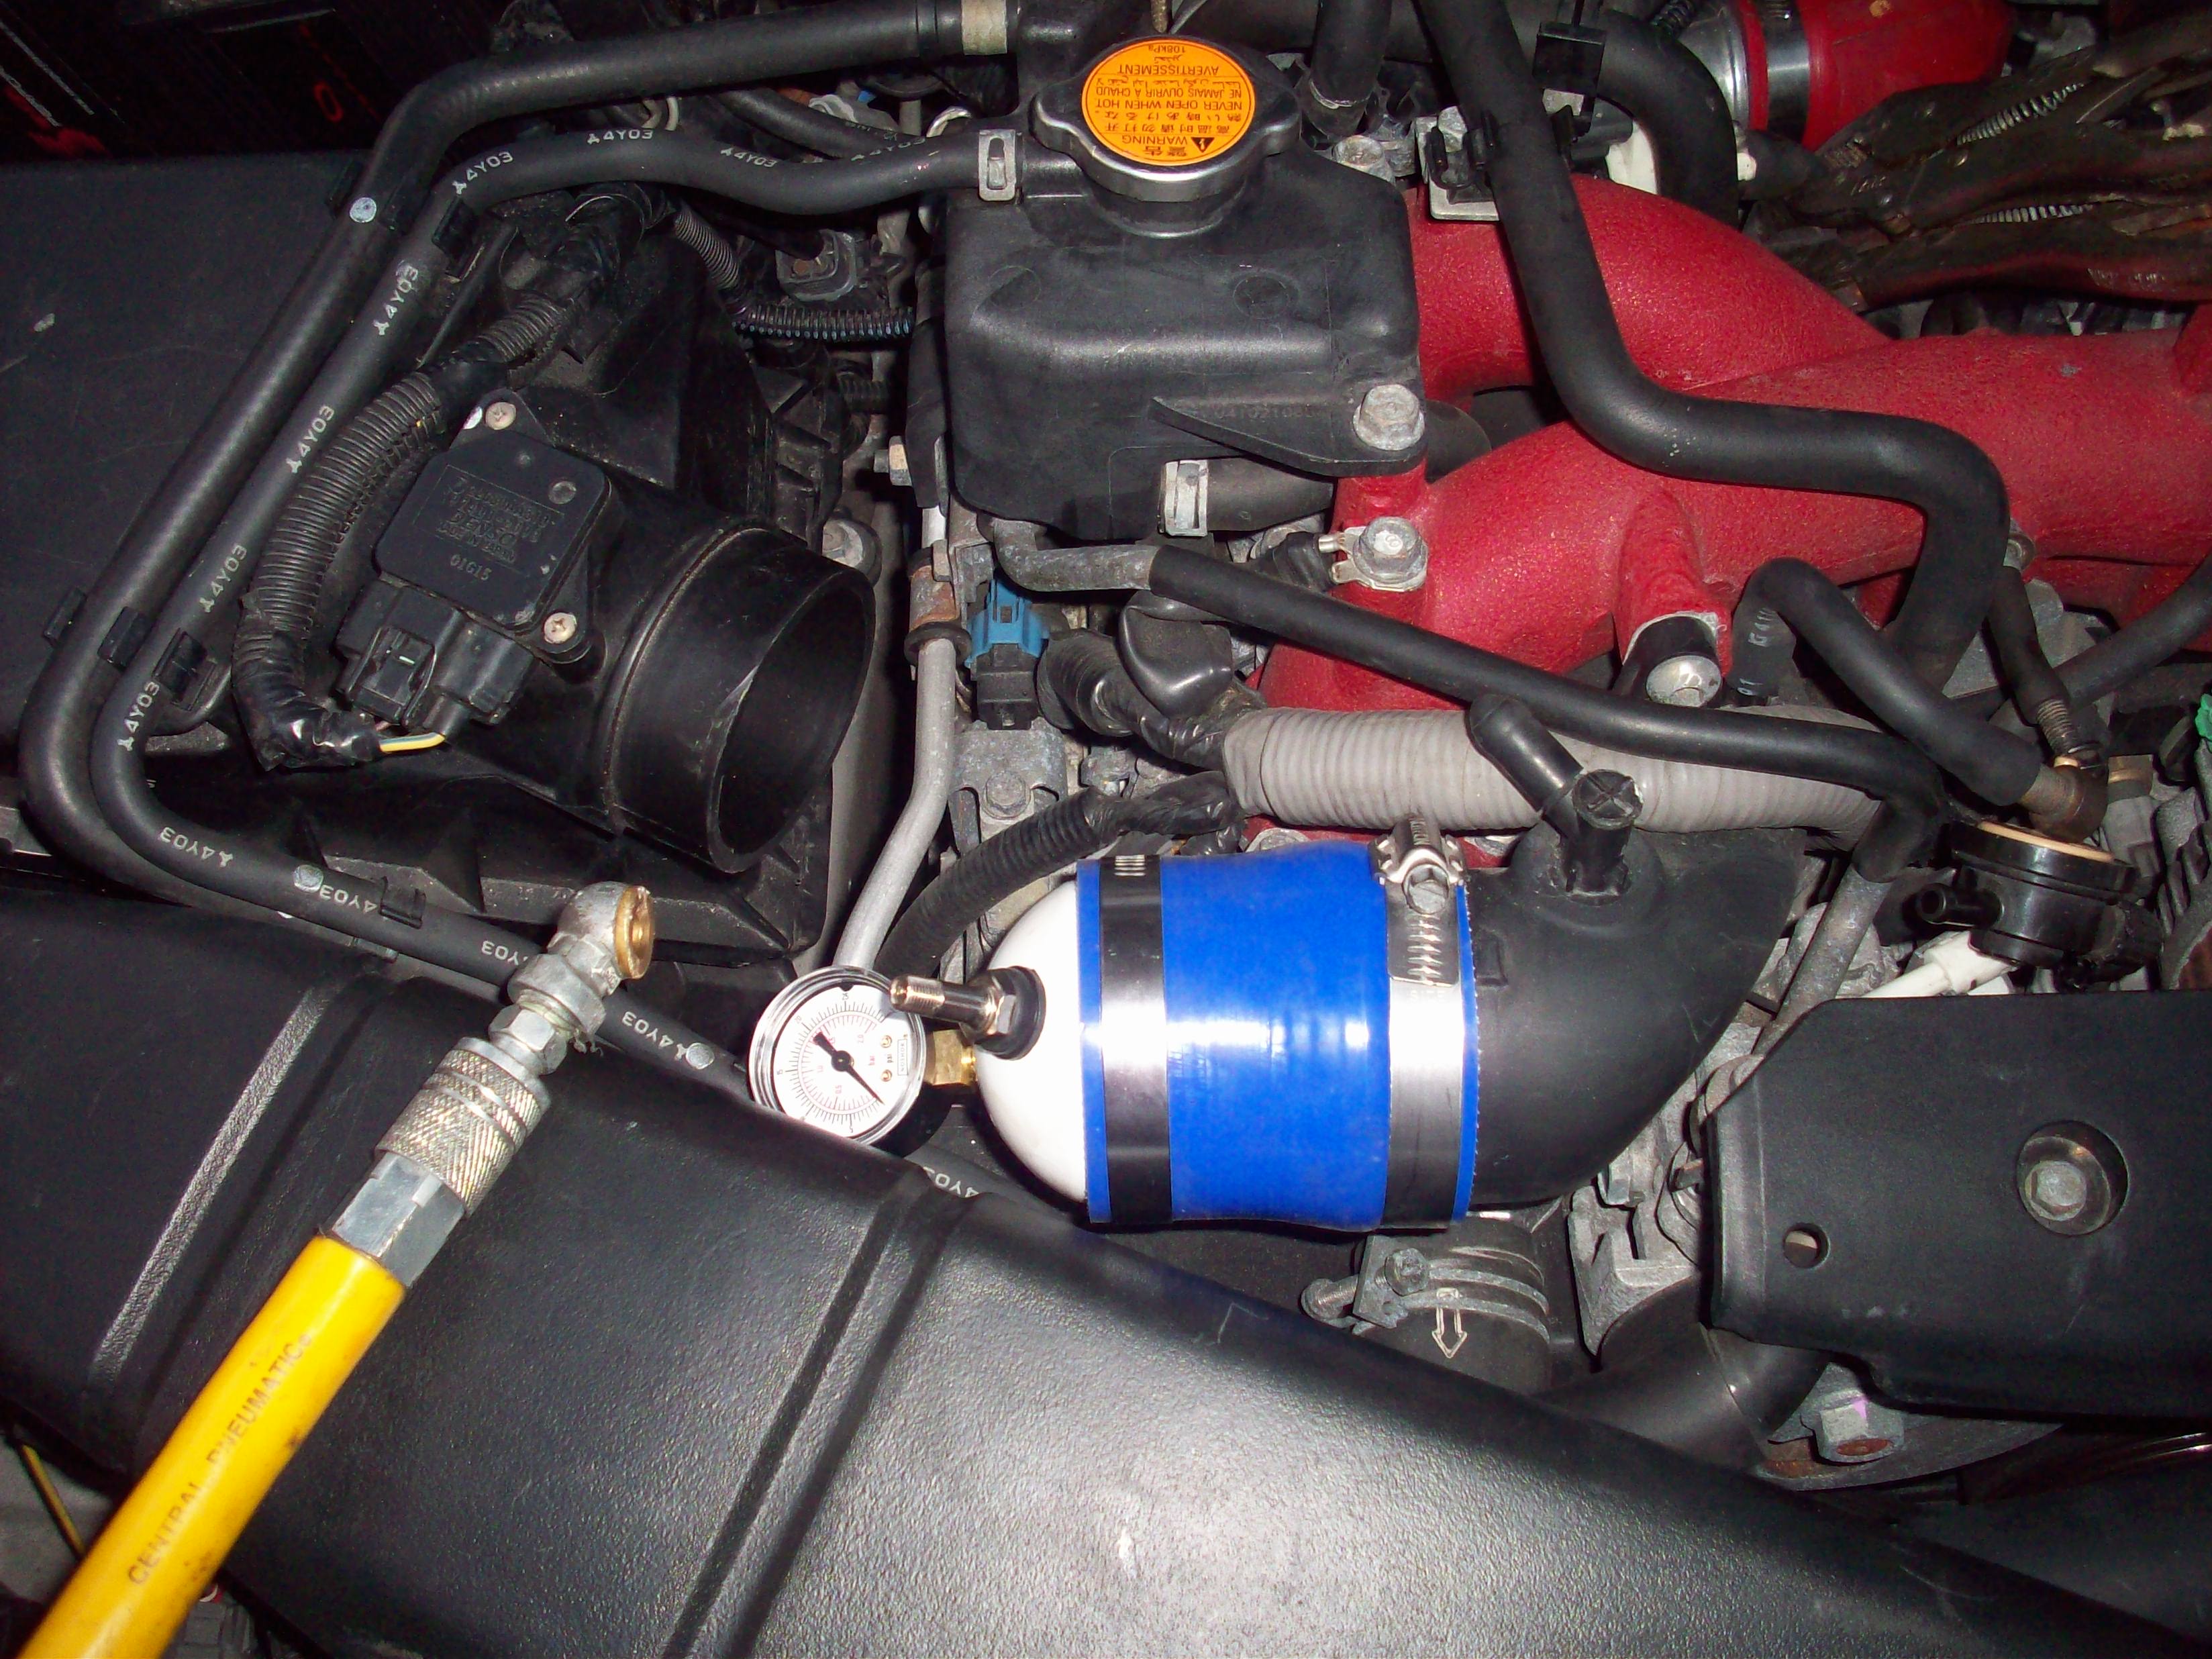
Remove the flex hose and install the boost leak tester just like in the pic. It should slide over the intake pipe without much effort.
Secure the clamps
.
Step 2: Pinch Off/Block Vacuum Lines
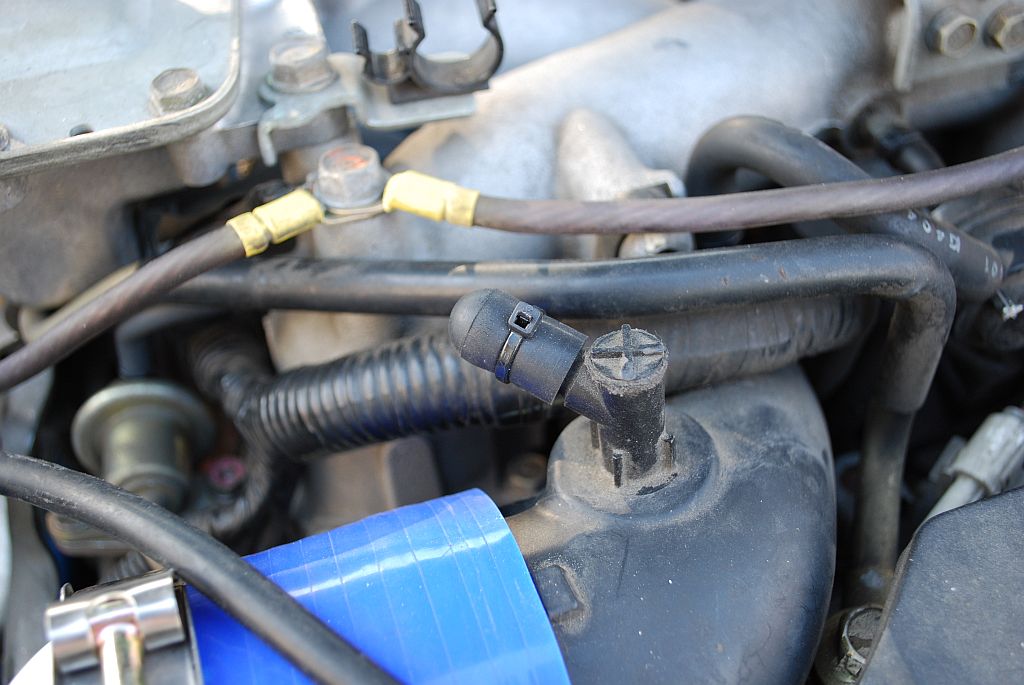
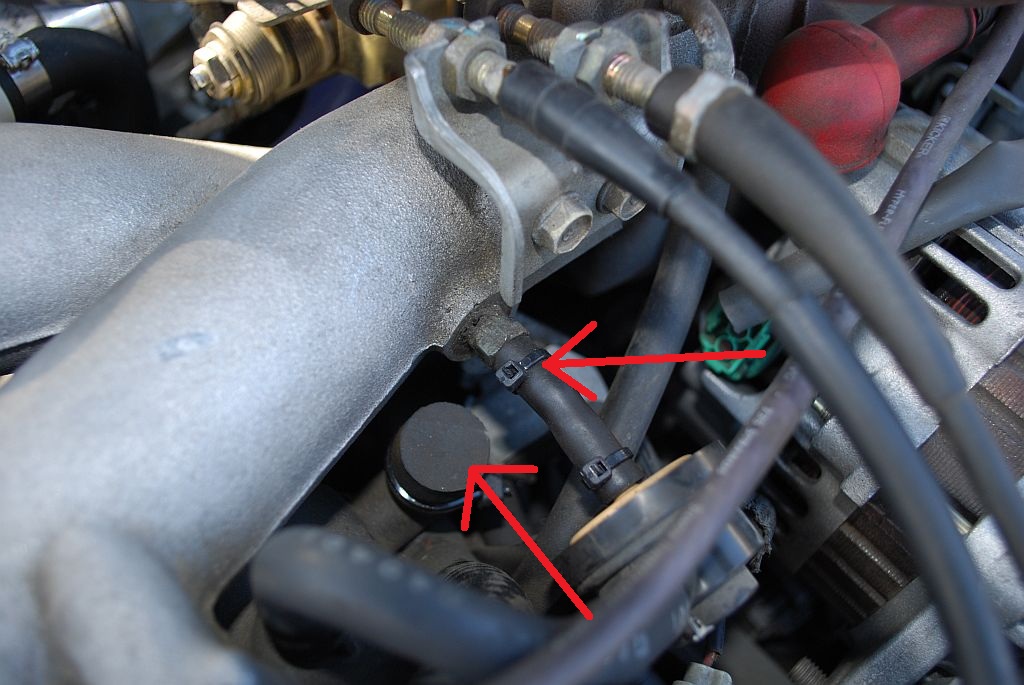
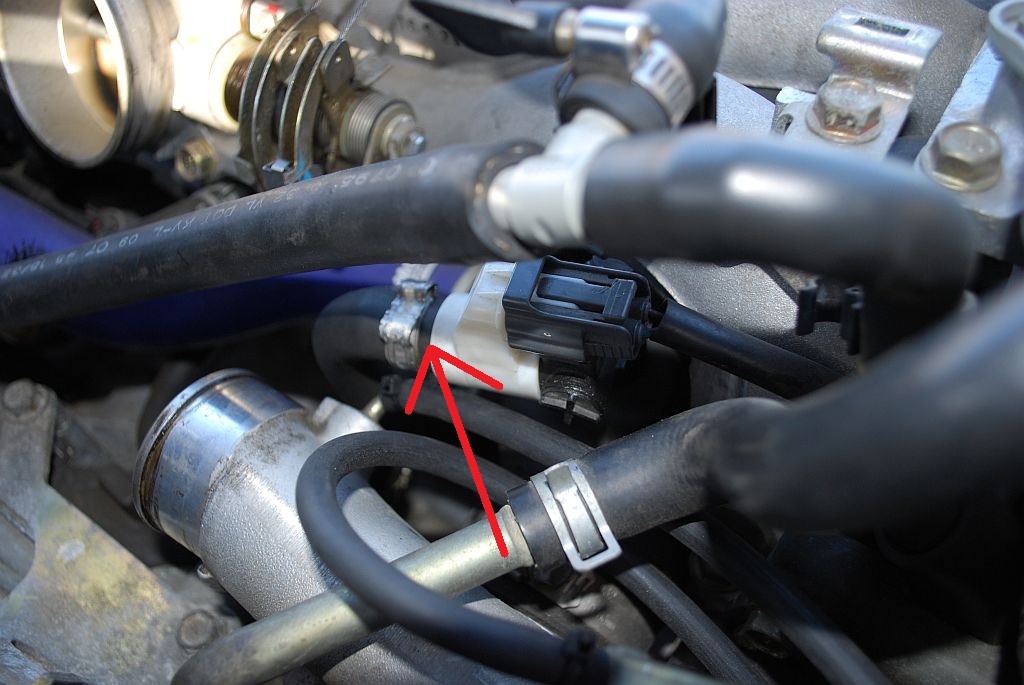
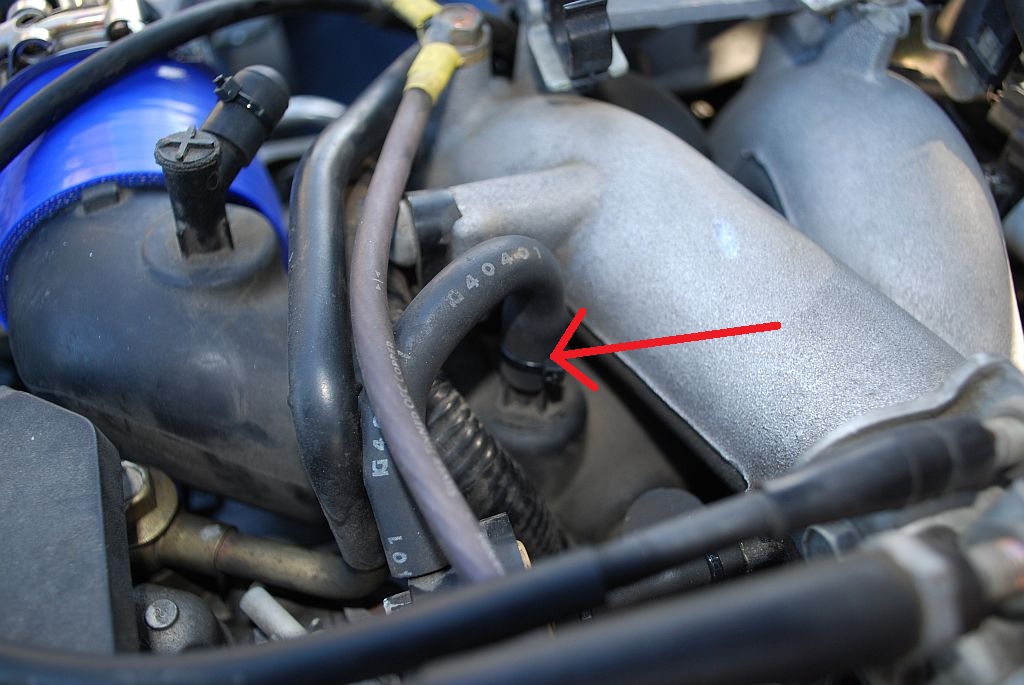
The idea is to pinch off the vacuum lines that are connected to the turbo intake pipe. Use the pic as a guide but keep in mind not every EJ motor is exactly the same. A WRX may have a slight different arrangement than the STI. If you missed one youll know because you wont be able to build pressure when boost leak testing.
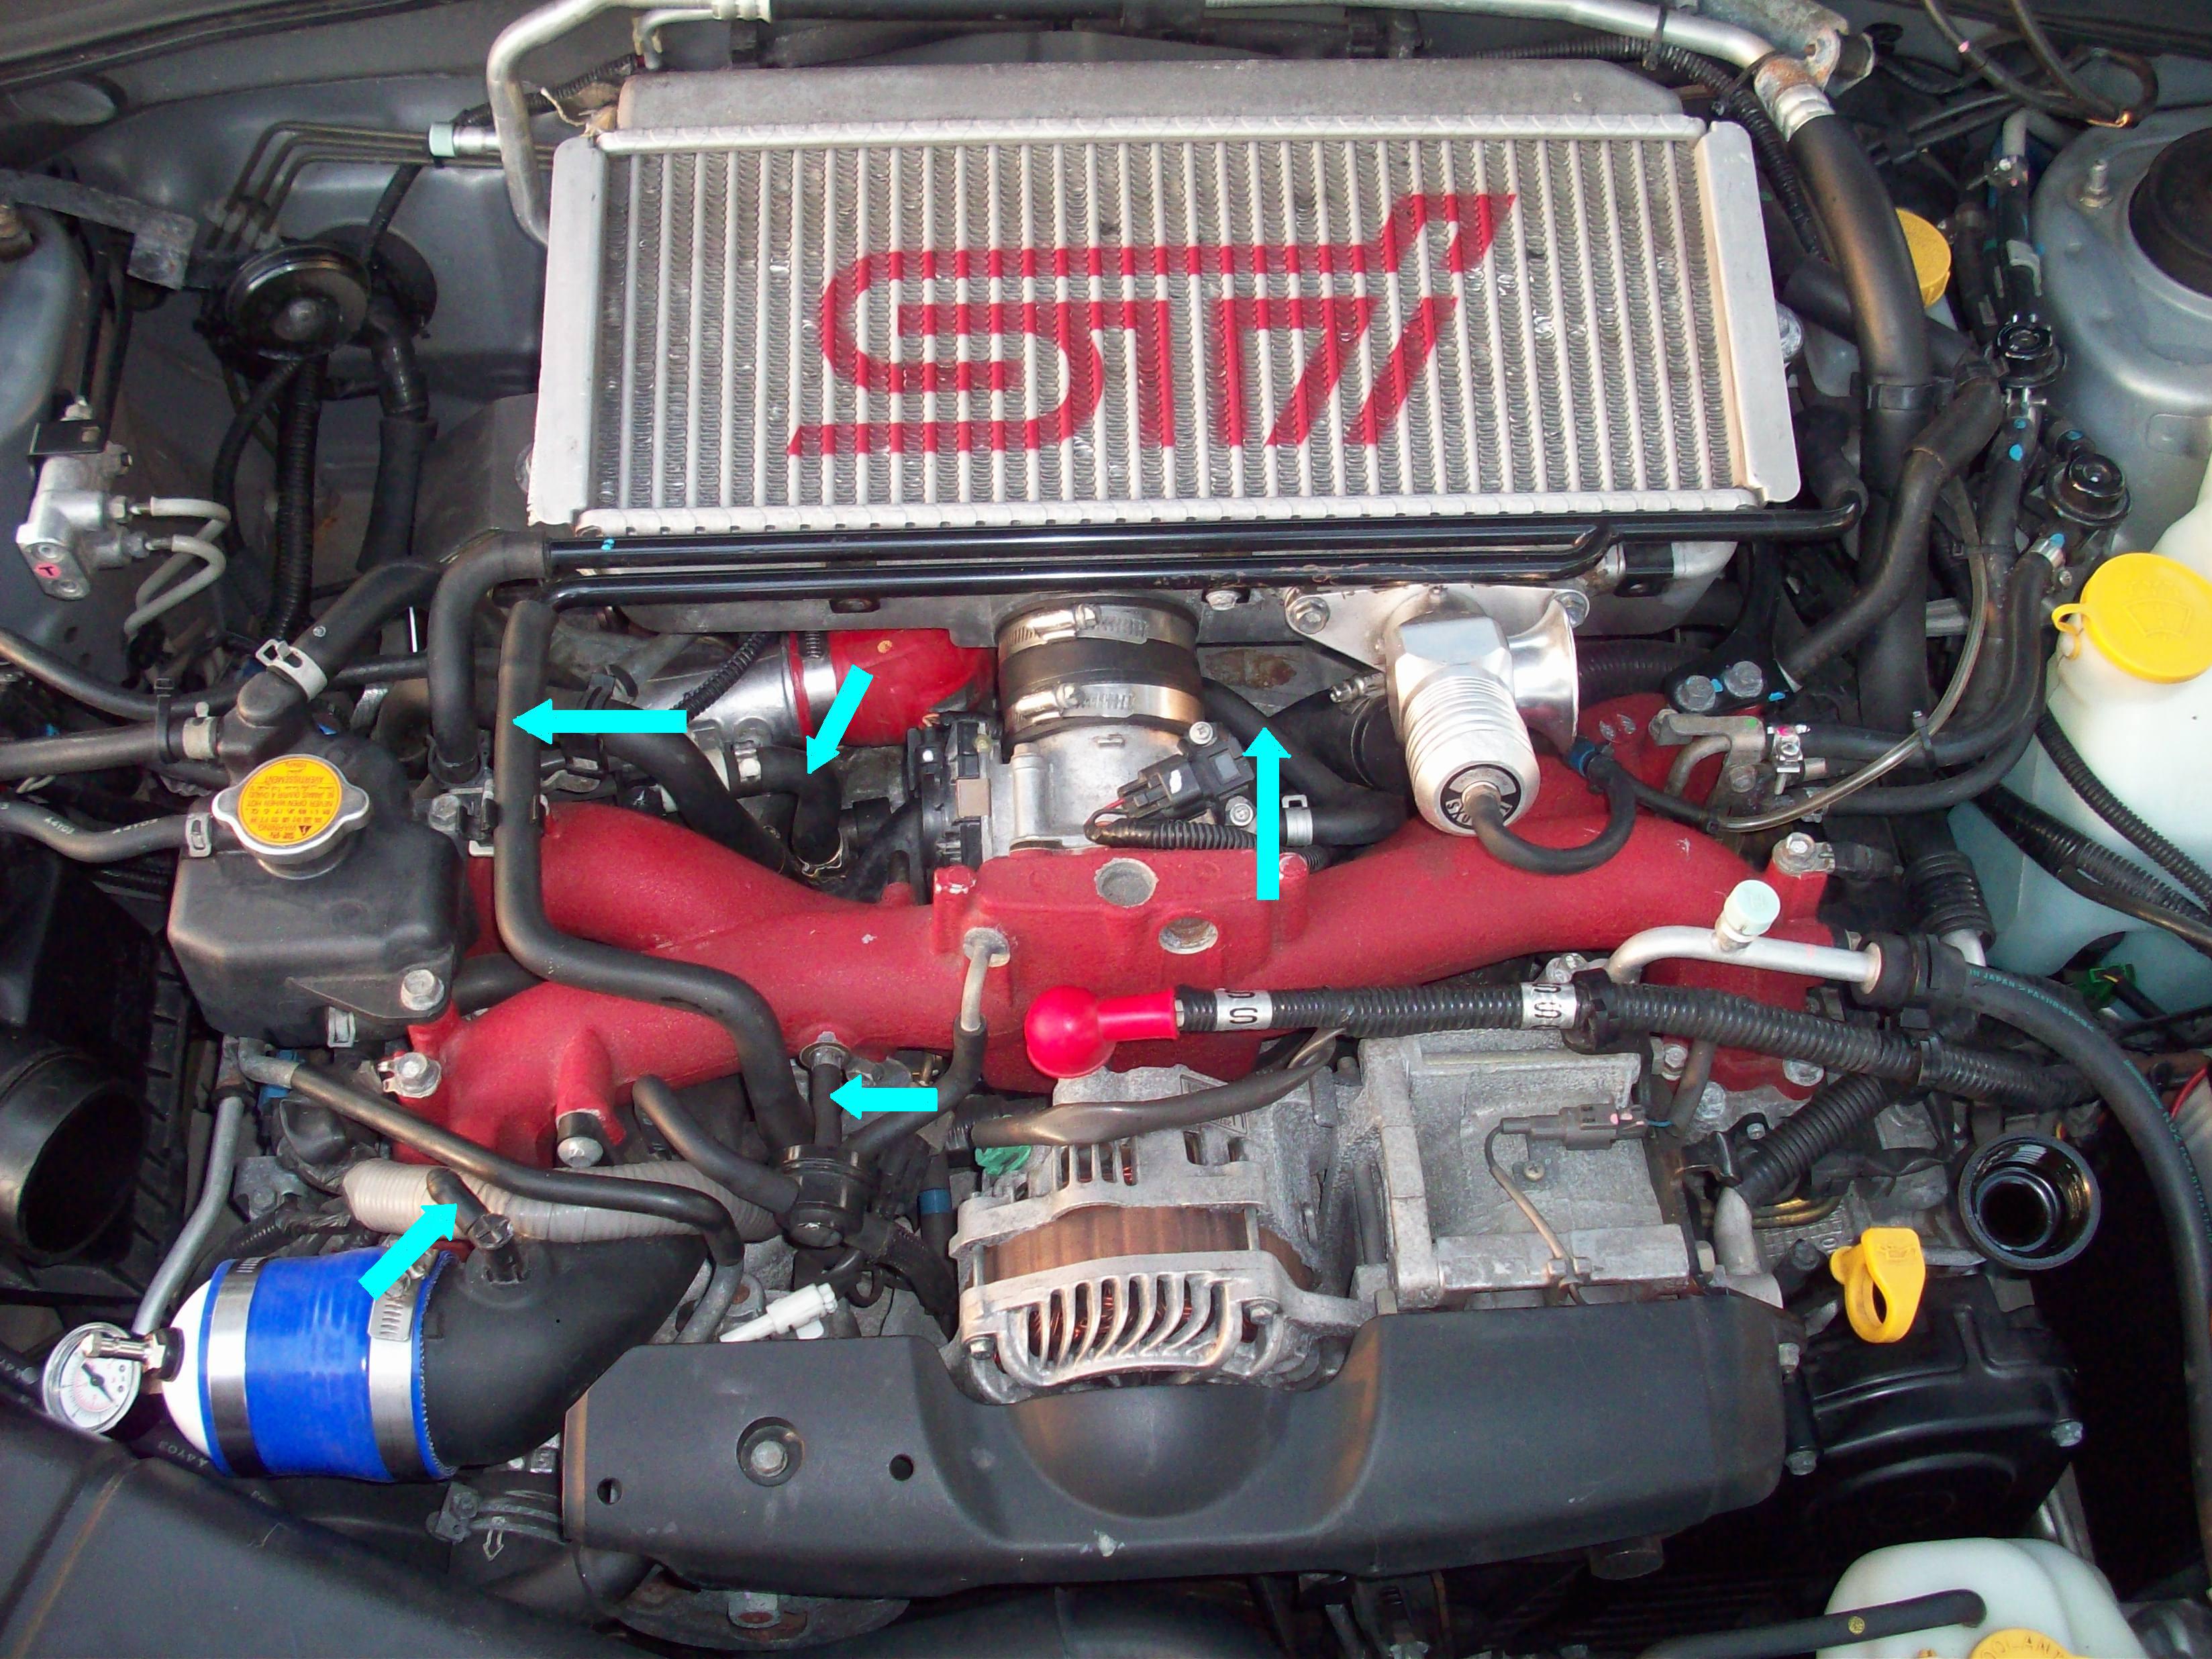
The common areas that need to be addressed.
Step 3: Engine Safety Precautions - Oil Cap and Dialing In the Air Compressor
**Remove your oil cap! This relieves excess pressure in the crank case system which is especially important on the EJ motors.
What does this mean? Well, when you pressurize the system while boost leak testing, some of the air makes it way passed the rings and valve guides and pressurizes the crankcase which can put positive pressure on your crank and cam oil seals. Subarus are especially at risk. Remove the oil cap!
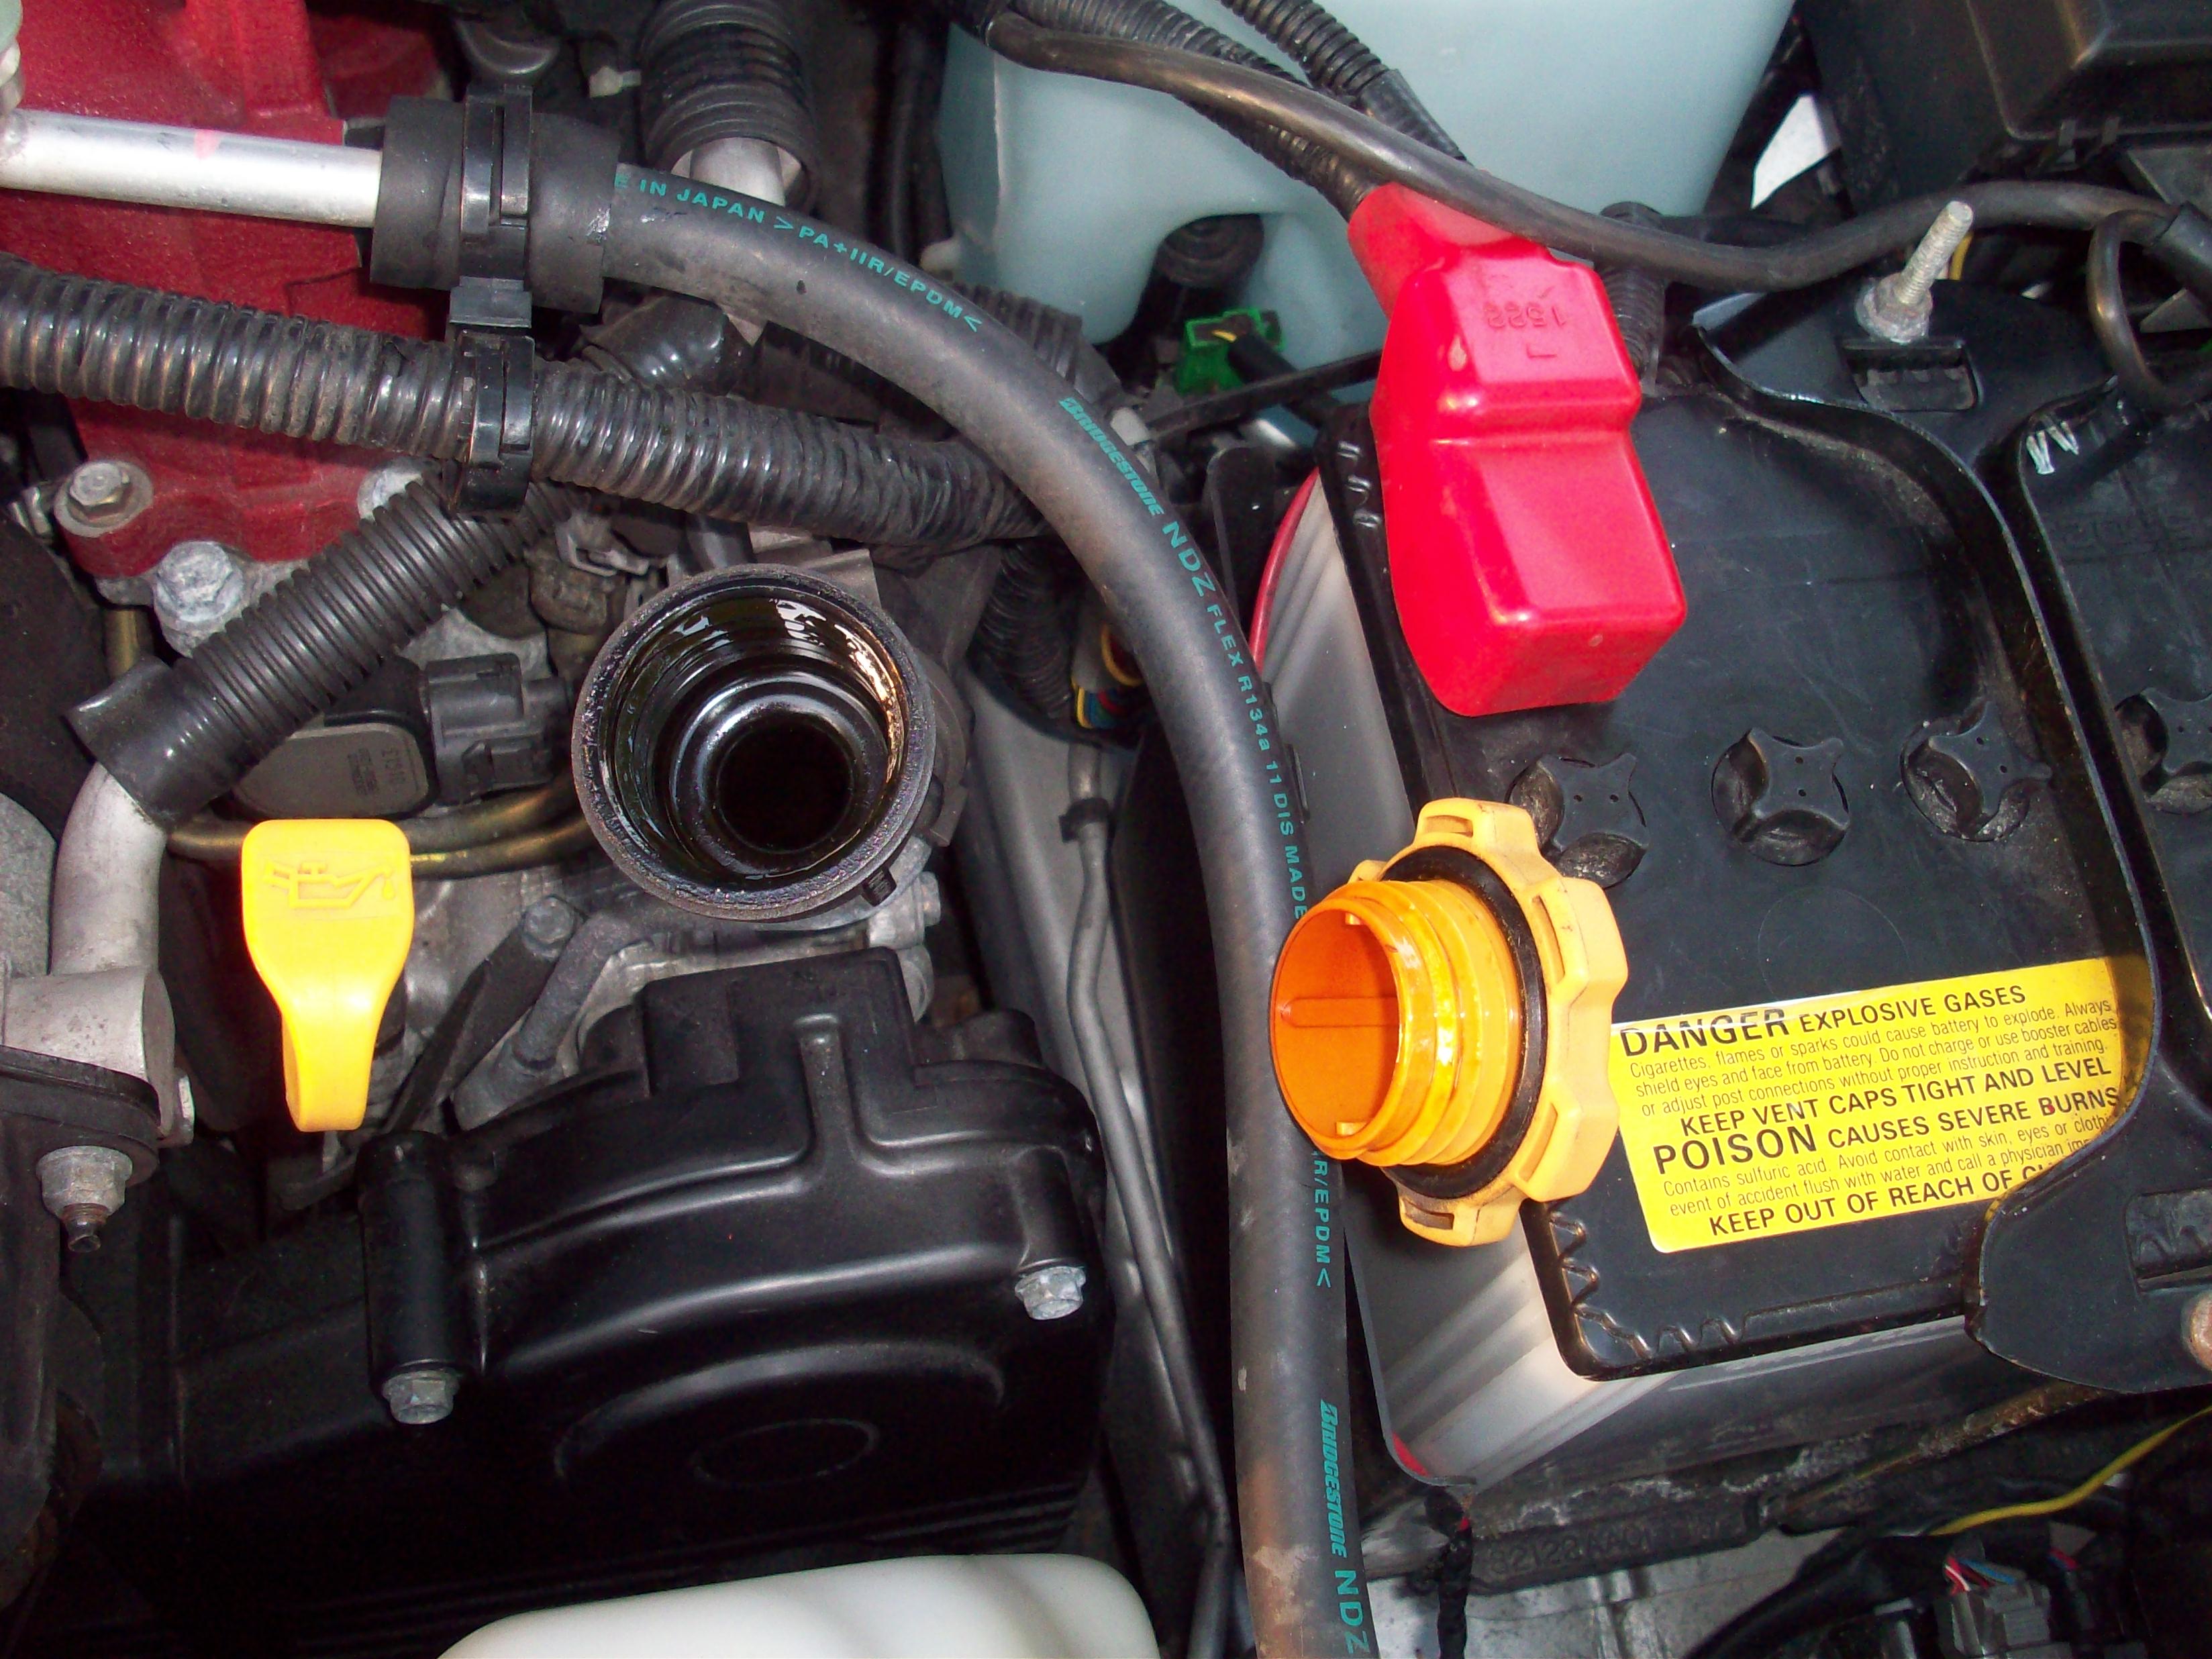
Dial in your air compressor - Make sure the outlet pressure is set to a minimum level (on this compressor its the gauge on the right) For our first run to pressurized the system, 5 psi is adequate. Lets see what happens first before cranking up the boost. Hopefully if you are doing your own boost leak test you are familiar with your compressor.

Step 4: Pressurizing the System - Start with a 5 PSI Trial Run
Pressurized the tire valve stem on the boost leak tester using your standard tire inflator attachment (not included). Air pressure will build slowly since our compressor is capped to 5 psi. But this is just a trial run to see if the system will hold any boost at all.
After reaching 5 psi, remove the tire inflator and watch the needle for the rate of pressure loss. Basically, if you lose 1 psi per second (1psi/s), then your system is in good shape.
Can't make pressure in the system? ...
If you cannot build any pressure or are struggling to make the 5 psi, then you have a large boost leak or something is open, ie. intercooler pipe, or pressure is being lost in the crankcase. While pressurizing the system, listen for leaks. It might help to have a friend do this while you inspect the lines. Feel around and locate the leak. It also helps to do this while it is quiet.
Sometimes you will not hear a distinct "leak" sound but not be able to make pressure. This means you might have missed one of the lines that needs to be pinched...or you have a huge boost leak. On my boost leak test for this write-up I had accidentally left my blow off valve disconnected when removing the intake.
After you are successfully able to pressure test with 5 psi, you can safely move on to a higher test pressure.
Step 5: Pressurizing the System - Using Higher Pressure
Now that we confirmed we can build pressure in the previous step, we can move up to a higher pressure. In this case I used 12 psi as the final pressure level since the car was boosting 14psi.
Same scenario here as in the previous step; Listen for leaks while pressurizing, keep your eye on the needle and keep the air inflator on the boost leak tester until the 12 psi is reached, remove the tire inflator and watch the needle for the rate of pressure loss. Watch for the 1 psi/s. With more pressure in the system, you will lose psi faster.
Hopefully now you get the idea. Fix your leaks, re-test. If you dont hear anything and your rate of pressure loss is healthy then you are all set.
Questions? Contact Us


