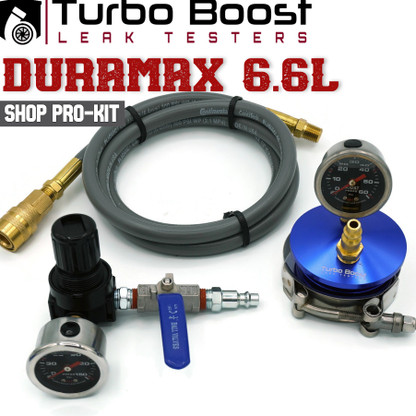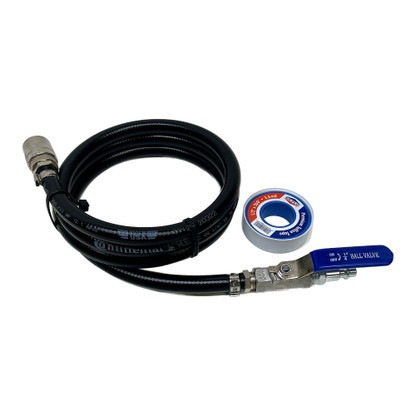
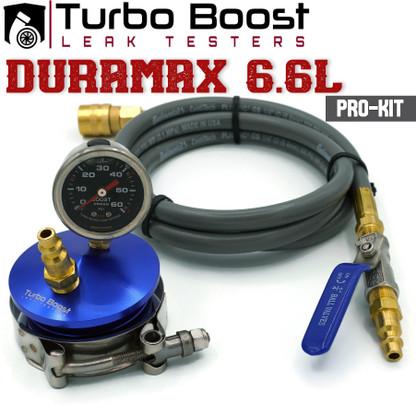
Duramax 6.6L 30 PSI Base Kit, 60 PSI With Extension Kit, and 60 PSI With Regulator Kit.
Thank you for your purchase! If you have any questions about this product, reach out at support@turboboostleaktesters.com or call or text any time at 248-403-8512.
Text tech help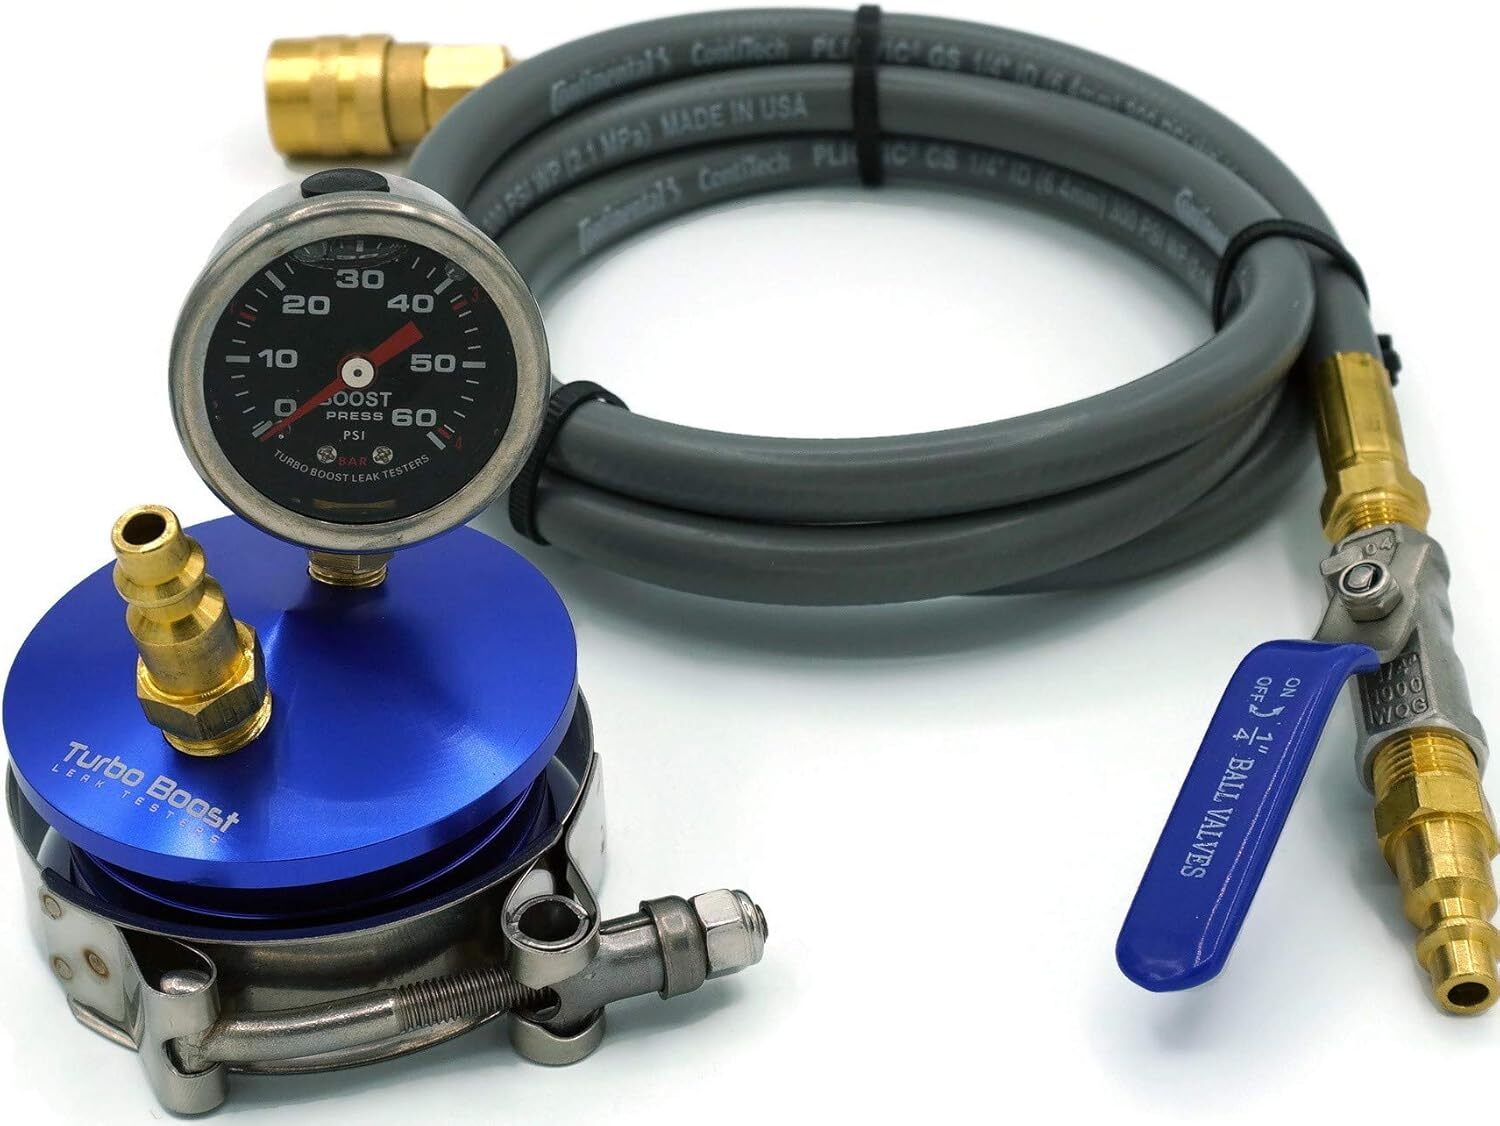
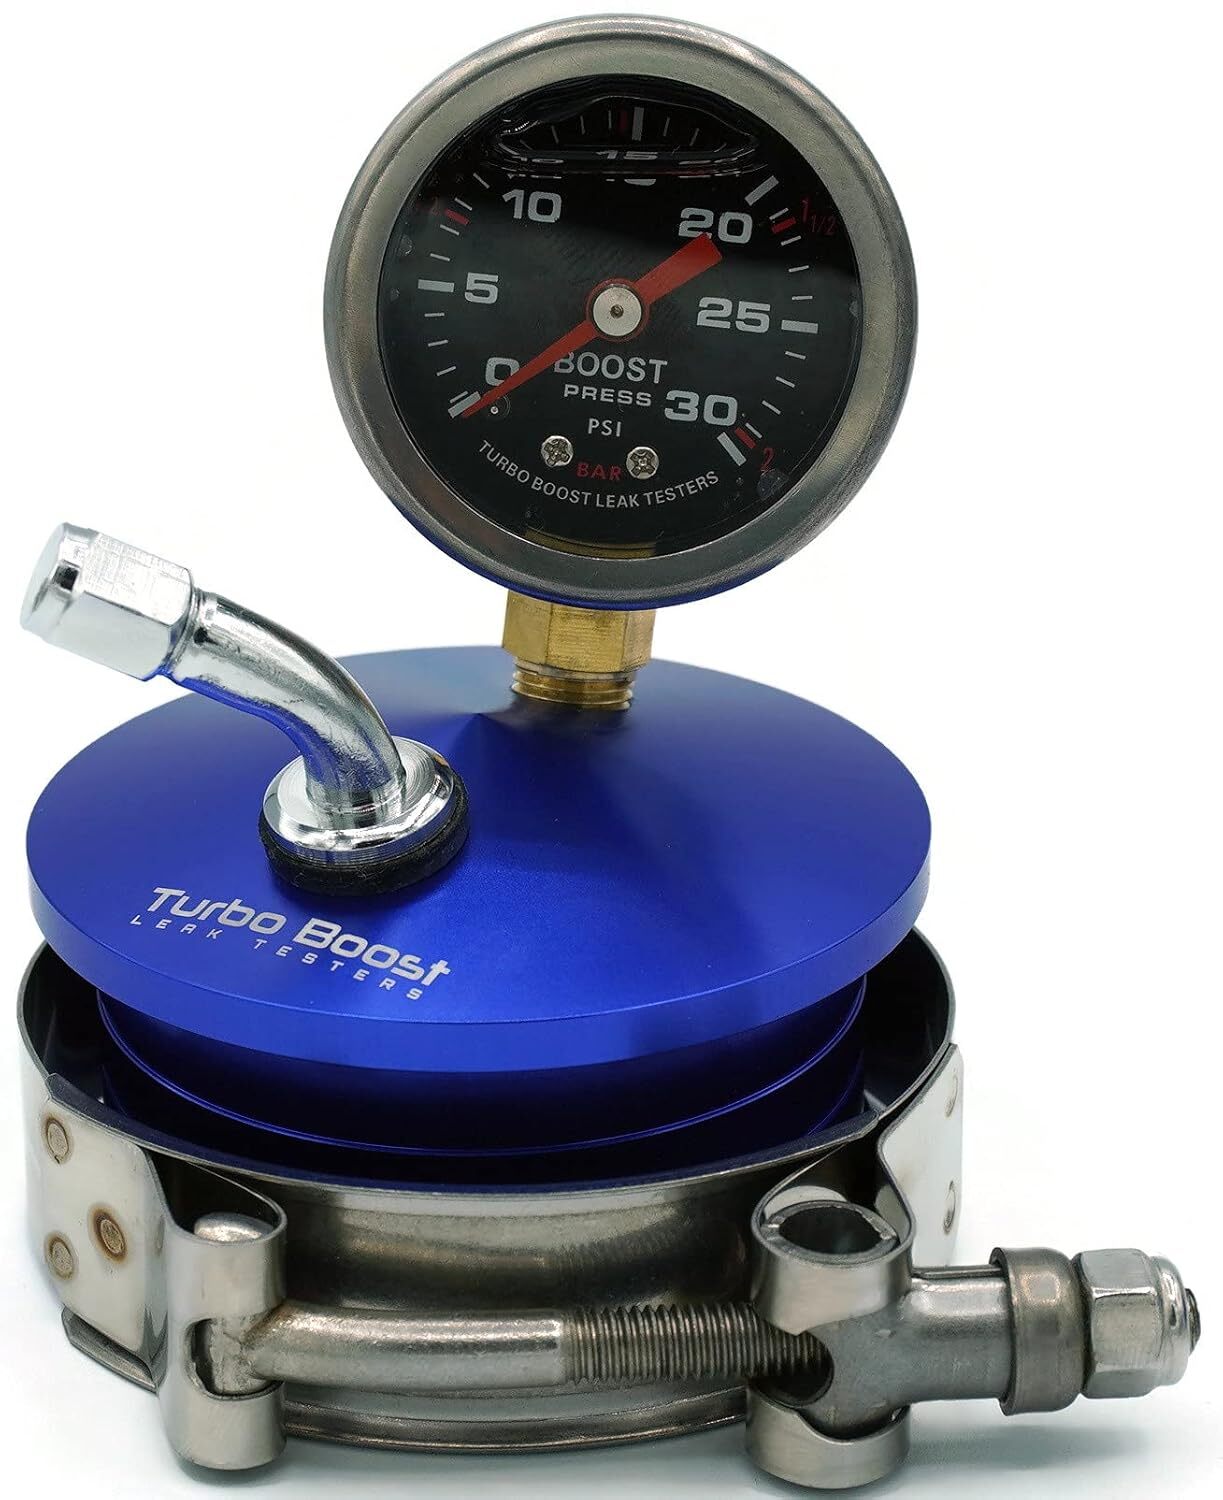
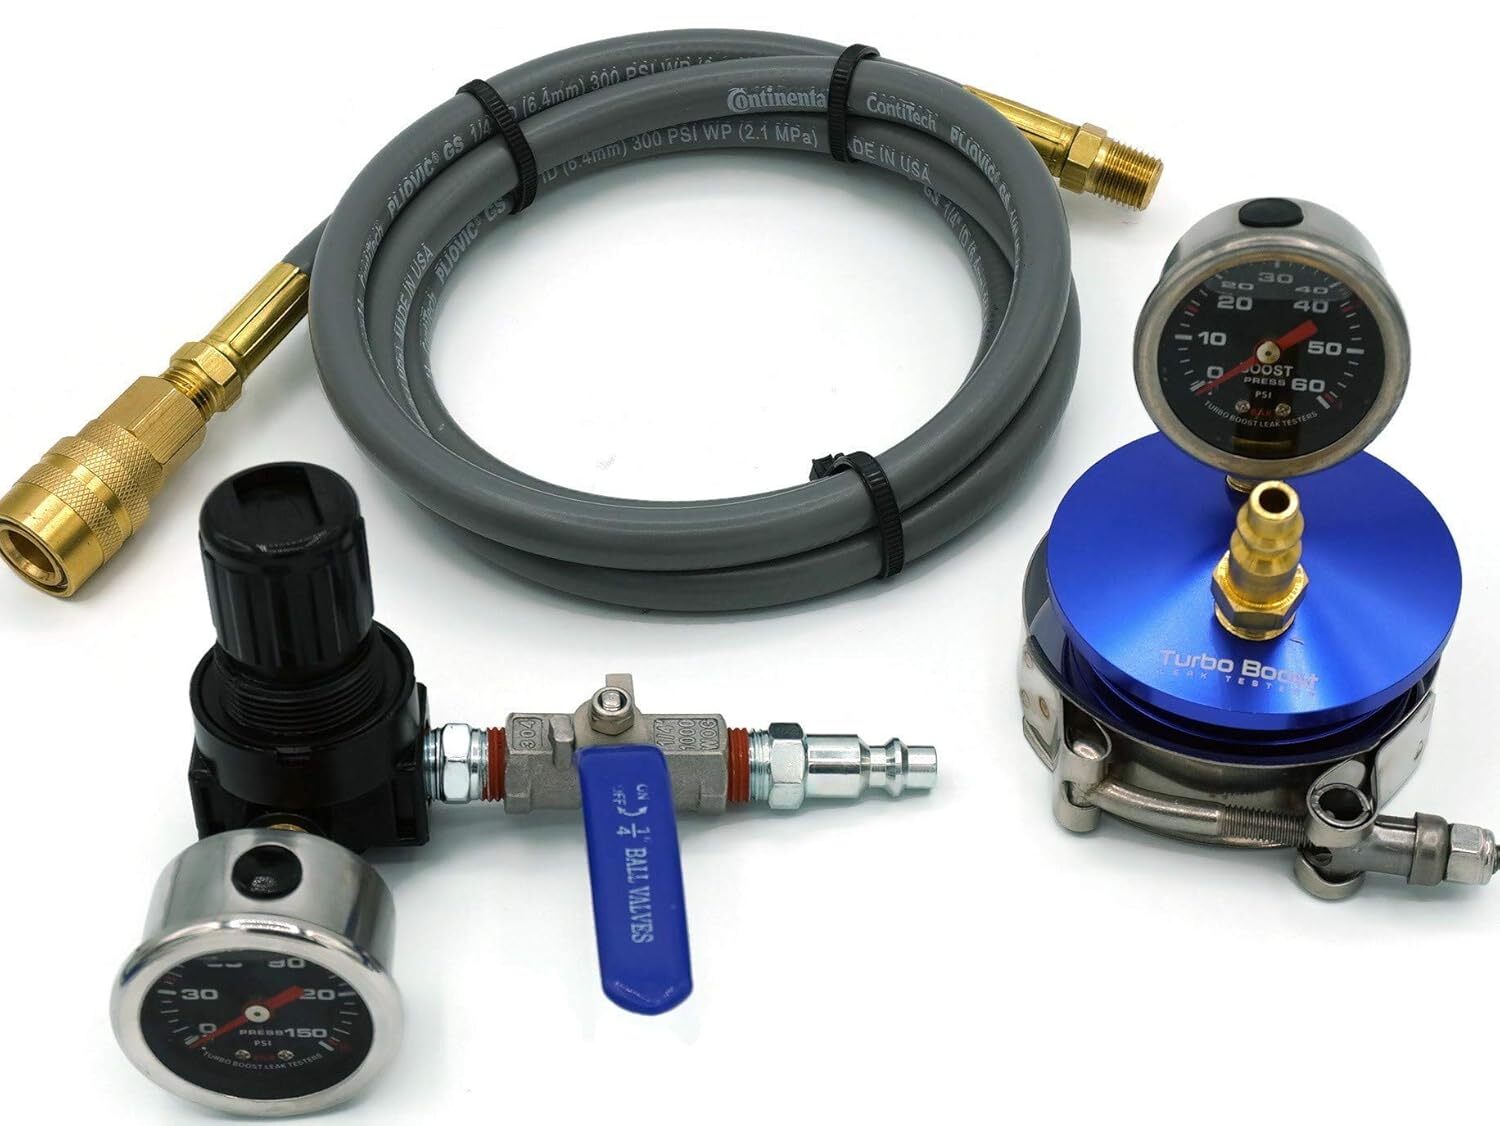
This boost leak tester is designed to work on all Duramax 6.6L engines except the L5P: LB7, LLY, LBZ, LMM, LGH and LML. Fits Chevy Silverado, GMC Sierra 2500HD/3500HD, Express, Savana, Topkick, Kodiak. 2001-2004 LB7, 2004.5-2010 LLY/LBZ/LMM, 2010-2011 LGH, 2011-2016 LML. Also works with all aftermarket 3" hot pipes using the stock turbo. Have an L5P? See the L5P instructions.
The 5 ft extension hose makes it easy to control pressure without leaning over the engine bay.
Start with a low pressure on your compressor and work your way up. The largest leaks will be found first; fix them and retest to find the next smaller leak. A good starting pressure is 10 PSI, working up to 20 or 30 PSI, or whatever you normally boost when driving.
Increase the pressure on your compressor outlet, but be cautious not to over-pressurize the charge pipes. The boost gauge on the tester will indicate the charge pipe pressure. Soapy spray can be used to identify smaller leaks that may be hard to hear.
There's a leak large enough, or something is disconnected. You do not need to cap off the other end. The charge pipes and engine will hold the pressure without it escaping through the engine into the exhaust.
After fixing all obvious leaks, use the shut-off valve to keep pressure trapped in the system and evaluate how well it holds. About 1 PSI loss every second or two is normal. At higher pressure (e.g. 20 PSI) it will drop faster, then slow as it approaches 0 PSI.
Purge all the air first before removing the tester. Now enjoy making boost with confidence!
It's much more complicated to test at the turbo inlet. The plastic inlet pipe has PCV connections routing to the valve covers that would need to be blocked, or test pressure will go into the charge pipes and the motor's crankcase, putting a large stress on all the oil seals. There's also more piping and connections to remove when testing pre-turbo. This tester installs on the compressor outlet/discharge and finds leaks in every connection after the turbo, where the wearable joints and connections that break down over time actually are. The turbo's compressor cover isn't an area of concern, especially if it's stock.
Check the EGR valve. There's a very good chance it's not closing completely, dumping all the test pressure into the exhaust.
TURBO BOOST LEAK TESTERS, INC. and its directors, employees, and affiliates are not responsible for any injury, death, or property damage associated with the purchase and use of any product(s) purchased from Turbo Boost Leak Testers, Inc. The purchaser assumes sole responsibility for ensuring all safety precautions, restrictions, and warnings are followed, and for complying with all state, local, and federal laws. Purchase from Turbo Boost Leak Testers, Inc. constitutes understanding and acceptance of this disclaimer. When using compressed air, always wear approved ANSI safety glasses or goggles and stay clear of the line of fire. Be aware of other components on the engine that will be pressurized during testing. These may also explode and act as projectiles. Always set your air compressor to a low outlet pressure to avoid accidental overcharging, and do not exceed your vehicle's calibrated boost level. Always remove the oil cap to vent excess crankcase pressure. This prevents potential engine oil seal damage.