Boost Leak Testing a Subaru at the Intake Pipe
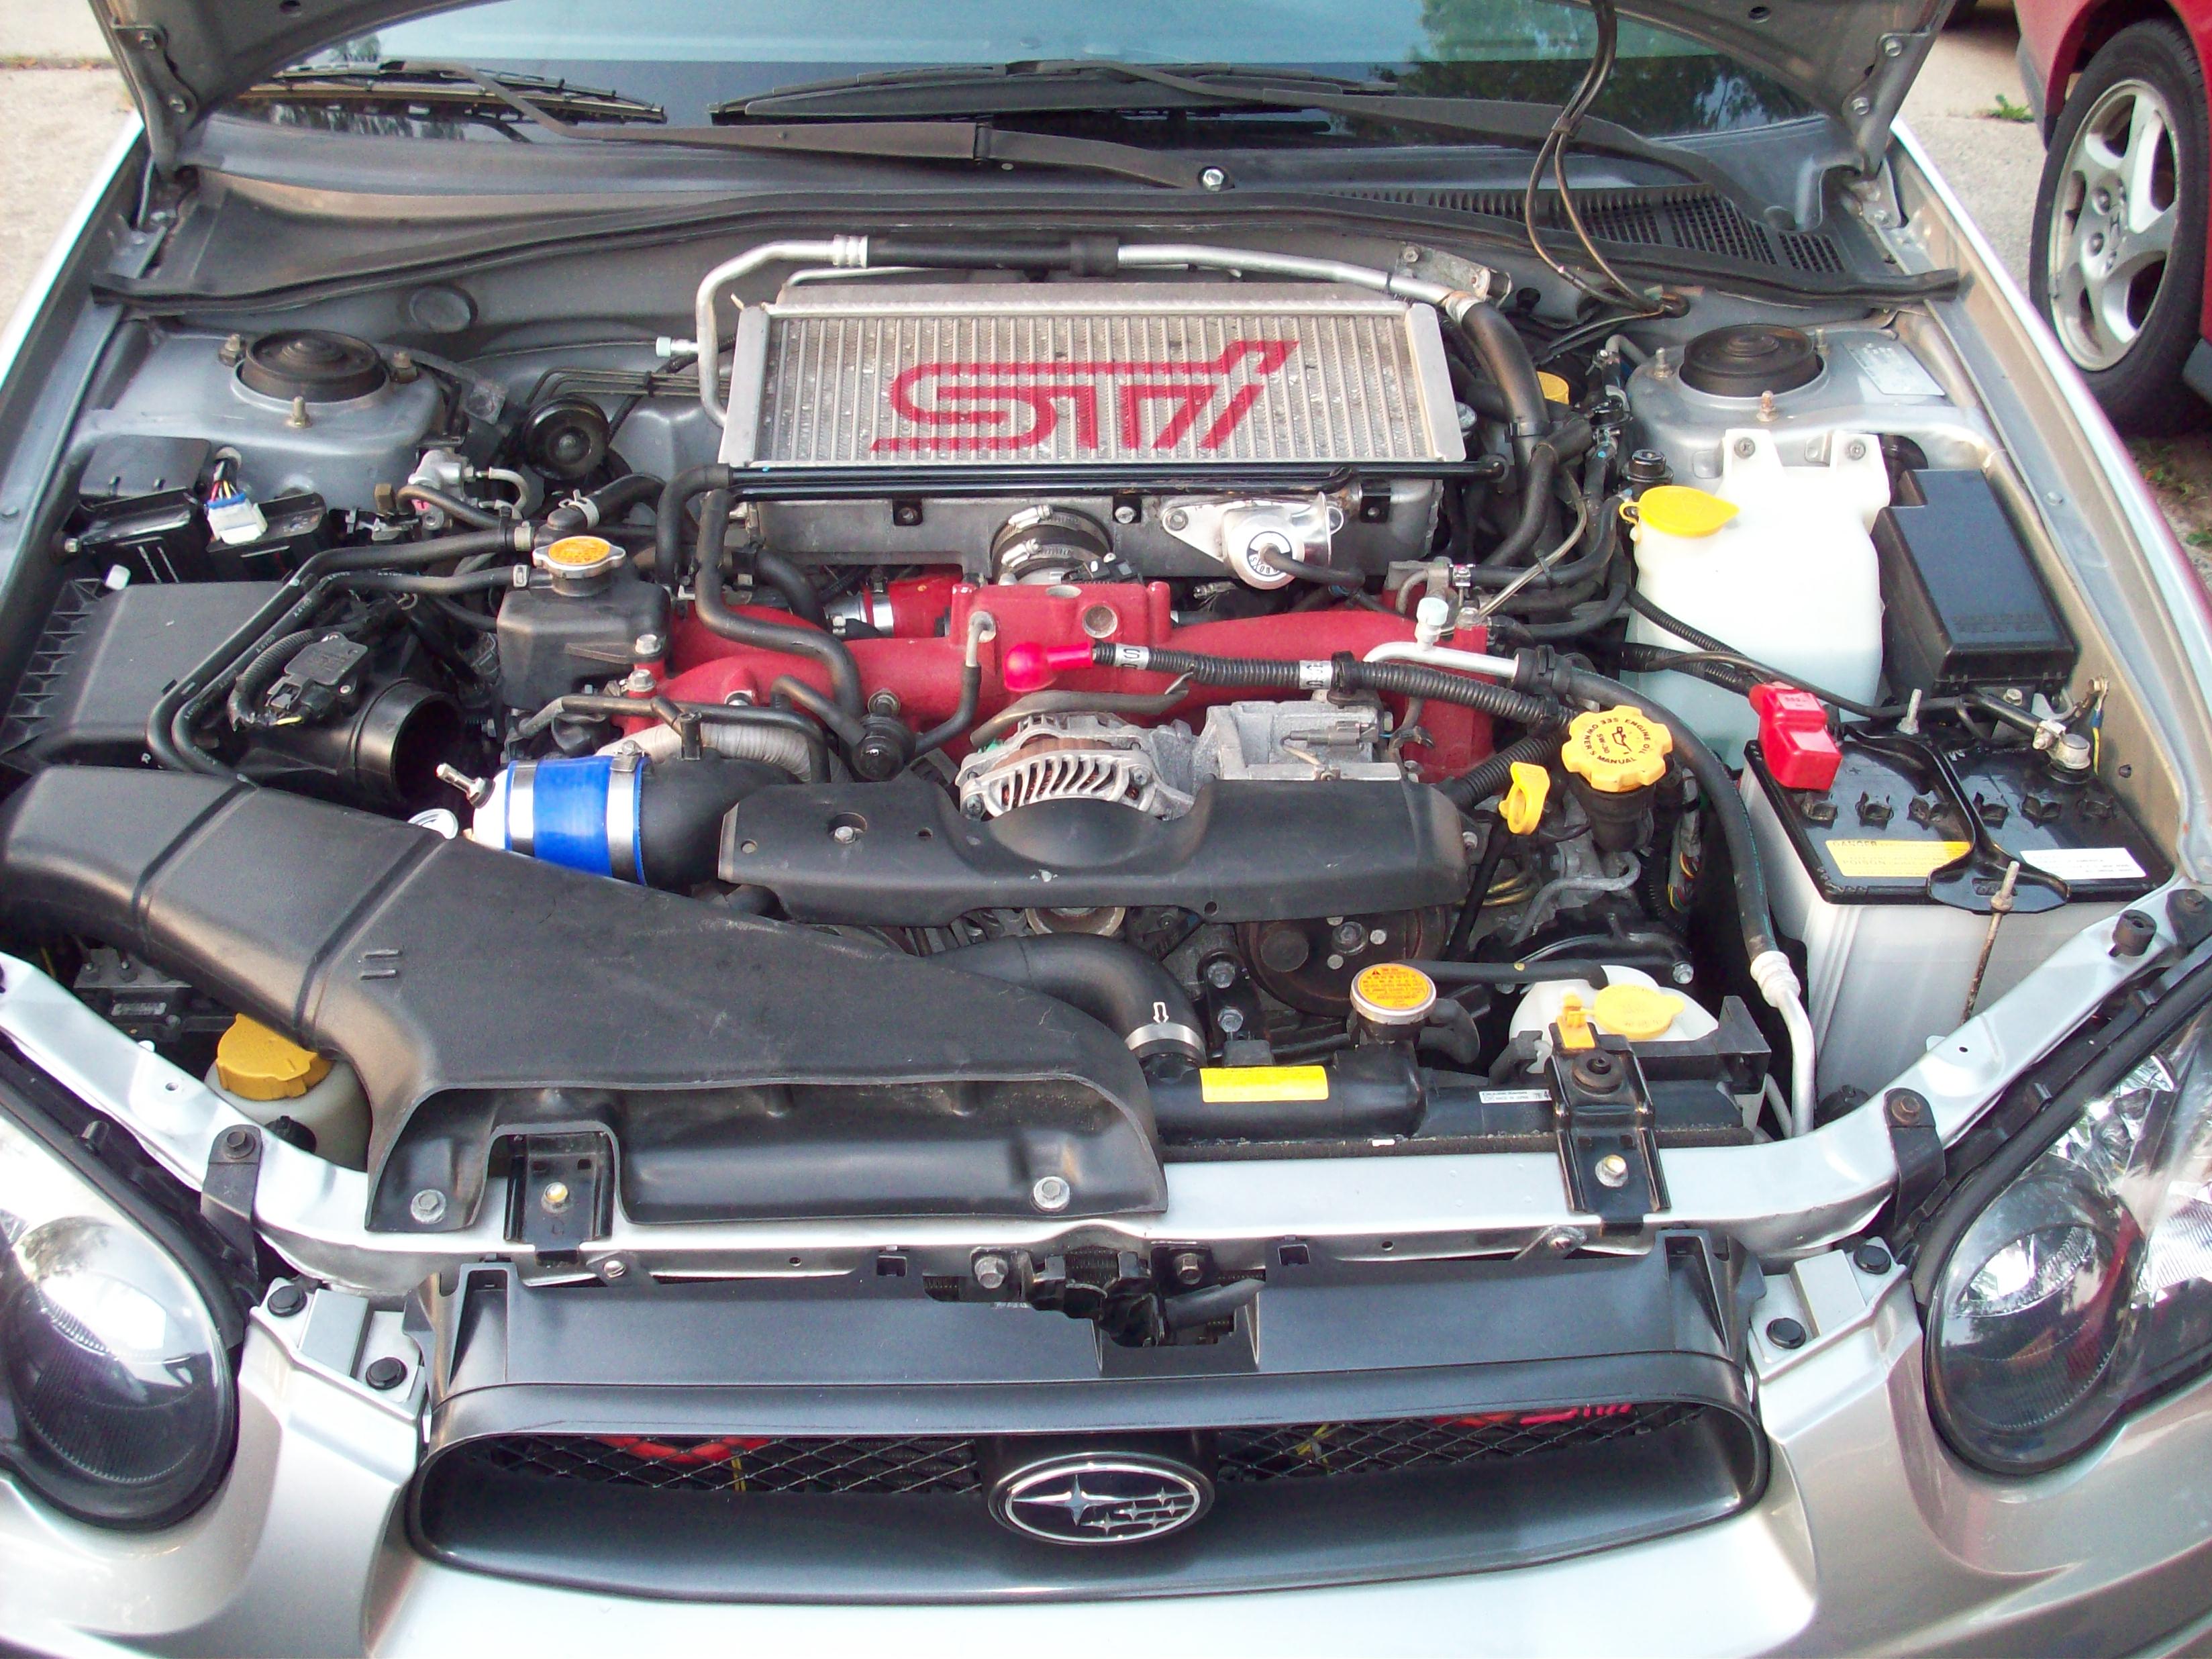
On the Subaru EJ engine platform, the turbo inlet is difficult to access, making the traditional boost leak test more of a task. Since the turbo intake pipe is easily accessible, we can perform the test further upstream instead. Since we're now pressurizing the intake pipe — a section that normally never sees boost — you'll need to block off the lines attached to it, or the pressure will just escape through them instead of building up.
Common leak areas on these motors: the diverter/blow-off valve flange, intercooler connections, and turbo intake pipe damage at the inlet flange. A leak anywhere in the boost path is bad news for performance and your turbo — it forces the turbo to spin faster, causing overheating and bearing damage.
Know your rough stock boost number and don't exceed it during testing. Although the photos here are from a 2004 STI, the same steps apply to all turbocharged Subaru EJ22/25 engines — Impreza, Legacy, WRX, Forester, Outback.
Before starting, read "How To Boost Leak Test 101" in the How-Tos section — it only takes a few minutes and covers the basics of pressurizing your engine properly. Always wear safety eyewear when working with compressed air.
The turbo intake pipe is the plastic pipe leading from the airbox to the turbo's inlet. Since the turbo itself is hard to reach, it's much more efficient to install the tester on the intake pipe instead. Remove the flex hose, slide the boost leak tester on — it should fit without much effort — and secure the clamps.
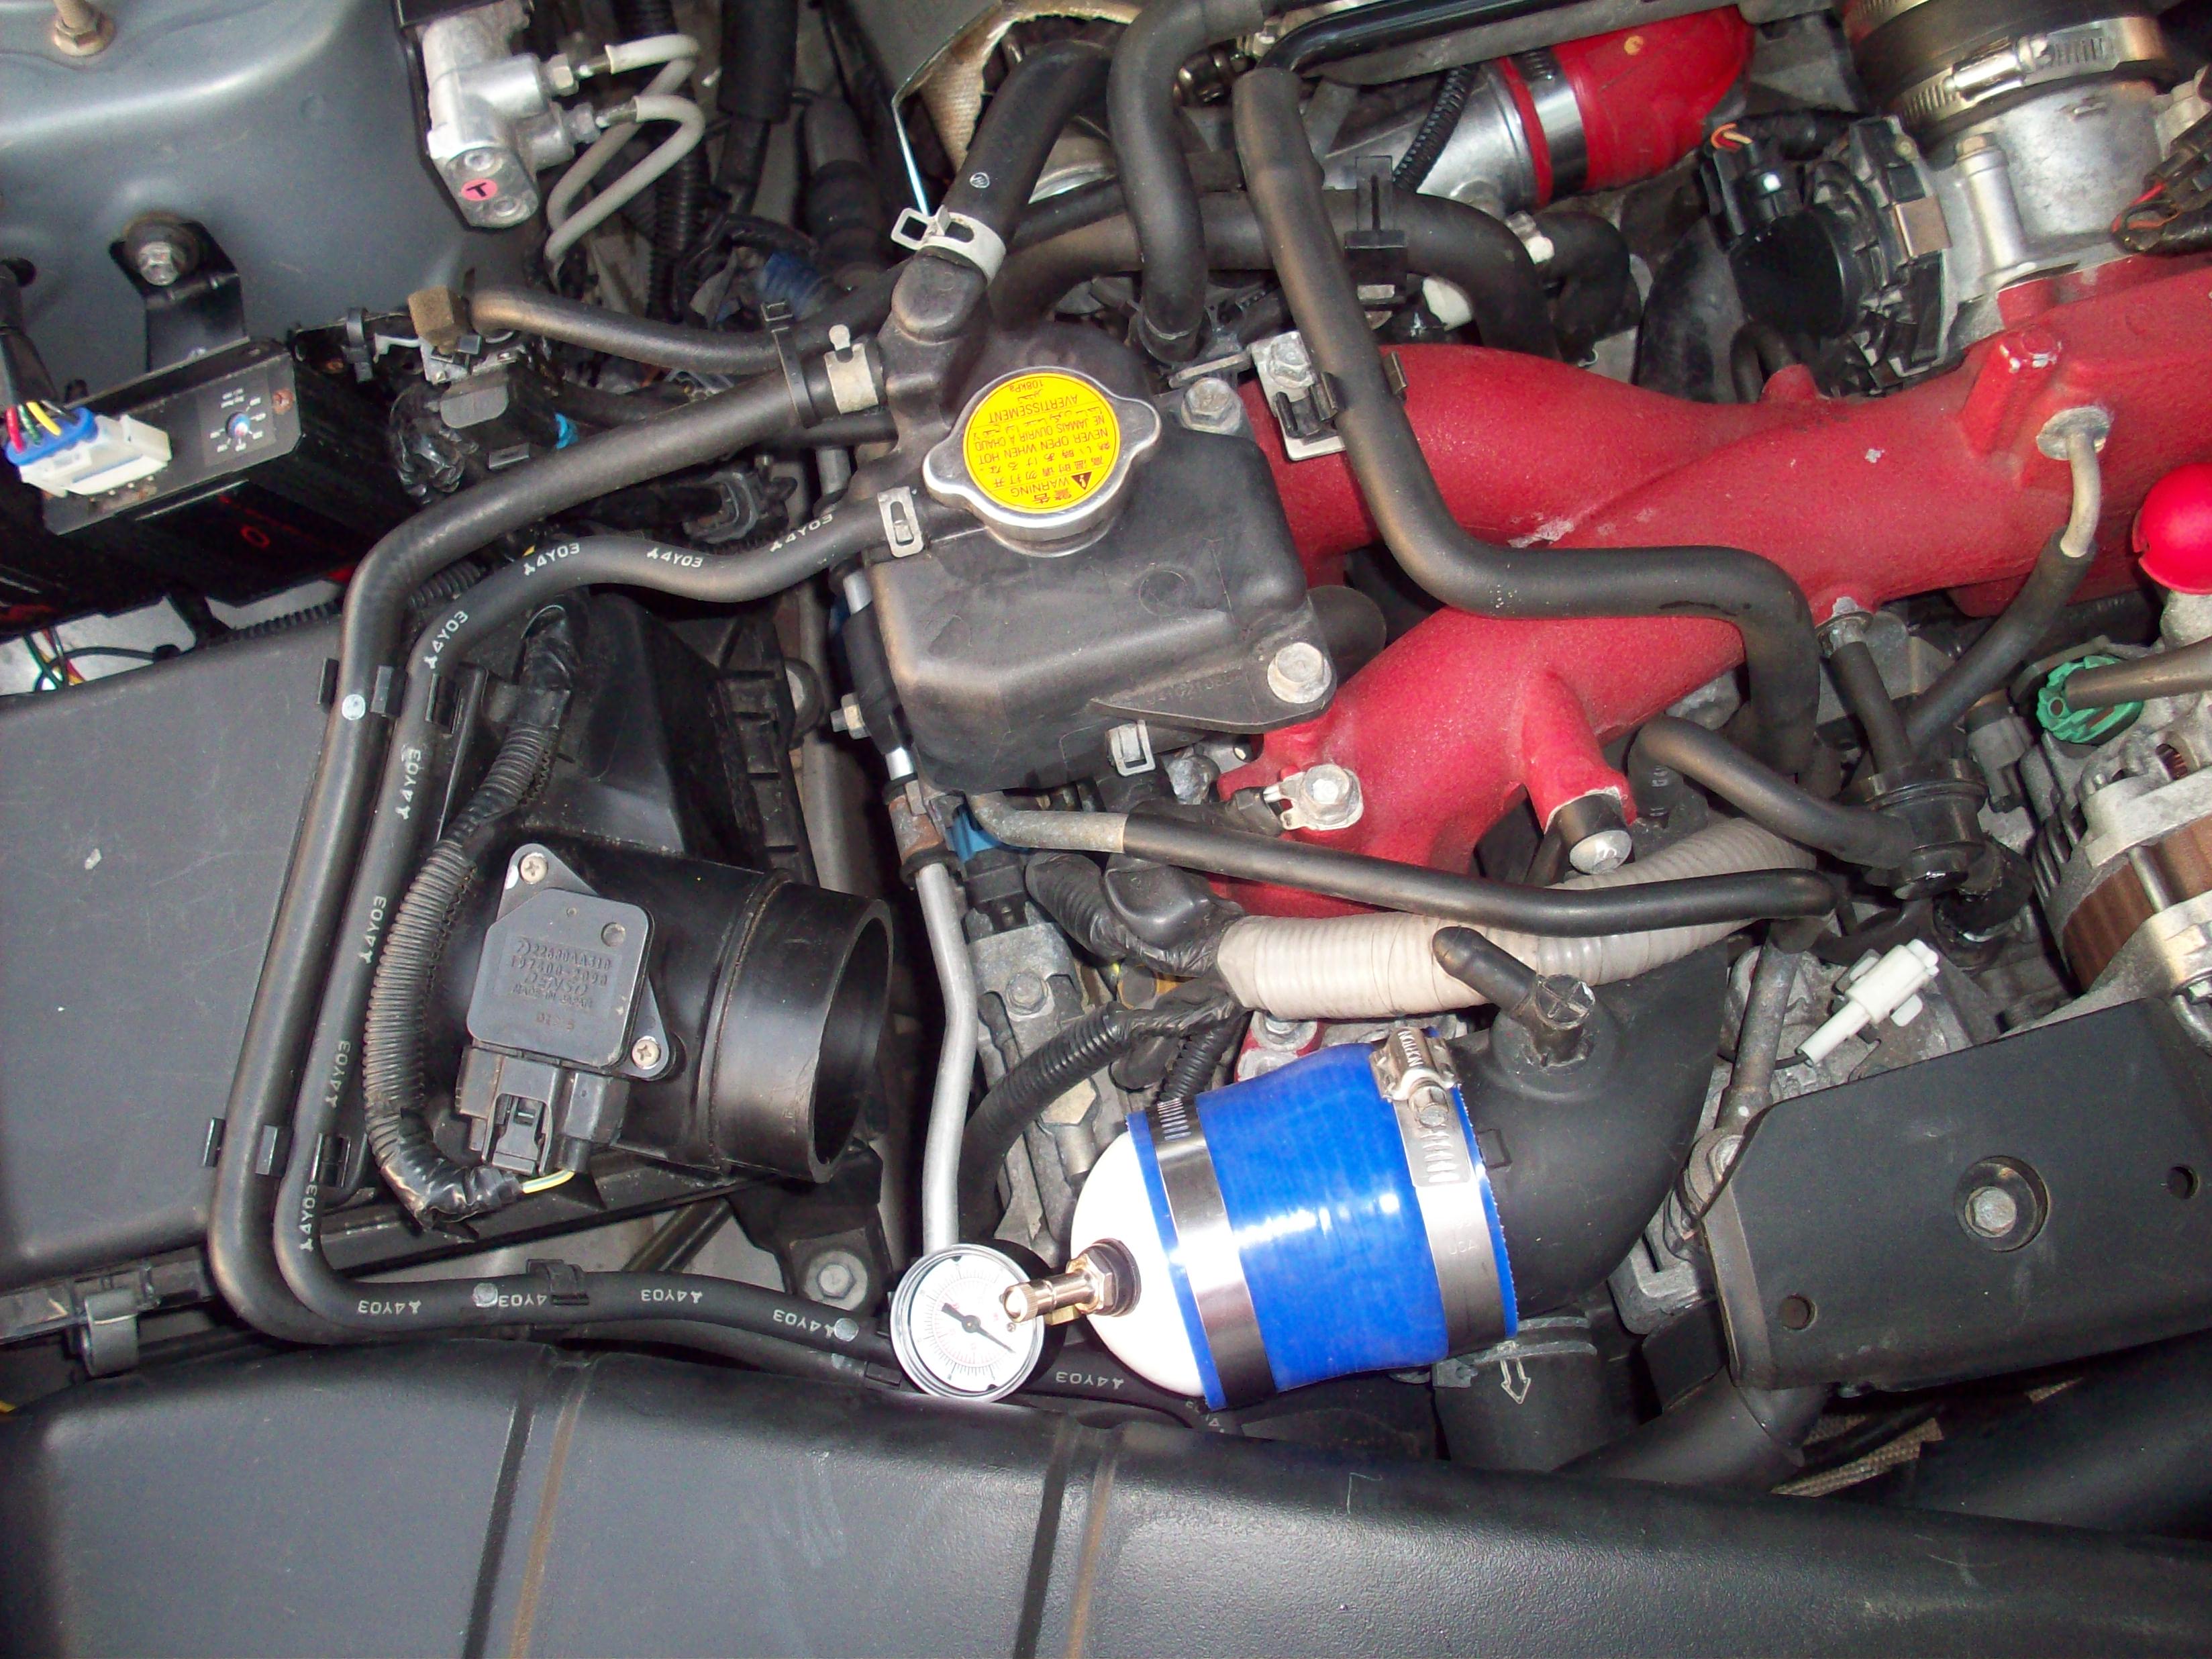
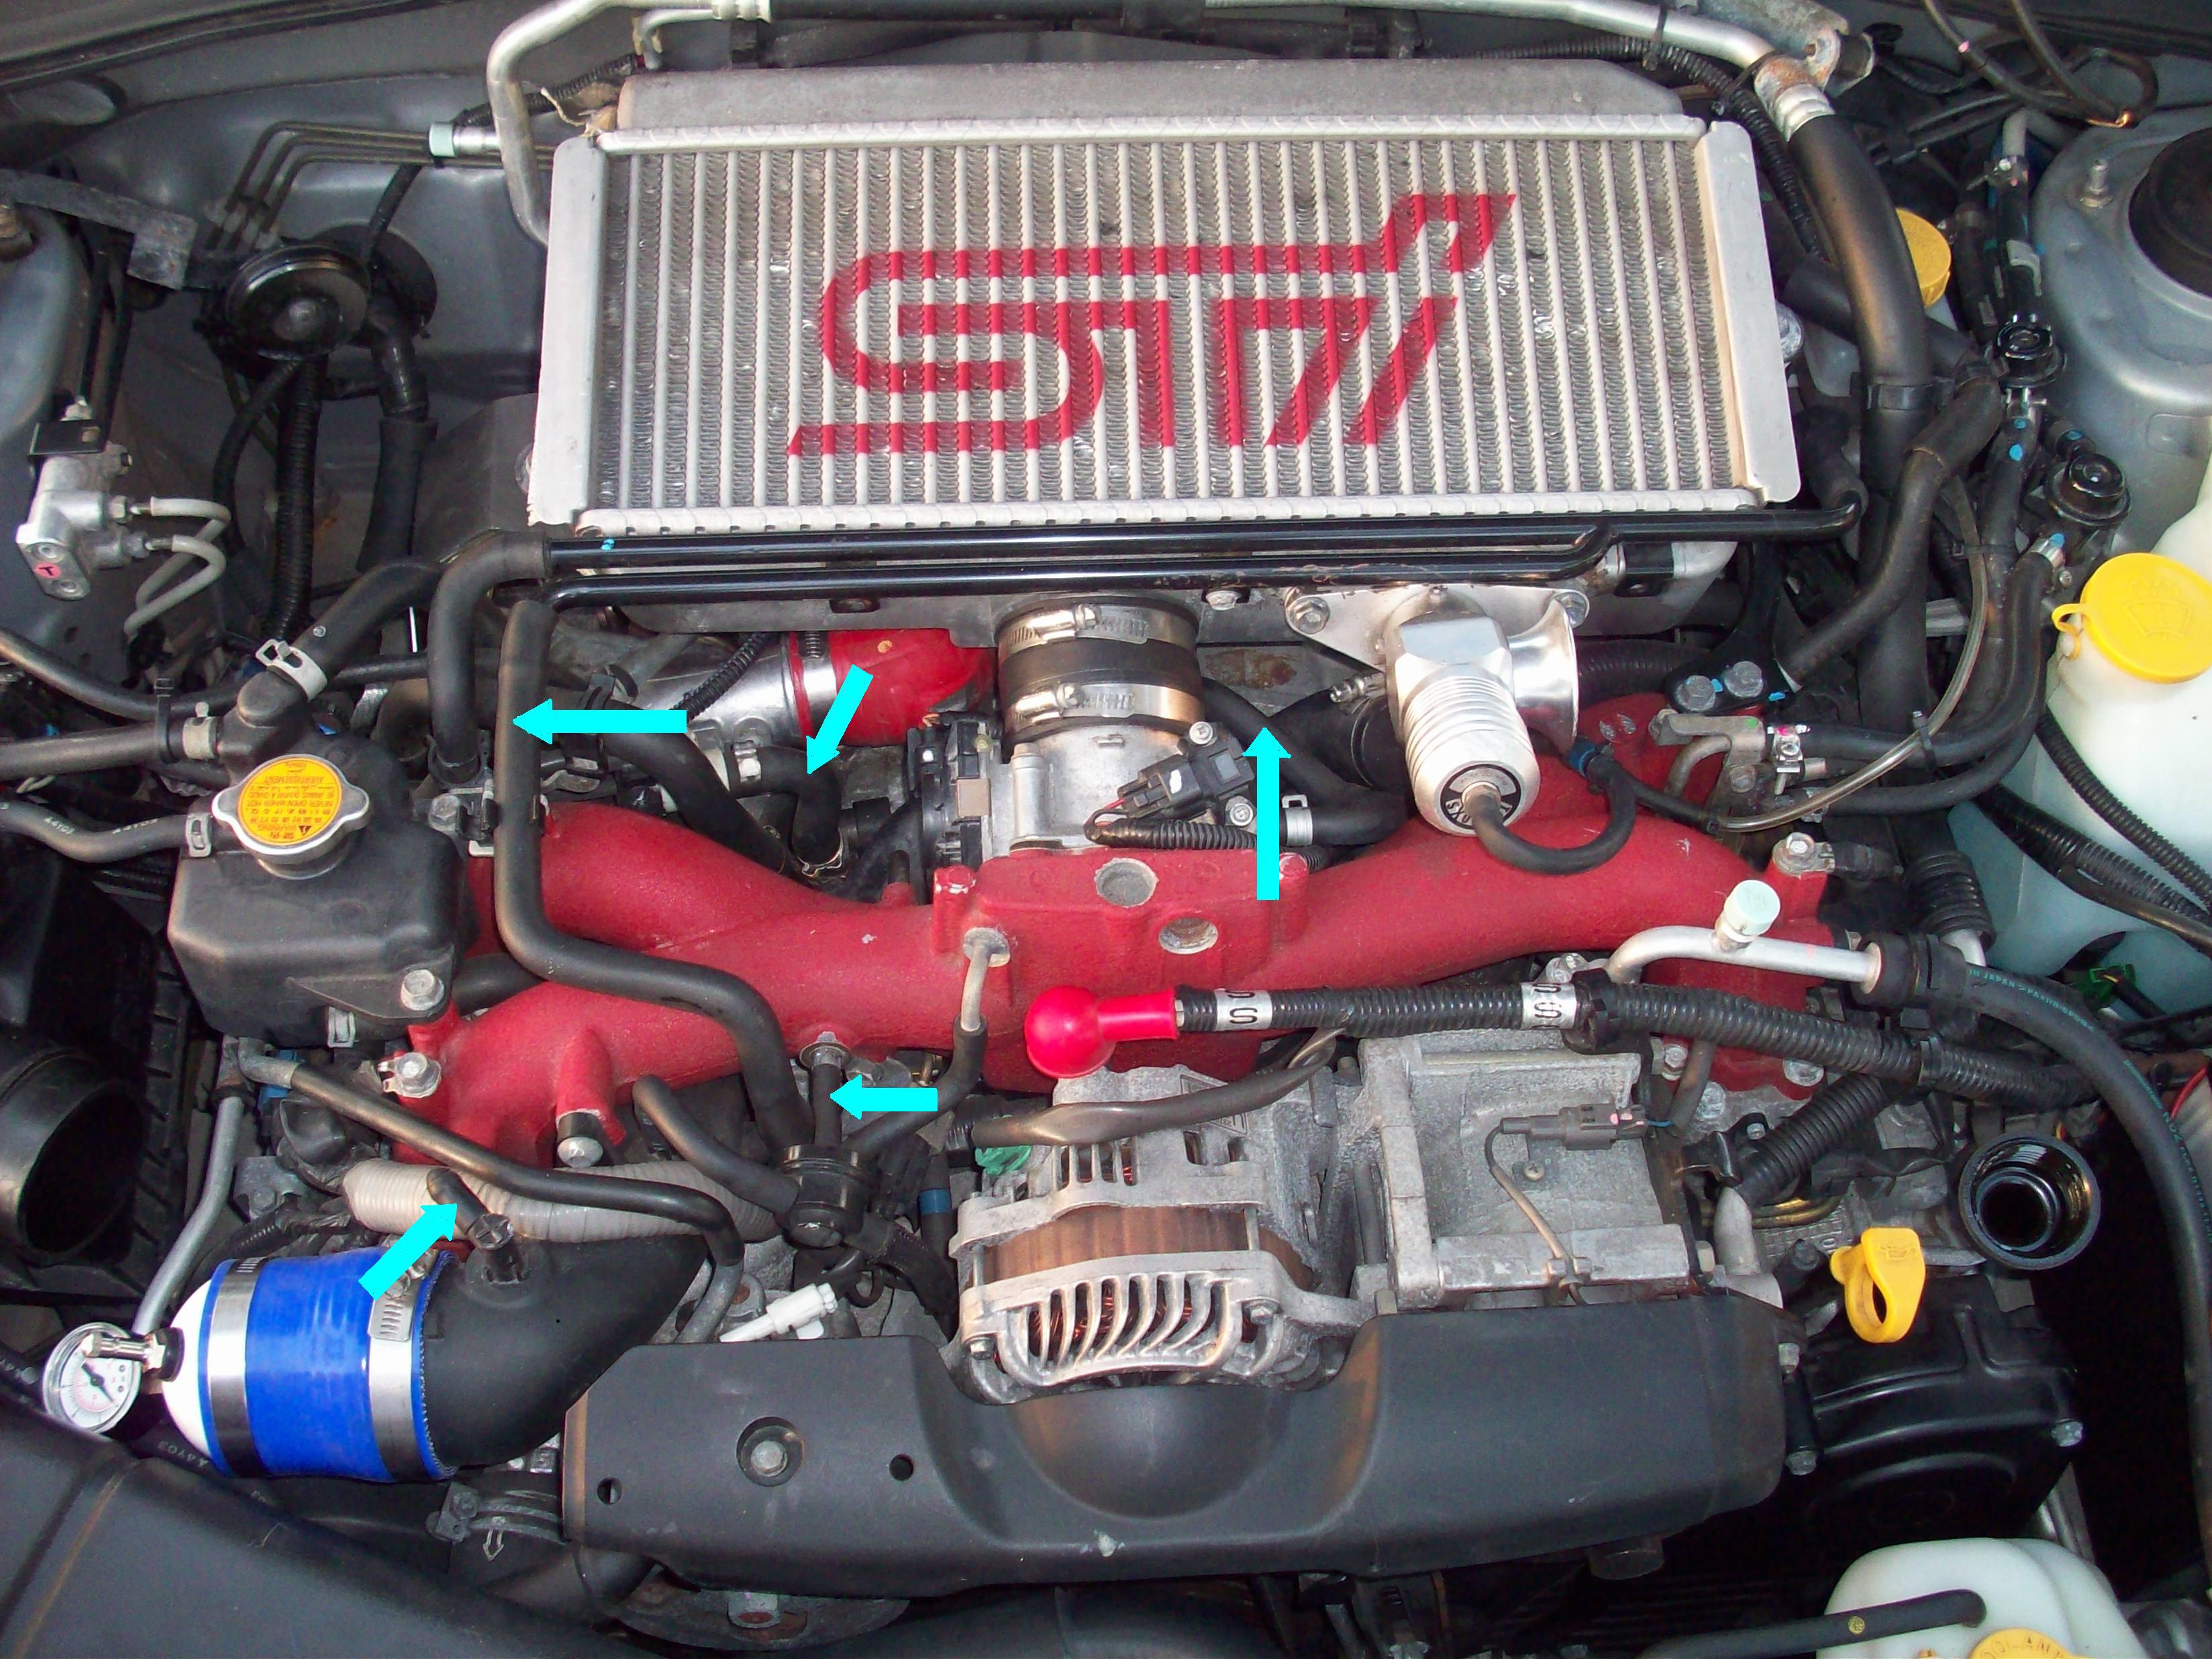
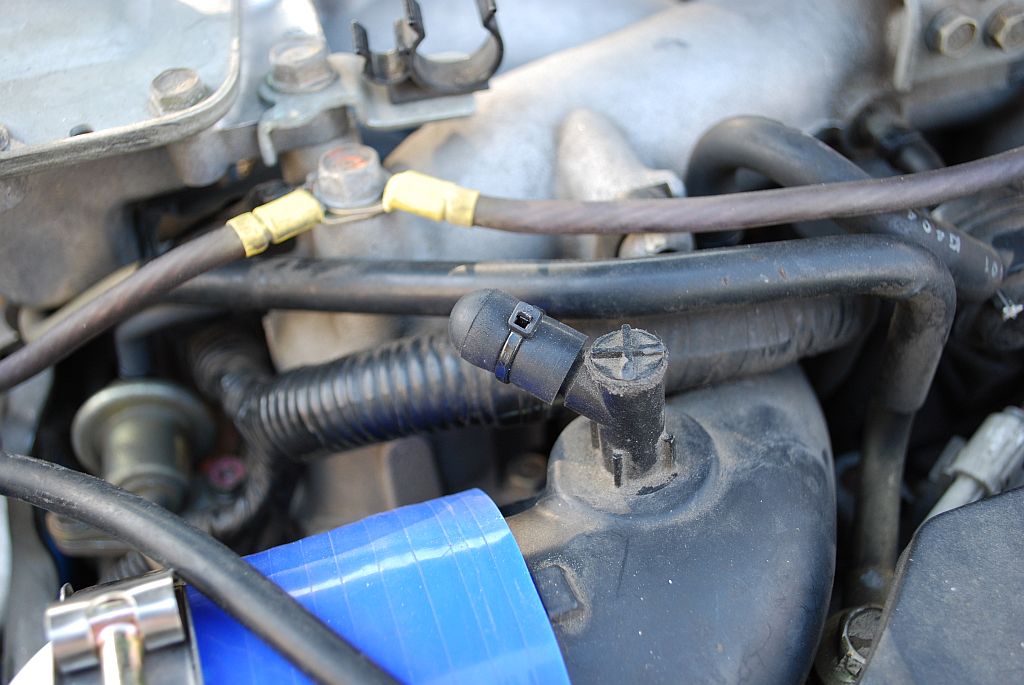
Pinch off the vacuum lines connected to the turbo intake pipe. Not every EJ motor is arranged exactly the same — a WRX may differ slightly from an STI. If you miss one, you'll know, because you won't be able to build pressure.
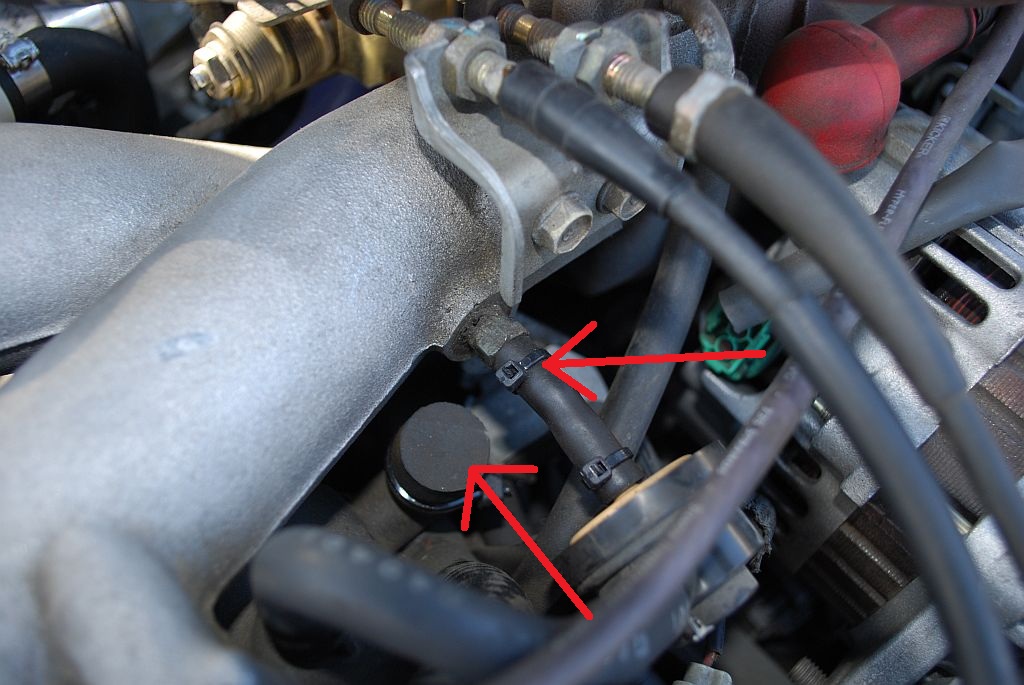
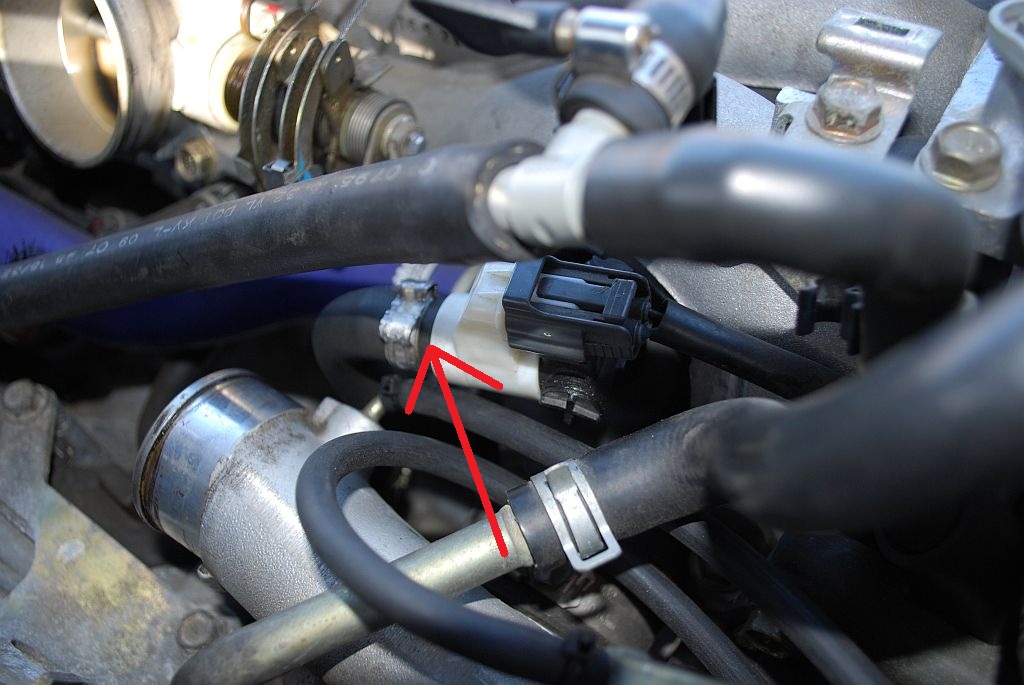
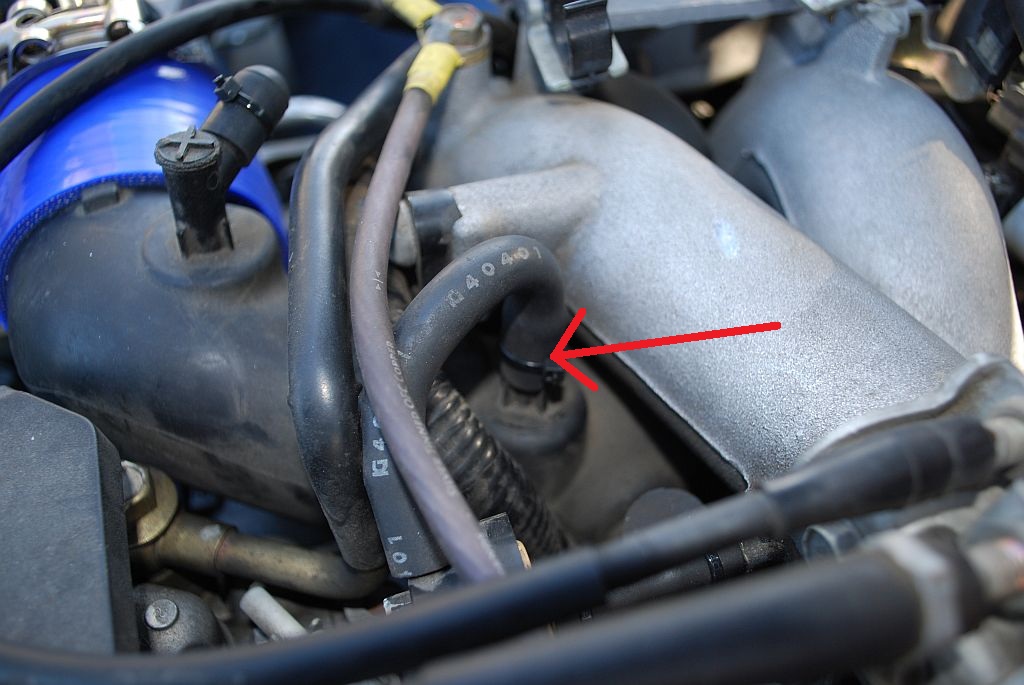
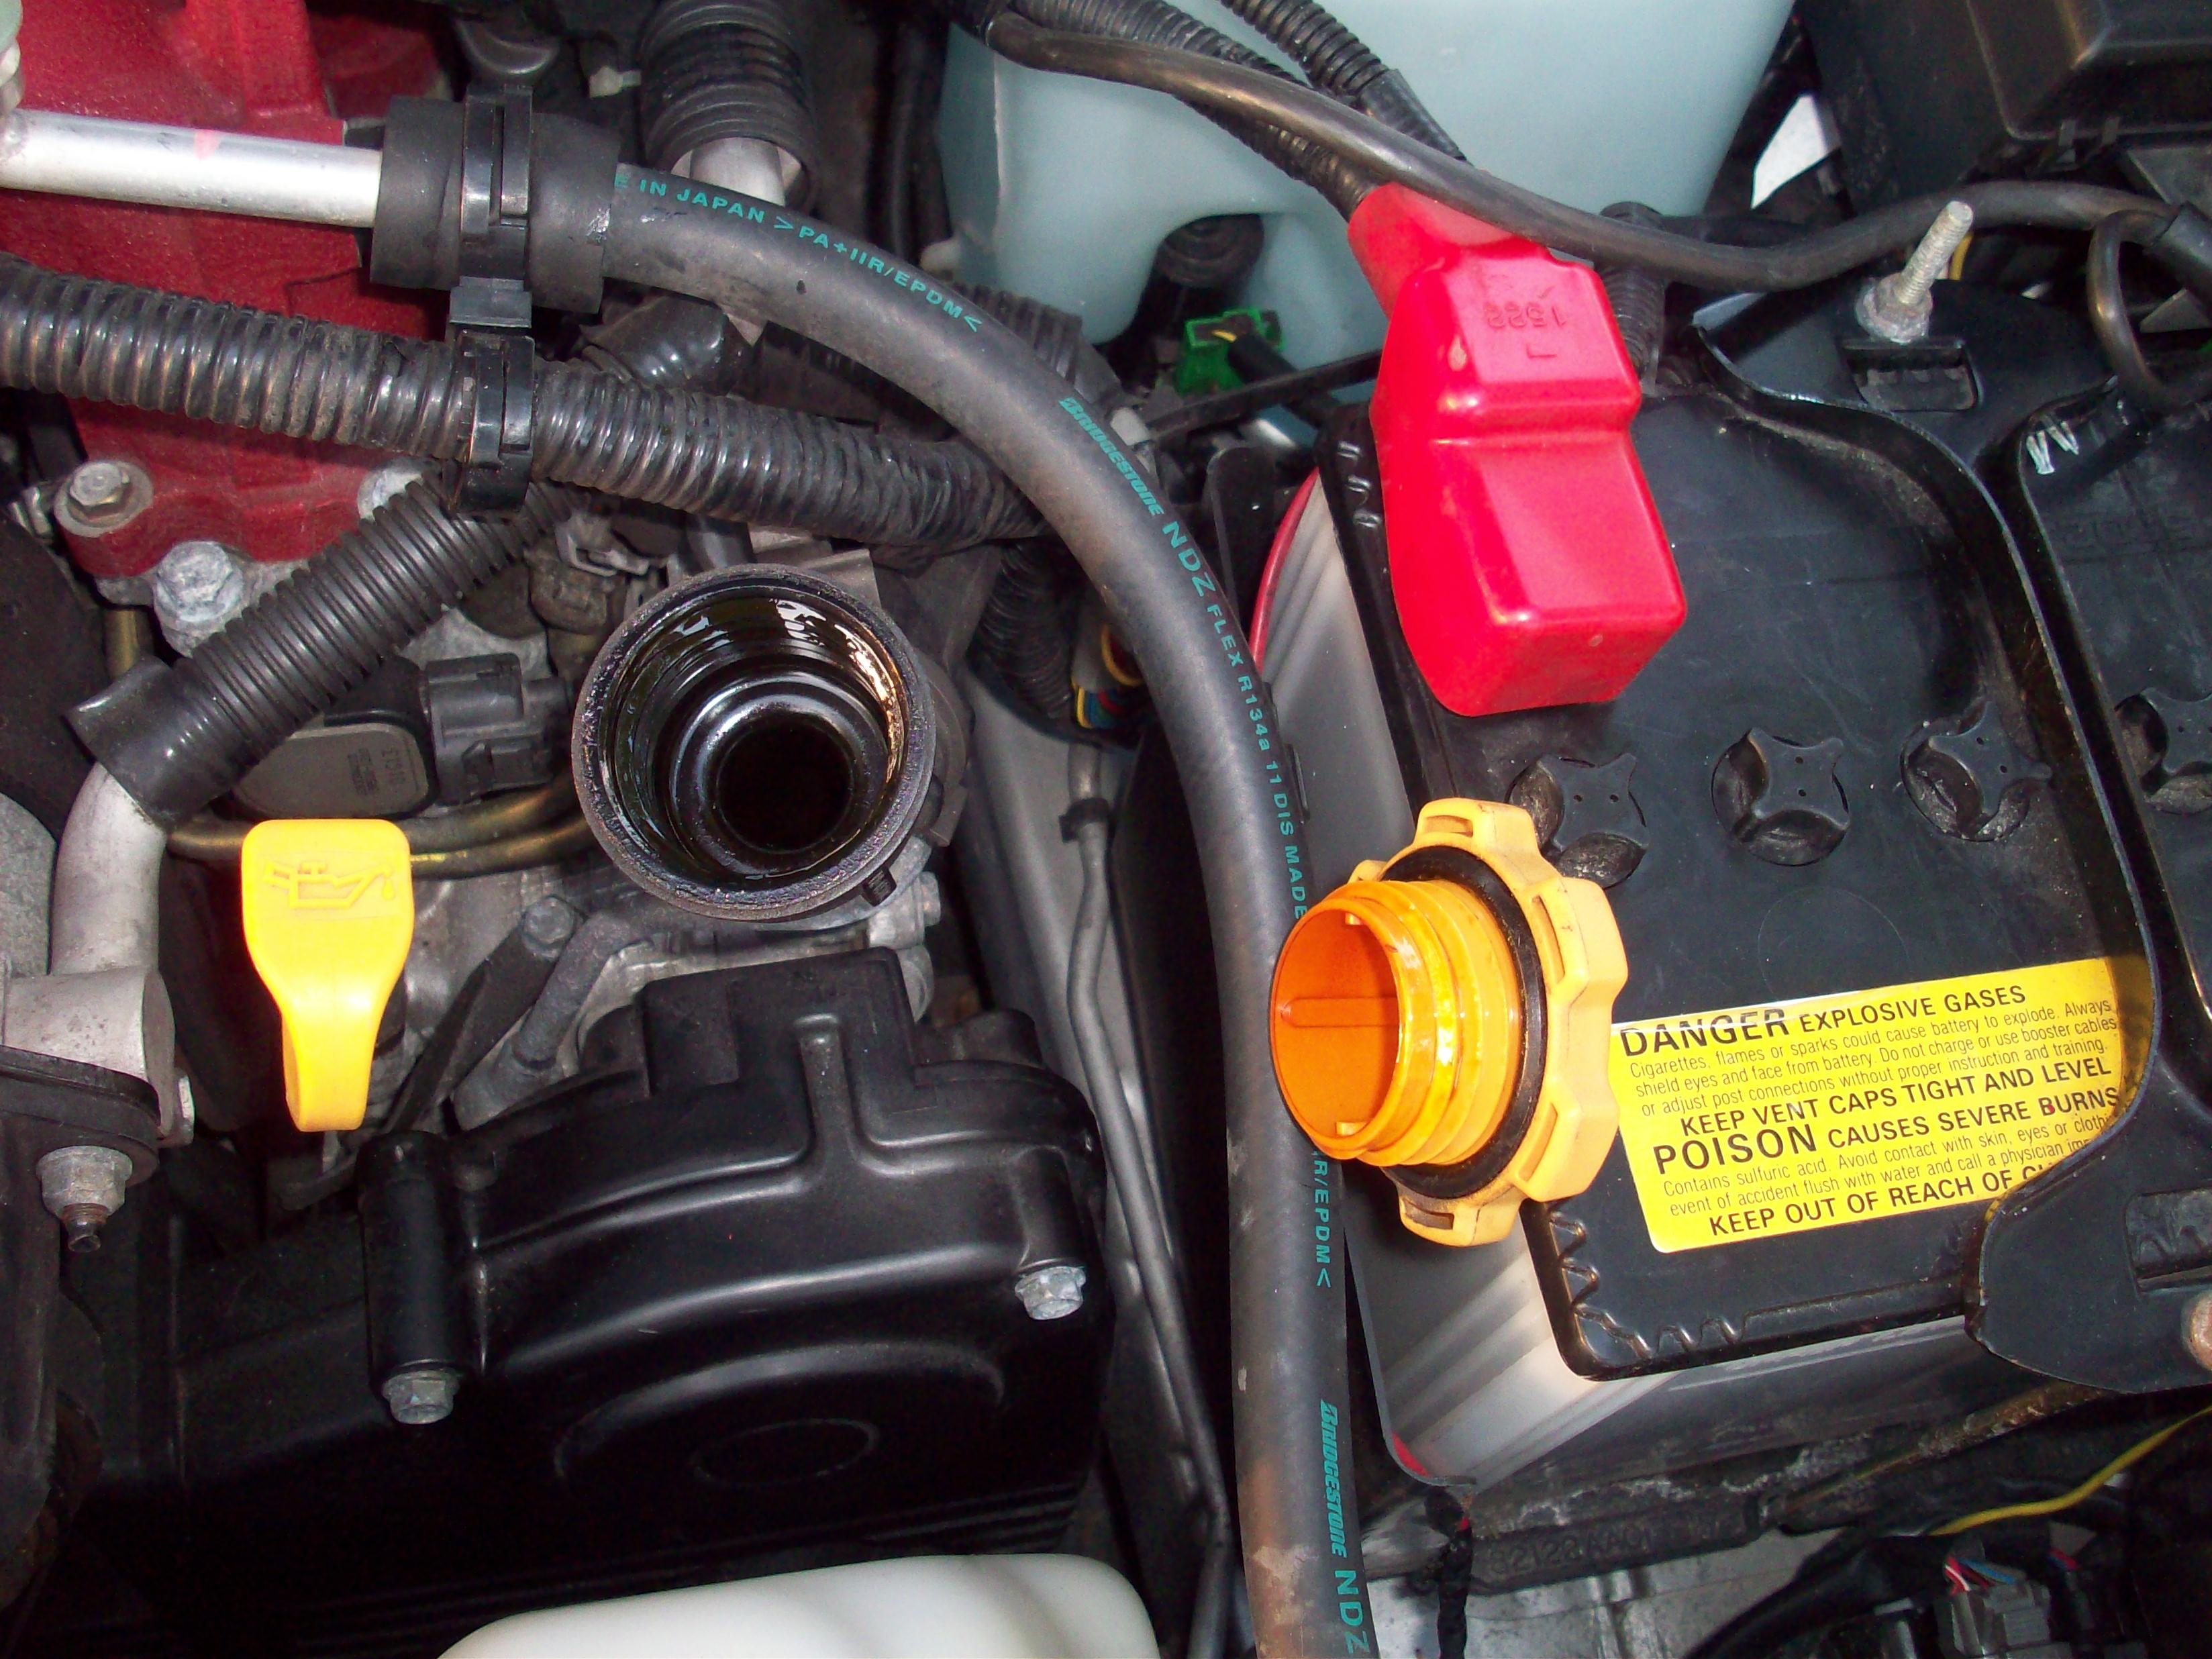
Remove your oil cap! This relieves excess pressure in the crankcase system, which is especially important on EJ motors. When you pressurize the system, some air passes the rings and valve guides into the crankcase, putting positive pressure on crank and cam oil seals. Subarus are especially at risk — remove the oil cap.
Dial in your air compressor — set outlet pressure to a minimum level. For the first run, 5 PSI is adequate. Get a feel for your compressor's controls before starting.
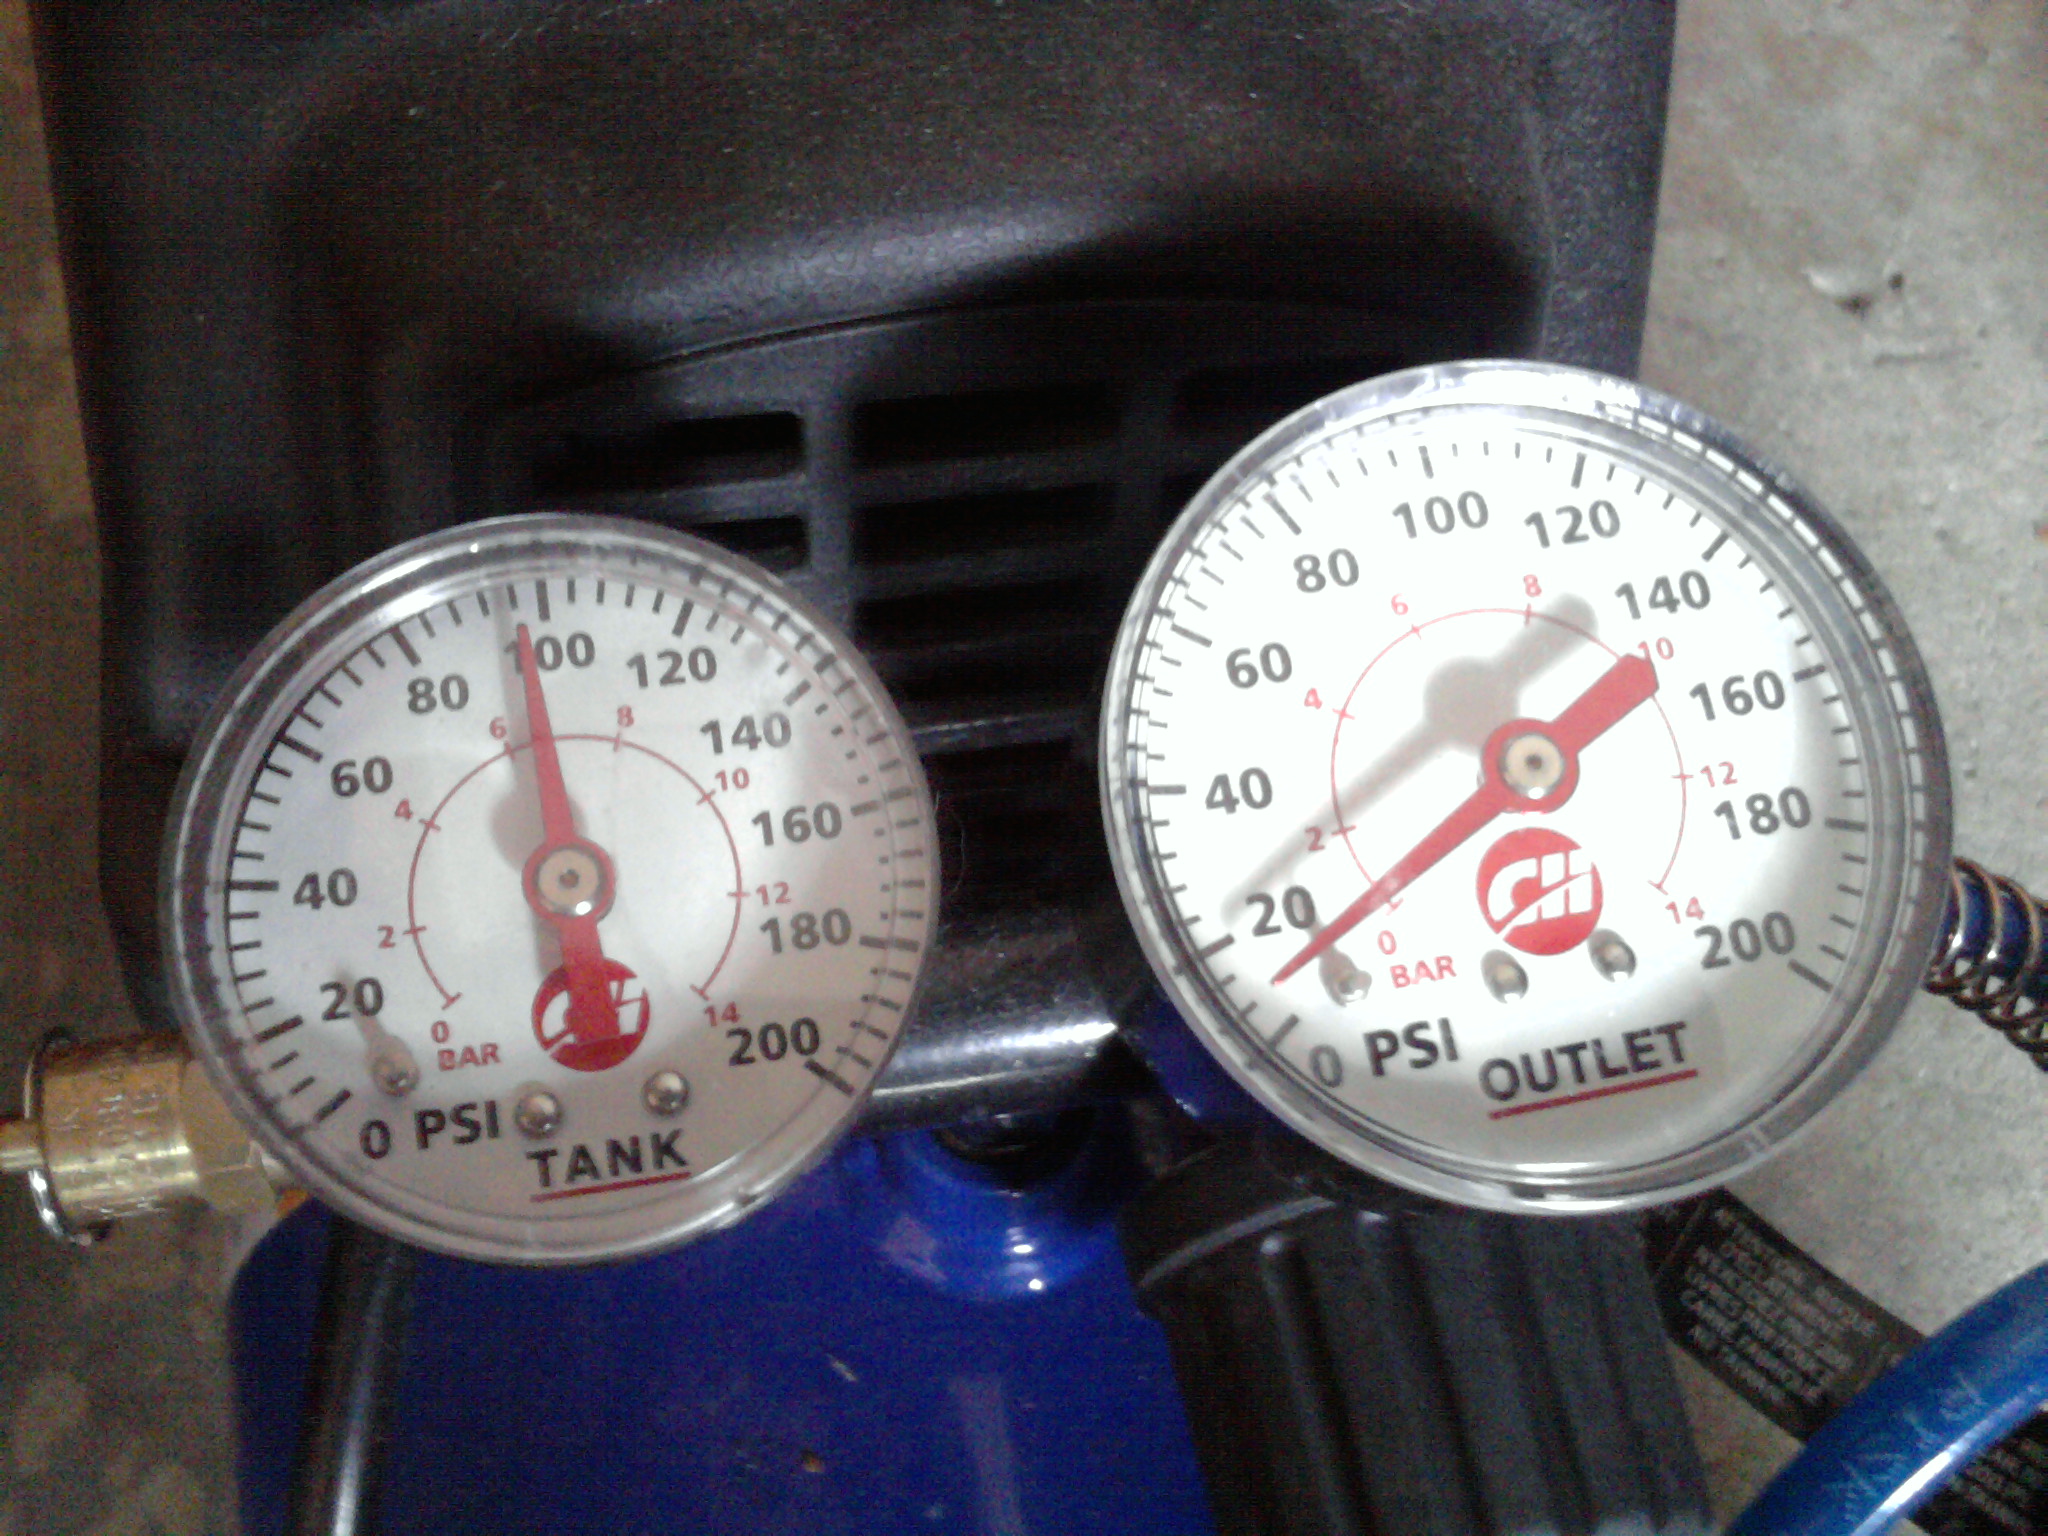
Pressurize the tire valve stem on the boost leak tester using a standard tire inflator (not included). It'll build slowly since the compressor is capped to 5 PSI — this is just a trial run to see if the system holds boost at all.
After reaching 5 PSI, remove the inflator and watch the needle. Losing about 1 PSI per second means your system is in good shape.
Can't make pressure in the system? You likely have a large boost leak, or something is open (intercooler pipe, or pressure escaping into the crankcase). Listen for leaks while pressurizing — it helps to have a friend do this while you inspect the lines, and to do it somewhere quiet.
Sometimes you won't hear a distinct leak but still can't build pressure — that usually means a missed vacuum line, or a large leak. In this write-up, the author had accidentally left the blow-off valve disconnected after removing the intake.
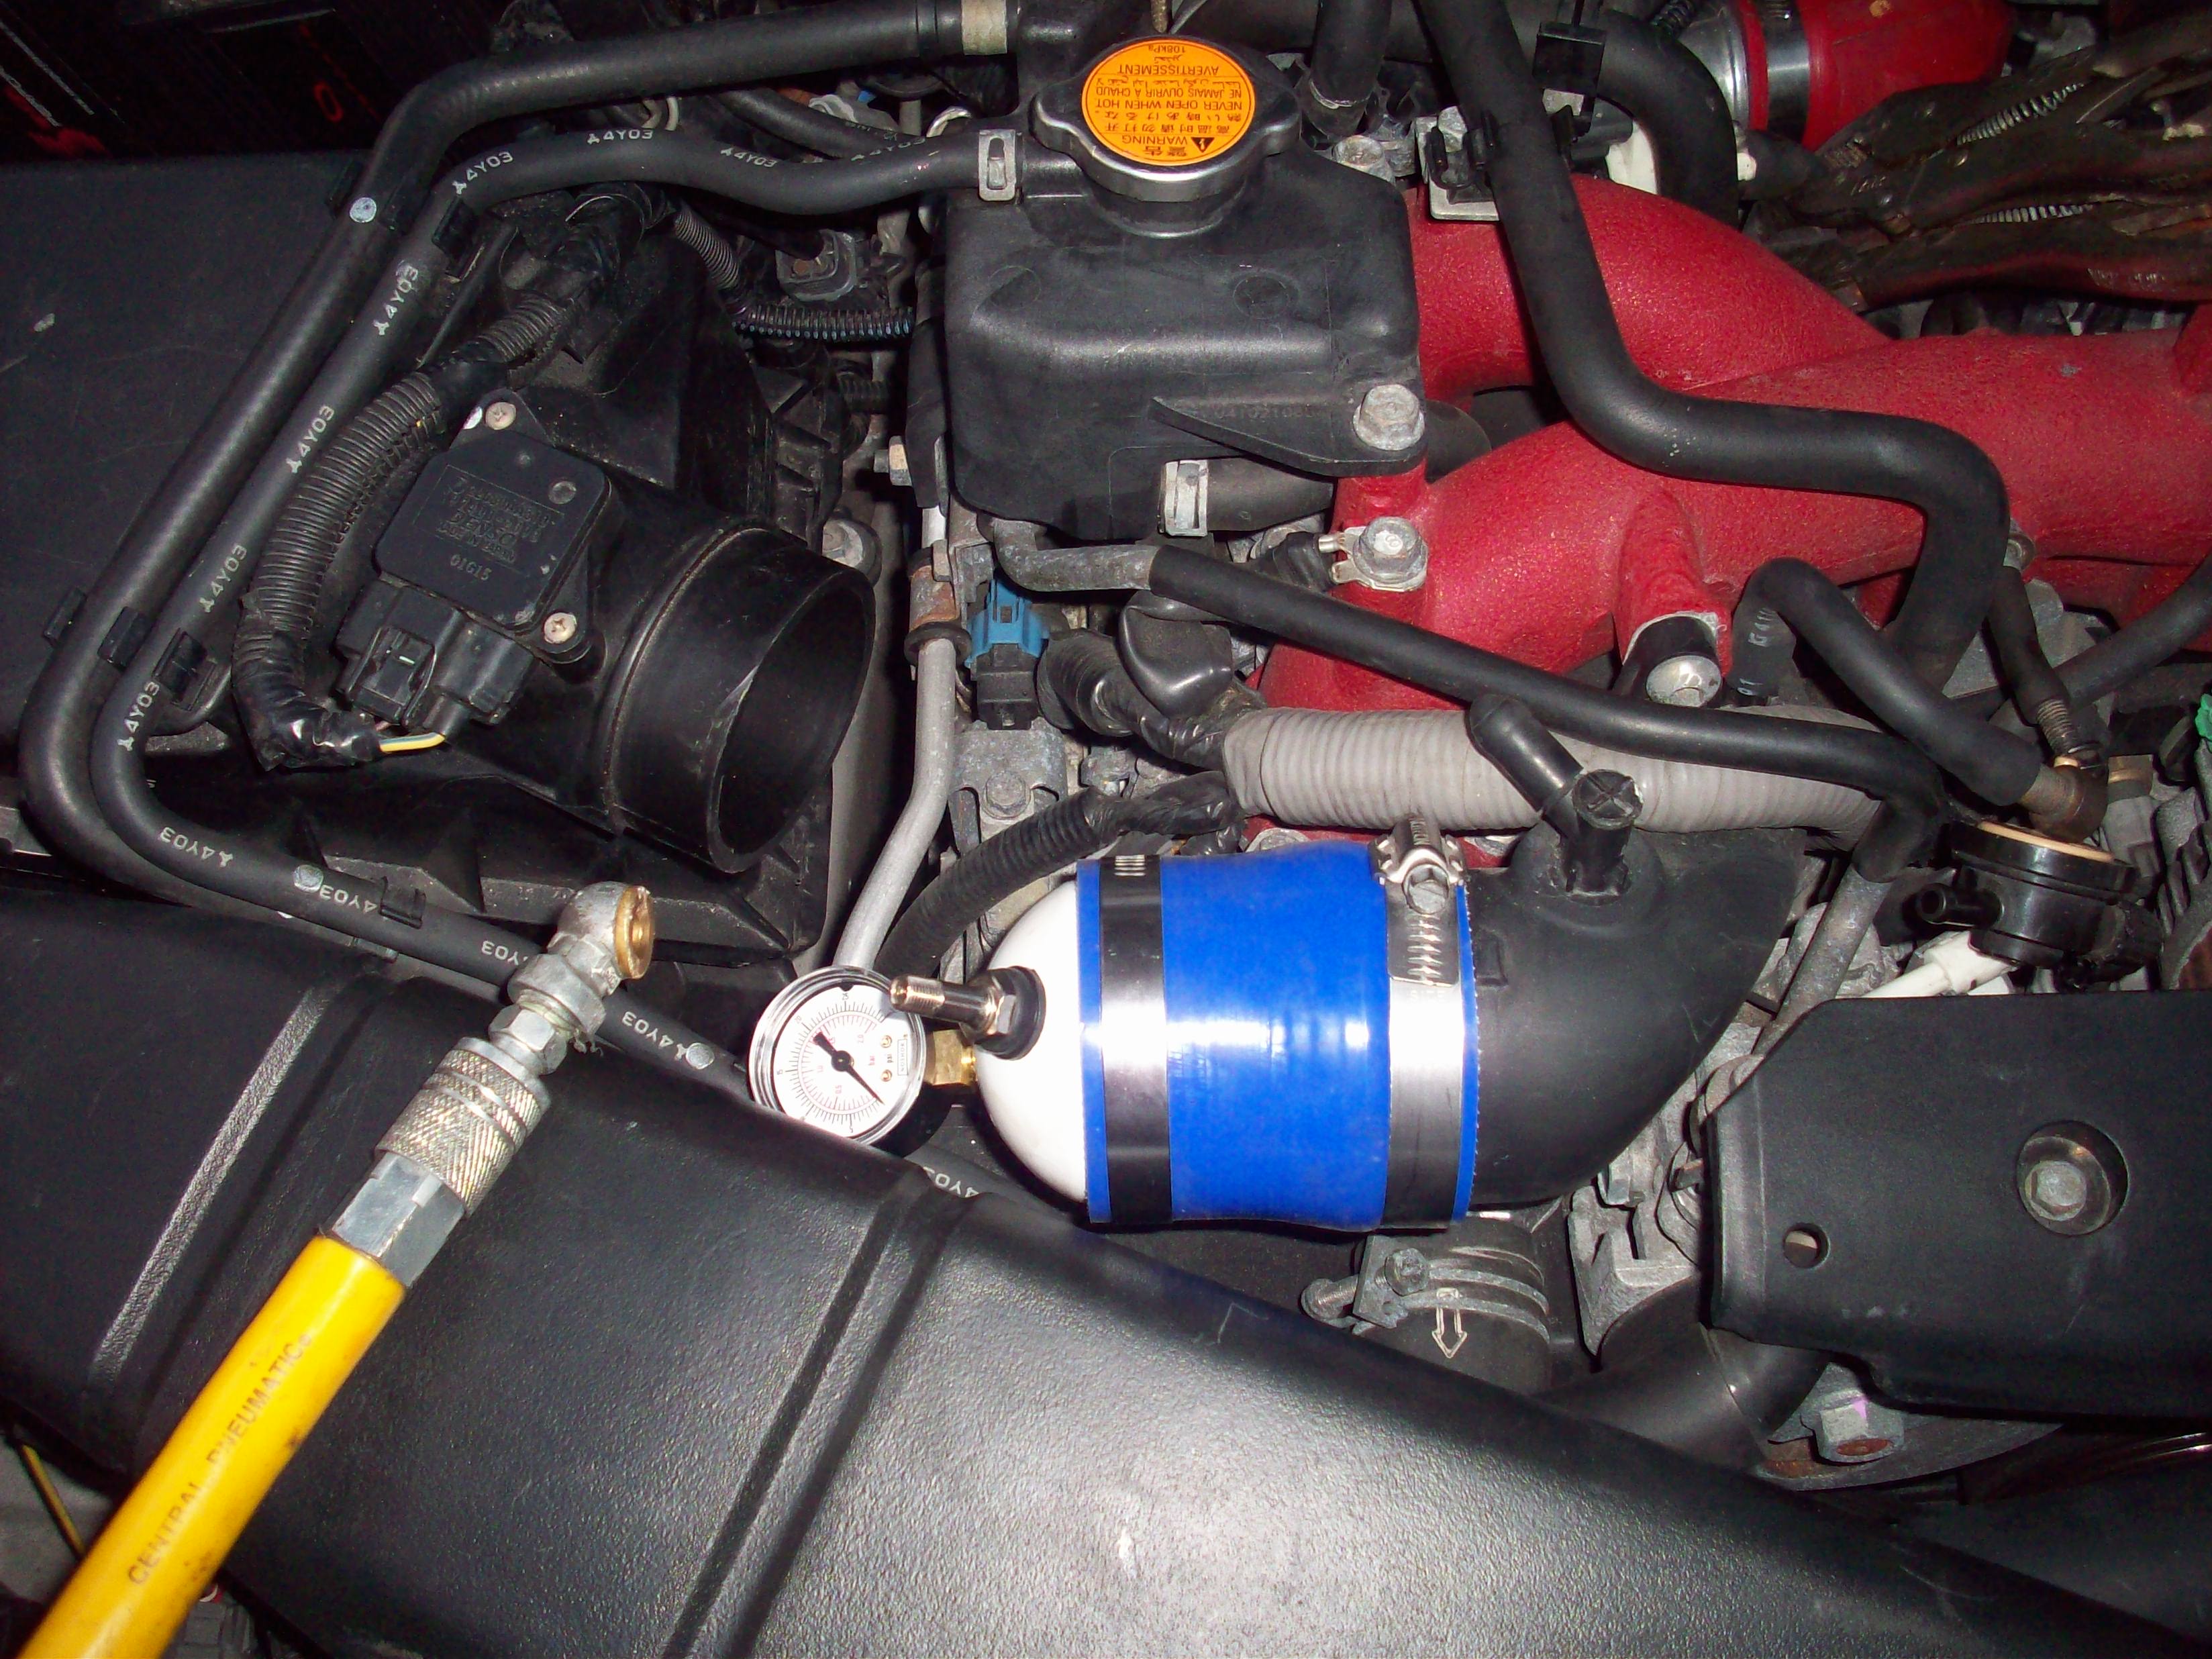
Once you've confirmed the system holds 5 PSI, move up to a higher pressure — close to your stock boost level. For example, 12 PSI for a car boosting around 14 PSI stock.
Same process: listen for leaks while pressurizing, watch the needle, then remove the inflator and check the pressure decay rate — expect faster loss at higher pressure. Fix any leaks and re-test. If everything's quiet and the decay rate is healthy, you're done.
Questions? Contact Us